Crochet Basics: Working in a Circle Tips

When working in a circle, the standard way to begin is to chain three, four, five, or six, then join to the first chain (by the slip knot) with a slip stitch. For the next row, you chain according to the stitch height and work several stitches into this newly formed ring.
Another method is to chain equal to the stitch height plus one extra, and then work all the stitches into the last chain (by the slip knot) or the very first chain worked.
Tip for working into a slip knot
In the standard methods of working into a chain loop or into one chain stitch, the ring is either so large, it leaves an ungainly gap in the fabric or so tight that it is difficult to squeeze in the required number of stitches. My solution is rather simple. Begin by making a slip knot, leaving a 6-inch (15cm) tail, where the slip knot end opens and closes. If you pull on the tail, the loop should get smaller, and if you open up the loop, the tail gets shorter.
Open up the slip knot a bit. This loop of the slip knot is now your ring, and is used instead of a series of chains joined by a slip stitch. Begin working into the loop by inserting the hook through the center, grabbing the yarn, and bringing a new loop forward. Chain according to the stitch height and work several stitches into this newly formed ring.
The beauty of this slip knot as ring is that you can open it up to accommodate a large number of stitches, and can still pull it closed so you aren’t left with a gaping hole. (In fact, it closes to almost a pinhole.)
To finish, thread the tail onto a darning or tapestry needle, make a French knot on the back of the work to prevent the hole from opening up again, and weave in the tail.
Tip for a magic ring
A magic ring uses an untightened knot of sorts. Begin with a loop, insert the hook into this loop from front to back, grab the yarn, and bring a new loop forward. Chain according to the stitch height and work several stitches into this newly formed ring, working over the tail as well.
This ring, which has become popular as of late, is adjustable in size. I have found that it does not open back up very smoothly. Try the magic ring and working into a slip knot and decide which method works for you.
Tip working with bigger circles
When working on a large project in the round, such as a poncho or a seamless garment body, you will make a long chain. The directions will tell you to join the chain on the hook to the last chain next to the slip knot with a slip stitch, being careful not to twist the chain around. Easier said than done. With a long chain, how do you prevent the twist? I use wooden clothespins and work on a large pillow on my lap.
Every so many chains, let’s say twenty or twenty-five, place a clothespin on the chain with the front side facing up. Arrange the chain in hairpin turns to take up less space. At the end, work toward the beginning, check that all clothespins have the front of the chain facing up, and then join with a slip stitch.
How to Crochet a Circle That Lies Flat
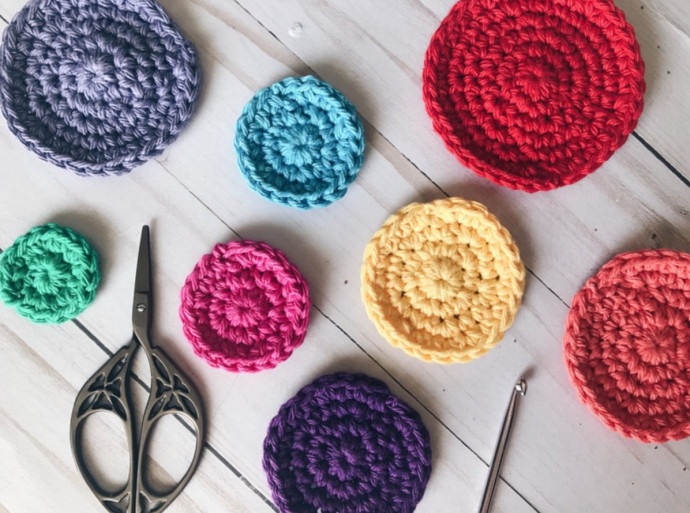
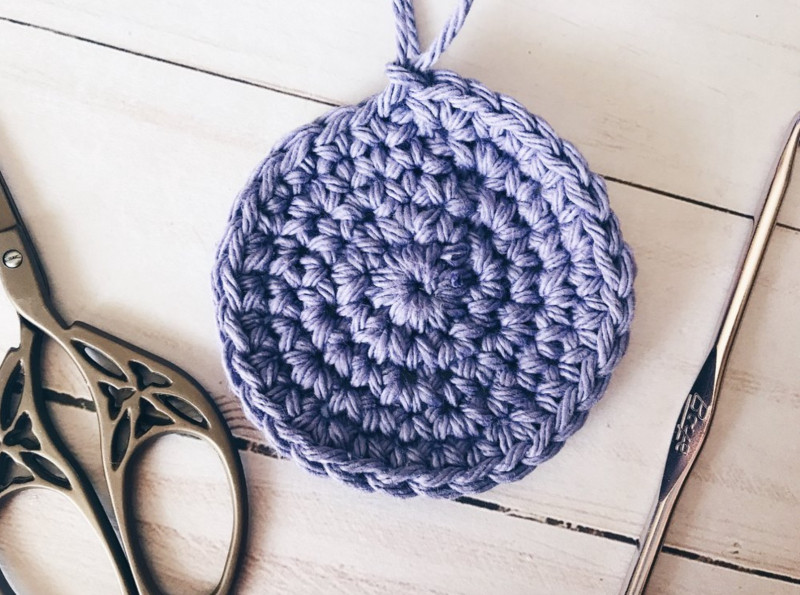
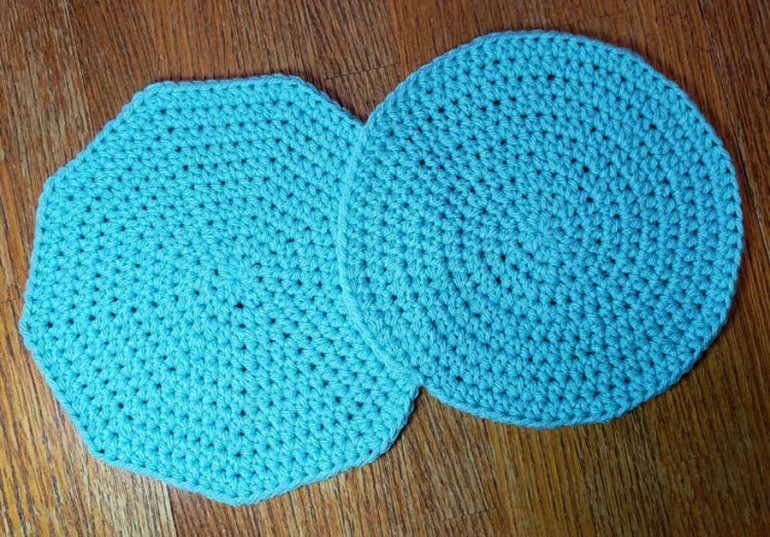
There are lots of ways to crochet a circle, but making one that is not wavy or wonky can be a challenge. Fortunately, there is a basic formula that will keep your crocheted circle flat. This crocheted circle uses the method of joining with a slip stitch at the end of each round. The alternative would be to create continuous rounds that lead to a spiral pattern rather than a circle. It's a fairly quick and easy method, depending on how large of a circle you plan to make. You can use flat crocheted circles to make a variety of items, including doilies, placemats, coasters, and rugs.
Instructions
Round 1: Work Single Crochet Stitches to Form a Circle
Begin with a slip knot and then two chain stitches. Then, make six single crochet stitches into the second chain from the hook. Slip stitch to join the end of the round.
Round 2: Work 2 Single Crochet Stitches in Each Stitch
For the second round of the circle, use two single crochet stitches per each stitch you already made. This will give you a total of 12 single crochet stitches for round two. (If you started with a different number of stitches, you should have twice as many stitches as round one.) Slip stitch to the first stitch to join.
Round 3: Work a Pattern of Single Crochet Stitches
For the third round, use two single crochet stitches for the next stitch, and then alternate between using one and two stitches. For a crochet circle that started with six single crochet stitches, you will end this round with 18 single crochet stitches. (For circles that started with other numbers of stitches, this round should have three times the number of stitches as the first round.) Slip stitch to the first stitch.
Round 4: Work Another Single Crochet Stitch Pattern
For the fourth round, use a single crochet stitch for the next stitch, then another single crochet stitch in the following stitch, and then two single crochet stitches in the next stitch. Repeat that pattern around the circle, and slip stitch to join to the first stitch.
Continue Growing the Circle
If you want to continue growing the circle, continue growing the pattern. For each round, add one more single crochet stitch before doing two single crochet stitches. For instance, to create the fifth round you would do a single crochet stitch in each of the first three stitches, followed by two single crochet stitches in the next stitch. And in round six, you would do a single crochet stitch in each of the first four stitches, followed by two single crochet stitches in the next stitch.
I am going to say to me that is like a little bit of crocheting and granny square to me i may be very wrong on that one
🙂