How to Crochet the Slanted Brick Stitch Photo Tutorial

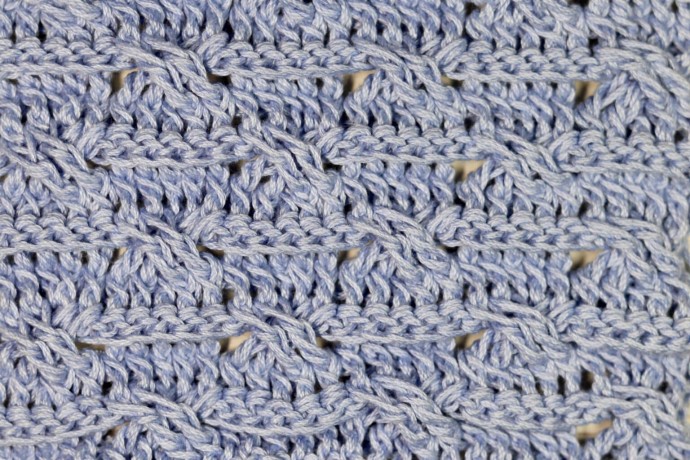
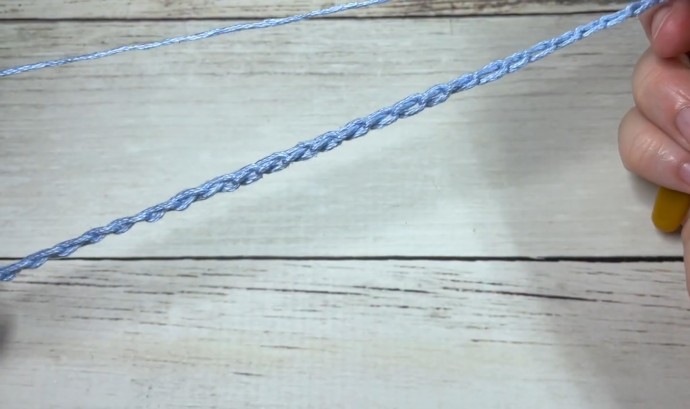
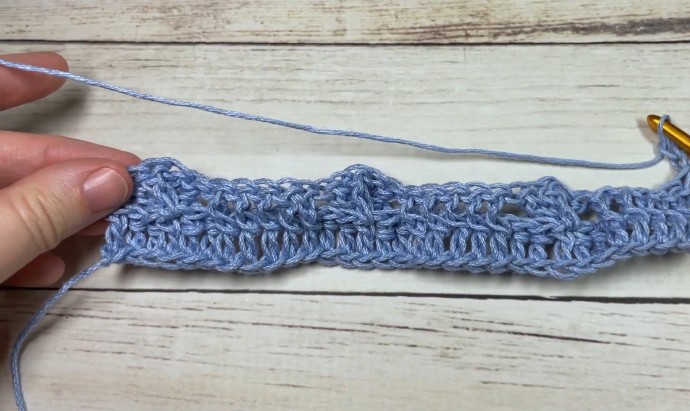
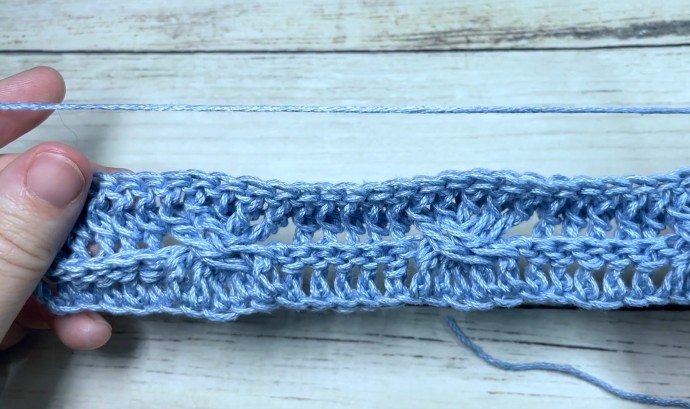
This Slanted Brick Stitch crochet pattern features a lot of texture created by a variety of crochet stitches.
The fabric that is created is thick with the texture being all to one side. But I would not let this keep me from using it in some cozy crochet blankets!
I have classified this as an intermediate crochet stitch pattern due to the variety of stitches in it and their placement. You will be working front and back post stitches, working in front of stitches and in behind! This crochet stitch pattern features a lot of variety!
Learn how to crochet the Slanted Brick Stitch with this photo tutorial.
Materials
- 100% cotton yarn
- 5 mm crochet hook
Abbreviations
- Bpdc – Back Post Double Crochet
- Ch – Chain
- Fptr – Front Post Triple/Treble Stitch
- Hdc – Half Double Crochet Stitch
- Rpt – Repeat
- Yo – yarn over
Instructions
To begin you will make a foundation chain. For this pattern, you will need a multiple of five stitches, plus four (5+4) stitches for your foundation chain.
For example, ch 39.
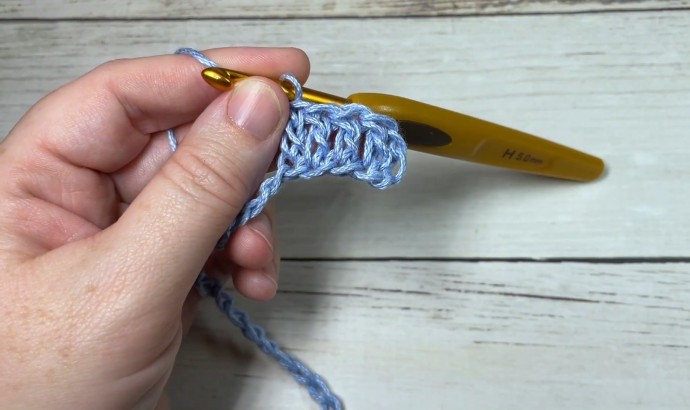
Row One: Dc in the 4th ch from your hook and in each ch across, Ch 2, turn. (Note: the chain 2 will count as a stitch)
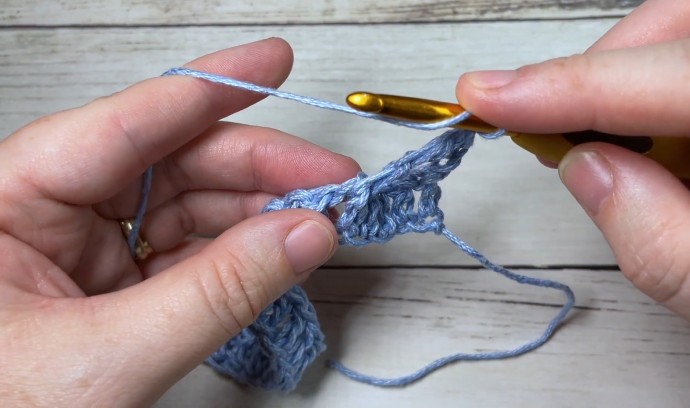
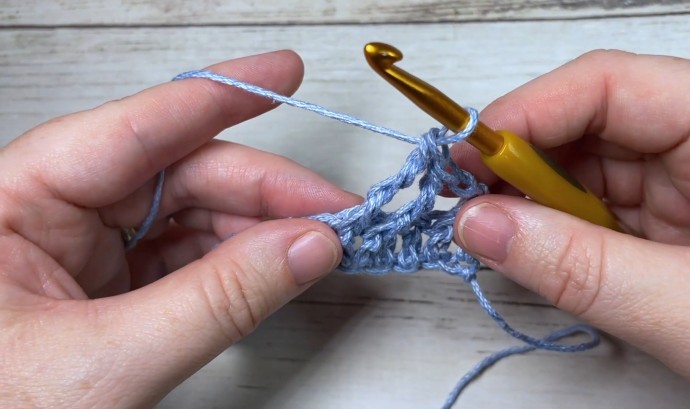
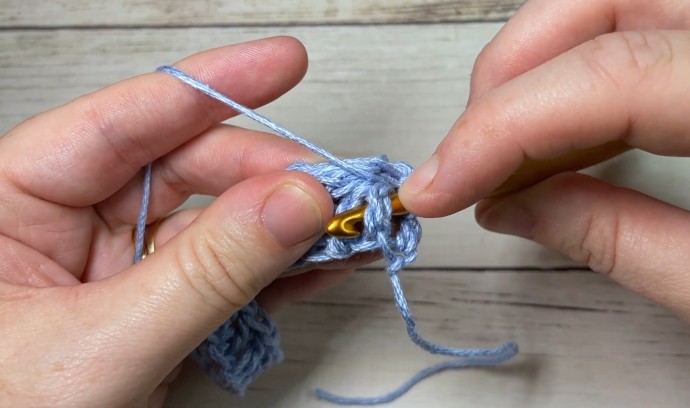
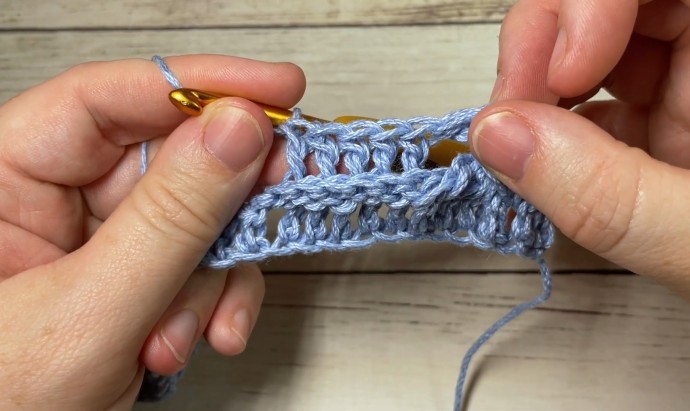
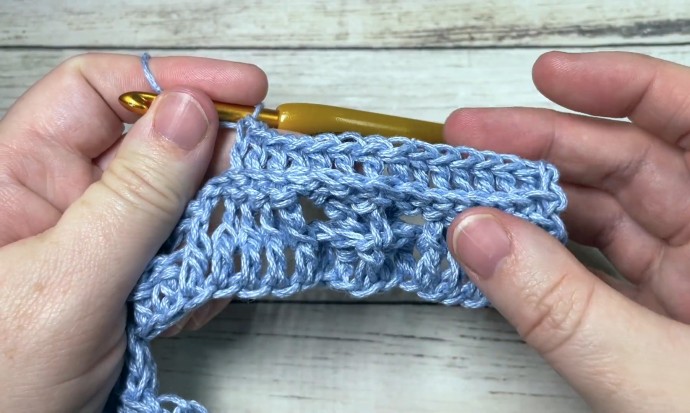
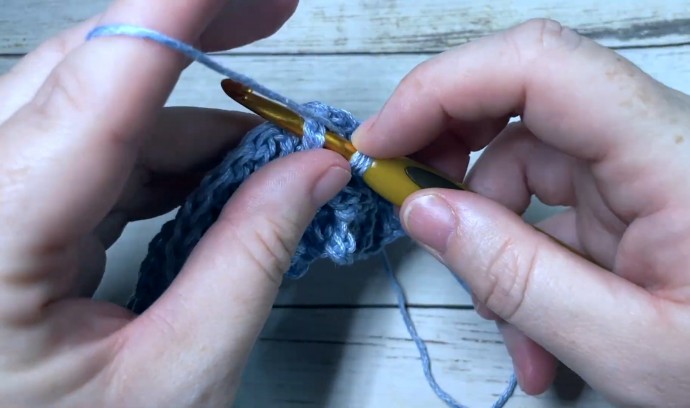
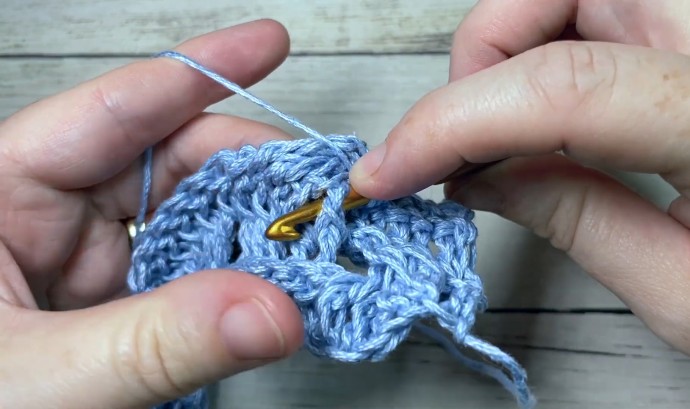
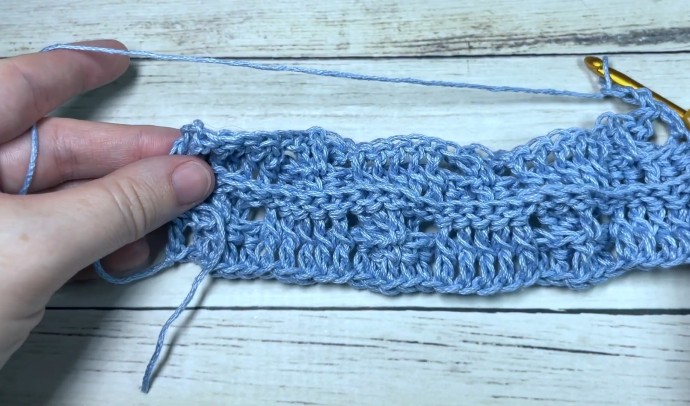
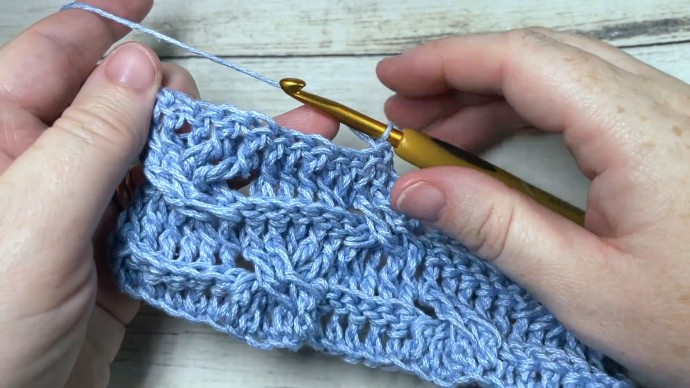
Row Two: Sk the next 3 sts, *fptr around each next 2 sts, now working in behind, sk the 1st 2 skipped sts and dc in the next st, now working in front, fptr around each of the 1st 2 skipped sts, bpdc in each of the next 5 sts, sk the next 3 sts and repeat from * across until 6 sts remain, bpdc in each of the next 5, dc in the turning ch, ch 2, turn.
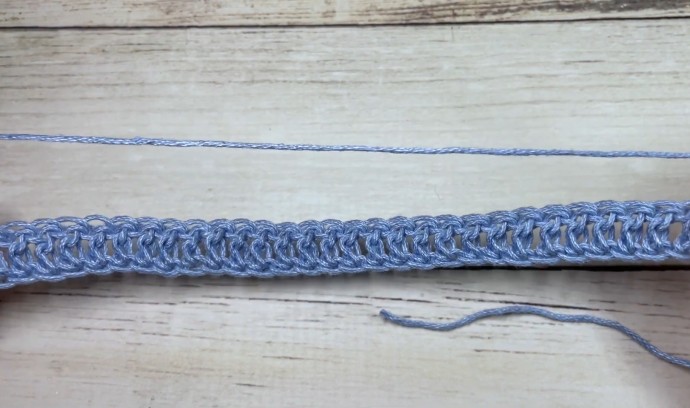
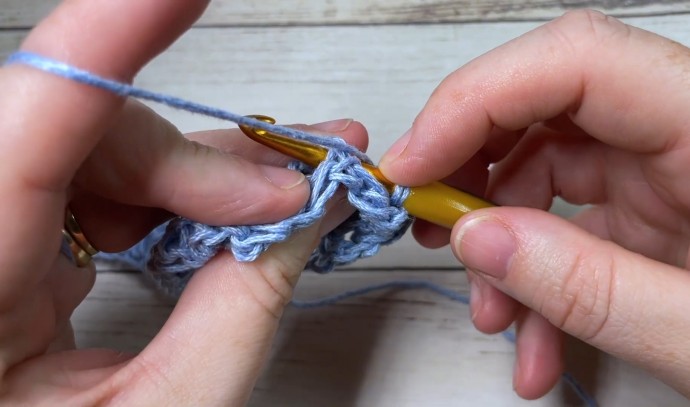
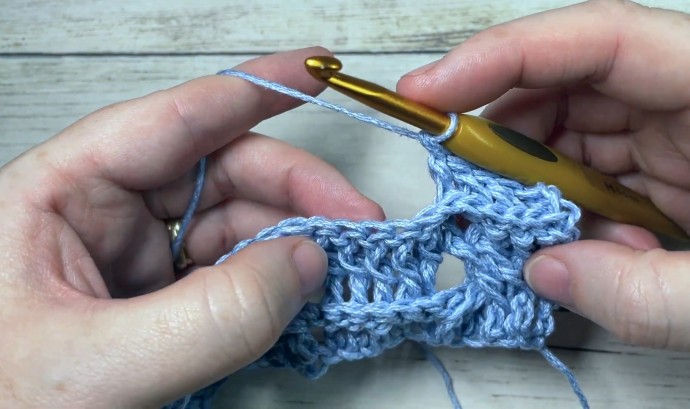
Row Three: Bptr in the next st and in each st across to the final st, dc into the top of the turning ch, ch 2, turn.
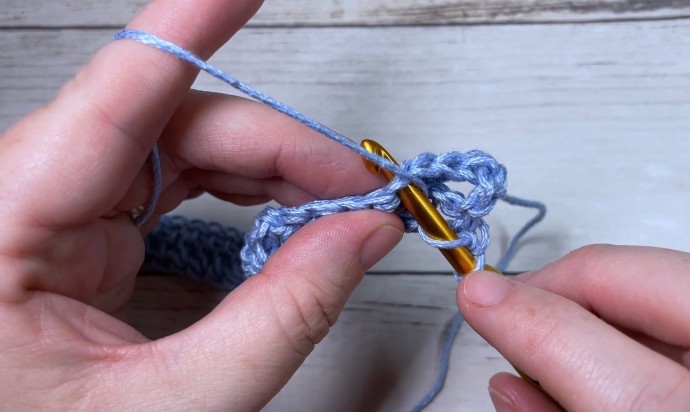
Row Four: Bptr in each of the next 5 sts, sk the next 3 sts, *fptr around each next 2 sts, now working in behind, sk the 1st 2 skipped sts and dc in the next st, now working in front, fptr around each of the 1st 2 skipped sts**, bpdc in each of the next 5 sts, sk the next 3 sts and repeat from * across ending last repeat at **, dc in the top of the turning ch, ch 2, turn.
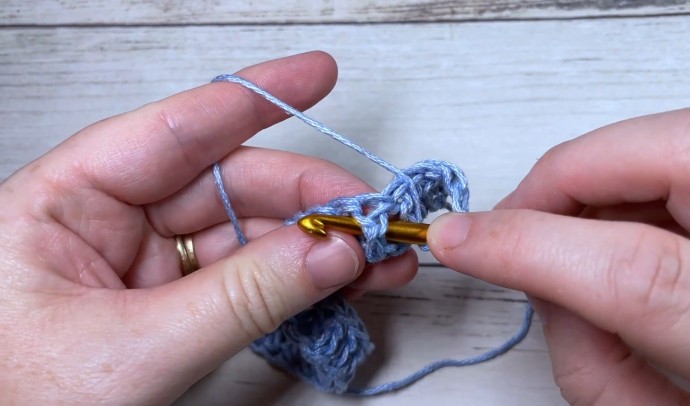
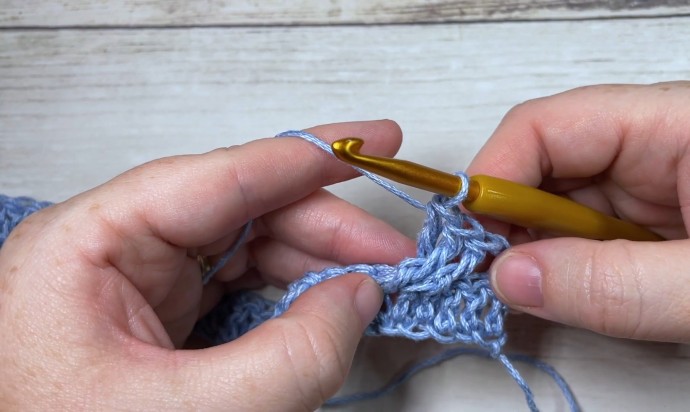
Row Five: Bptr in each st across, ch 2, turn.
And that’s it!
For the rest of the pattern, repeat rows 2-5. Fasten off, weave in your ends.