Crab Stitch Edging Tutorial

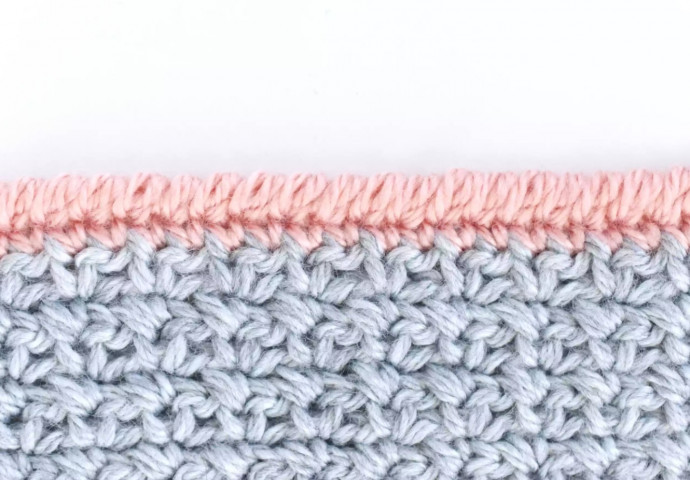
The crab stitch is definitely the easiest border stitch ever! It makes a great border for blankets, as well as hats, scarves, and other projects. The crab stitch has a scroll-like texture and is very quick to work! The crocheted crab stitch makes a great border for knits and crochet projects. The stitch looks like a twisted cord, but it's as easy as working simple crochet stitches in reverse order. Next time you're looking for a simple crochet edge for a blanket or hem, work backwards and add the crab stitch to your project! Here's a simple tutorial you can learn!
The crocheted crab stitch makes a great edging for knit and crochet projects. The stitch looks like a twisted cord, but it is as simple as working simple crochet stitches in reverse. It is also called reverse single crochet stitch because each stitch is the same as a single crochet stitch, but you work in the opposite direction. If you are right-handed, the crab stitch goes from left to right, instead of right to left as in regular crochet. For left-handed crocheters, it will be reversed.
Since this border starts with a basic row or round of simple crochet, you can add it to almost anything you can work on, including stitches. It looks great if you use a contrasting color, but for a more subtle look, use the same color and just show the change in texture.
Instructions
Step 1 Work the basic row
Start the crab stitch edging with a basic row or round of single crochet stitches. Use a crochet hook that is appropriate for the yarn you are using. If you are adding to a crochet project, you can work with the same size crochet hook you have been working with.
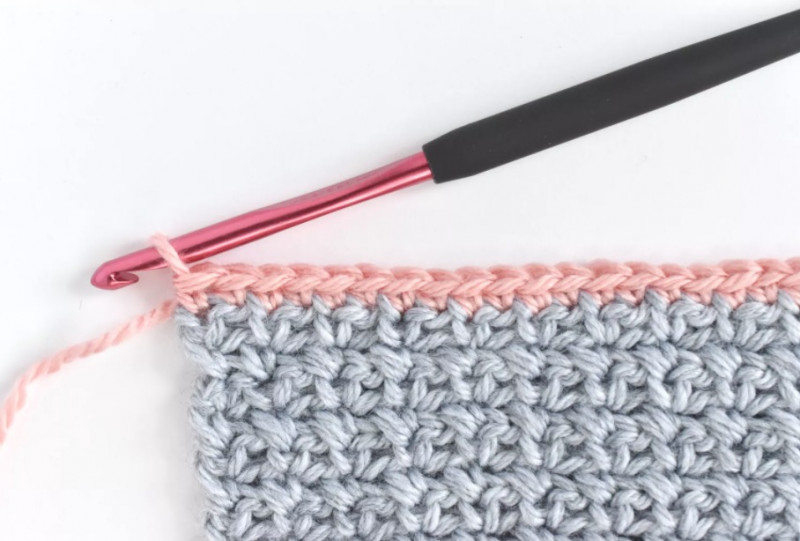
Step 2. Start the first crab stitch
Without turning the work, insert the needle into the first single crochet stitch from front to back. This may feel a little awkward at first, but it will become more natural with time.
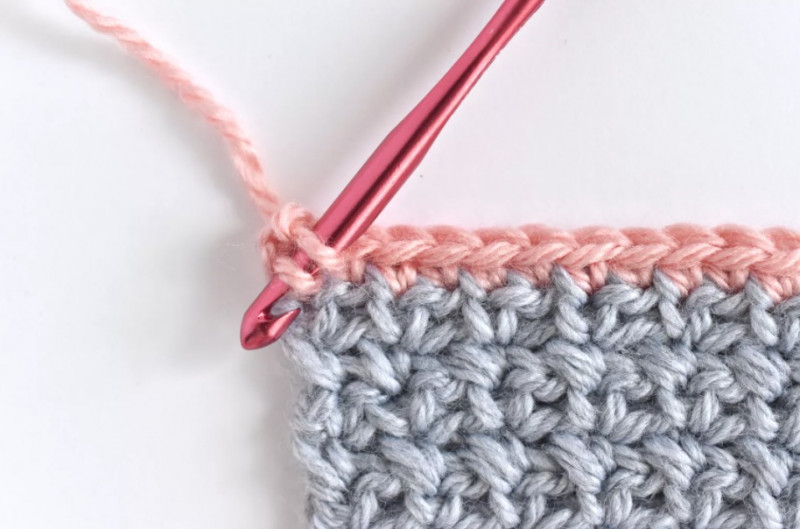
Step 3. Crochet around and create a loop
Place the yarn over the needle and pull on a loop. You should have two loops on the hook.
The process is the same as a normal single crochet stitch, but while you are drawing up the loop, it helps to turn the needle in a scooping motion. This will prevent you from accidentally catching an extra loop.
Step 4. Complete the first crab stitch.
Fold the yarn over and pull it through both loops. You should have one loop on the hook. This completes the first crab stitch. Adding more will reveal the cord look.
Step 5. Adding the next crab stitch
Insert the hook into the next stitch, wrap the yarn around and pull a loop. Gently pull the working thread on this and each subsequent crab stitch to tighten the previous stitch. This will keep the tension of the edging even and smooth.
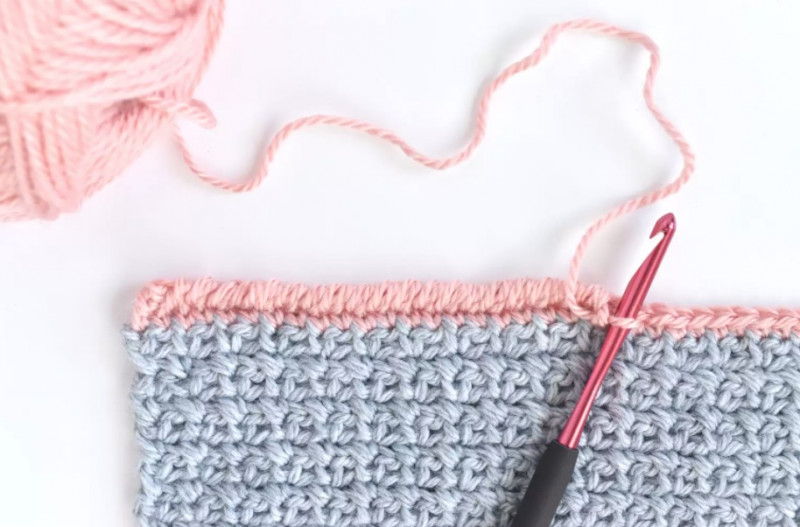
Step 6. Continue Adding Crab Stitch Edging
Work a crab stitch into each crochet stitch until you reach the end. Lock the yarn and weave in the ends.
Using crab stitch
- For a modern look, add crab stitches to two opposite ends of a blanket, such as a simple moss stitch baby blanket. Note that this stitch looks different on the front and back.
- Work a repeating single crochet edging on a blanket and finish it off with a round of crab stitch.
- Add this border to a non-knit or crochet project by starting with a border of blanket stitches and then working the single crochet stitches on top of the blanket stitches.
The crab stitch makes a great border for corrugated blankets because the stitch flows easily along the grooves.