Herringbone Single Crochet Stitch Photo Tutorial

The Herringbone Single Crochet is an interesting, gorgeous stitch.
Learn how to crochet this stitch with this comprehensive photo tutorial.
Materials
- worsted weight yarn
- crochet hook
Instructions
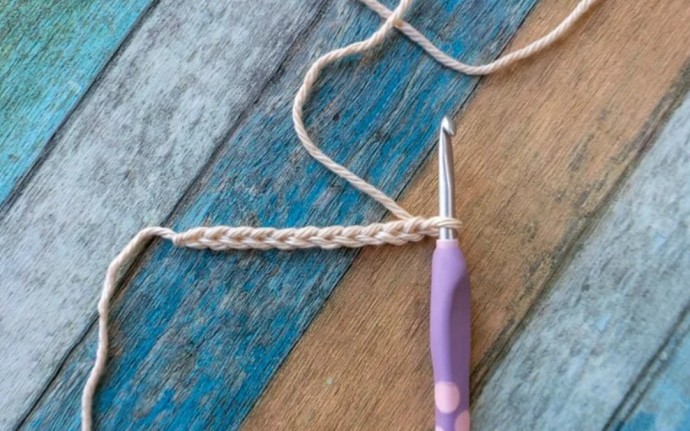
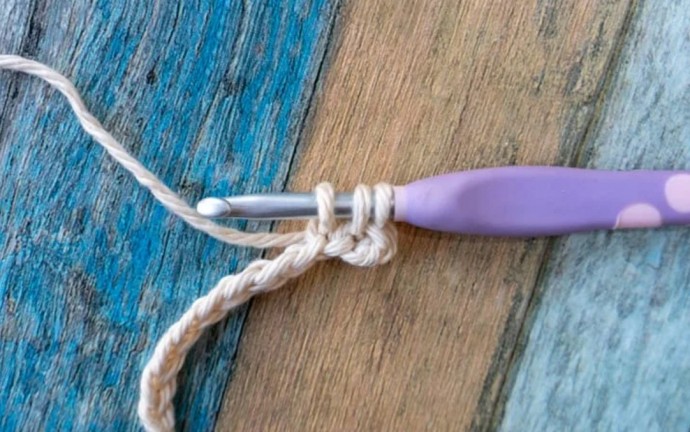
1. Start with ANY number of chains.
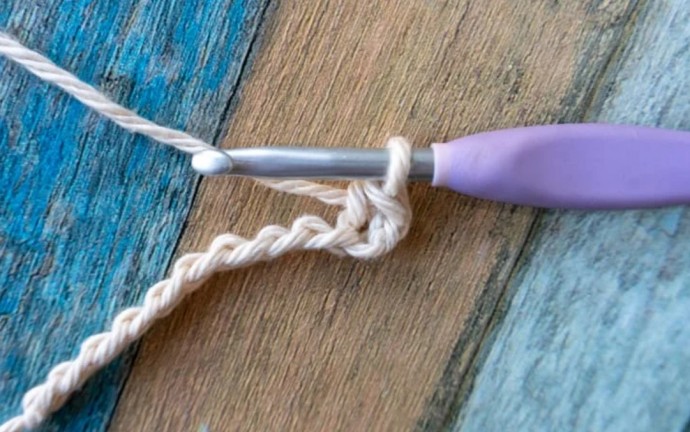
2. Single crochet in the second chain from the hook.
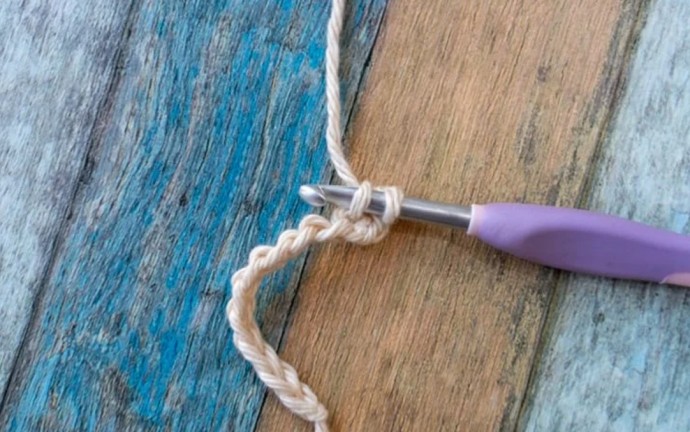
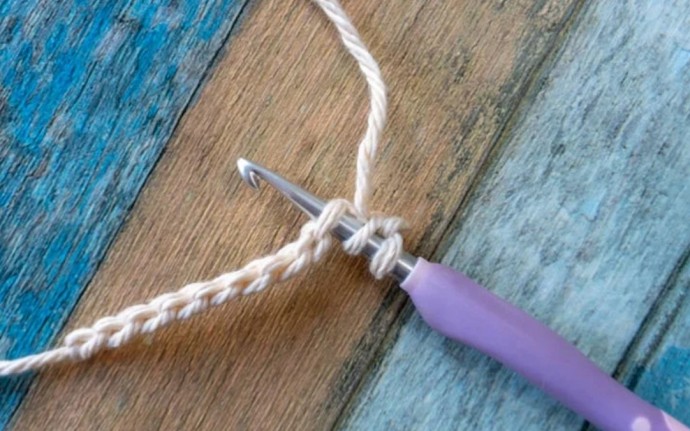
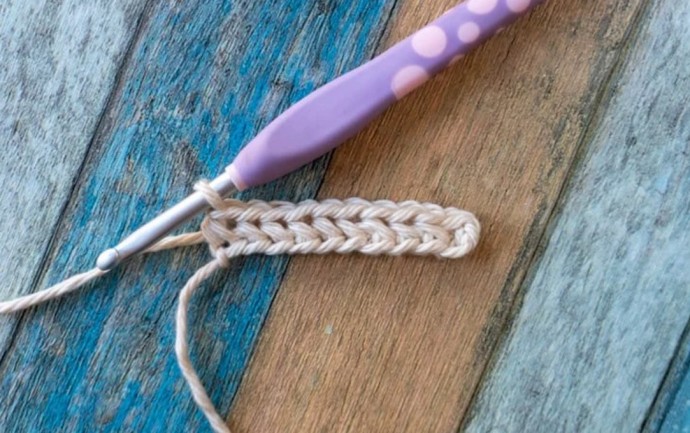
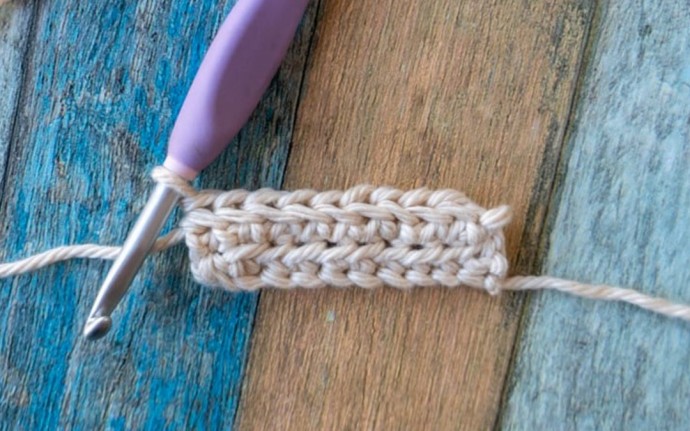
3. Hbsc across. To do so, insert hook into the left leg of the sc just made and directly into the next chain. (3 loops on hook). Yarn over and pull through all three loops. Continue across until no chains remain.
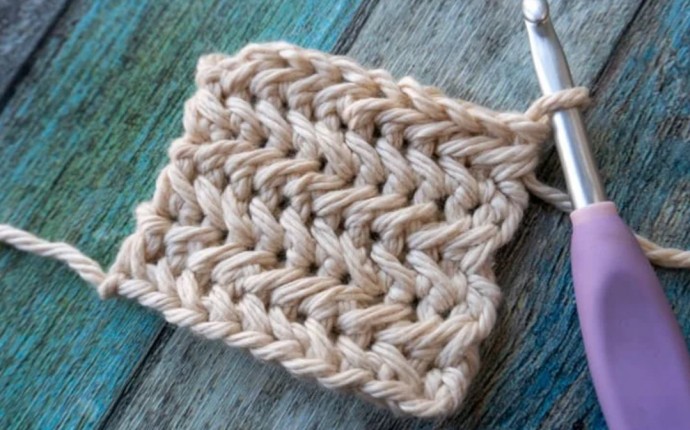
The other row in the two-row repeat is more tricky. I like to think of it as crocheting in reverse, or on the “Right Side” of the fabric while LOOKING at the “Wrong Side”. If you’re ambidextrous, you could simply crochet this row with your left hand.
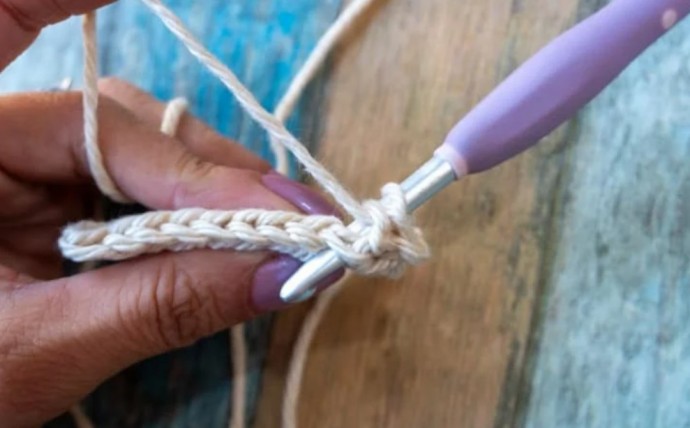
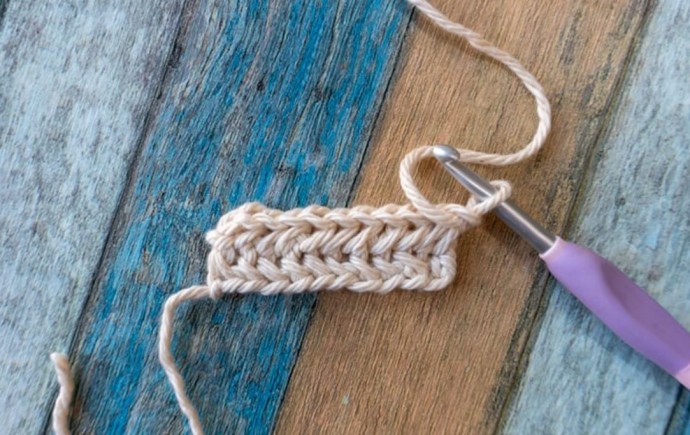
4. Chain one and turn. We are looking at the “wrong side” while crocheting on the “right side”. To do this keep the working yarn in front of the fabric and single crochet in the first stitch from the other side of the fabric.
5. Again working from the other side of the fabric, insert hook into the left leg of the sc just made and directly into the next stitch. (3 loops on hook). Yarn over and pull through all three loops. Continue across until you run out of stitches.
Now we will do the easier of the rows…
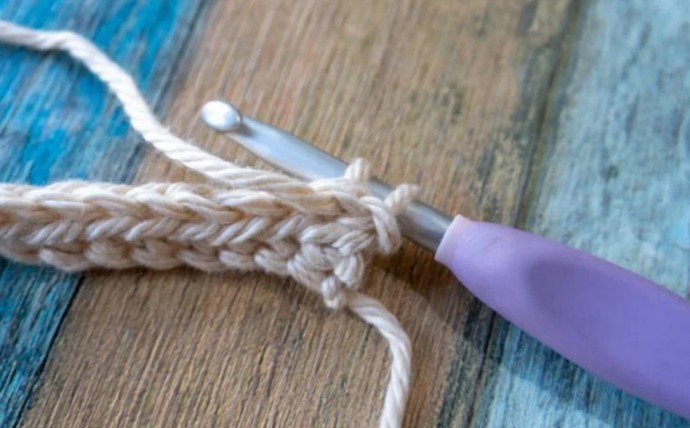
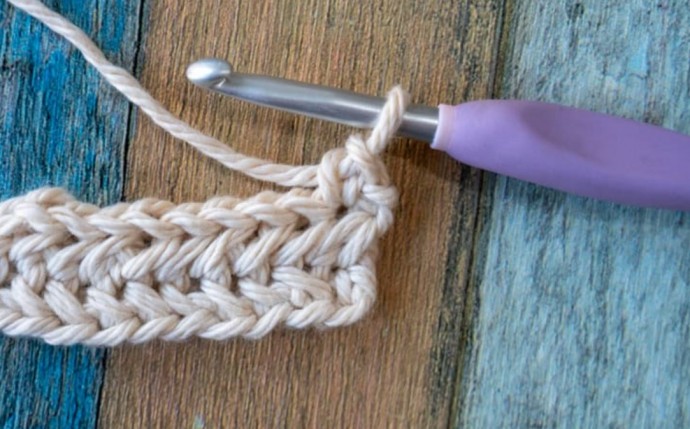
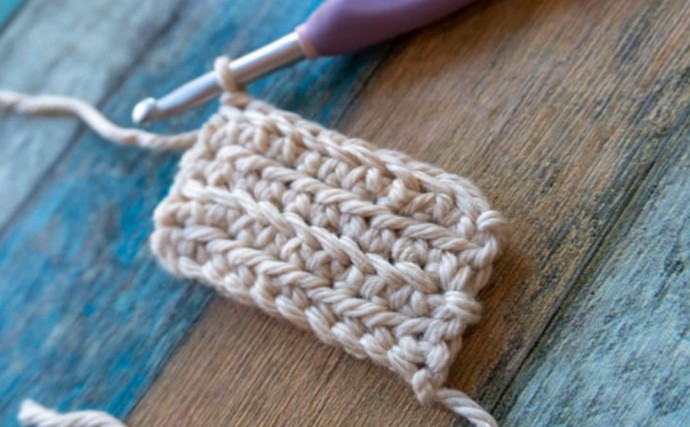
6. Chain one and turn, regular single crochet in the first stitch.
7. Hbsc in each st across.
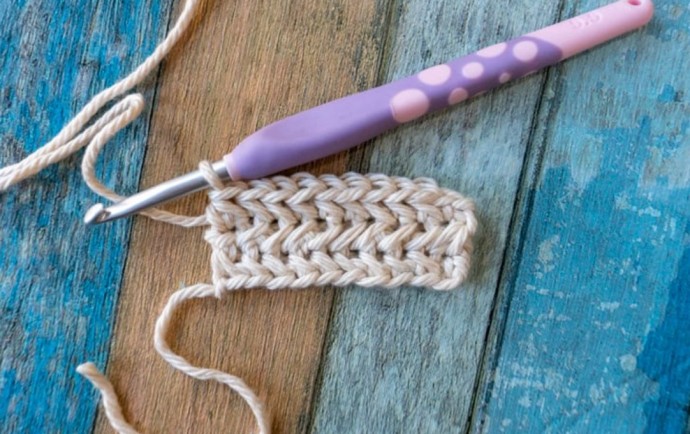
The two-row repeat is complete!
To continue to grow your crochet project using the Hbsc you’ll start over at step 4.
Once you get the hang of crocheting on the RIGHT side of fabric while looking at the WRONG side it become much easier! Tension on that row is the hardest to master since our fingers aren’t used to crocheting that way. I also find it helpful to keep the size of the loops as consistent as possible when doing the reverse rows.