How to Crochet the Slanted Puff Shell Stitch Photo Tutorial

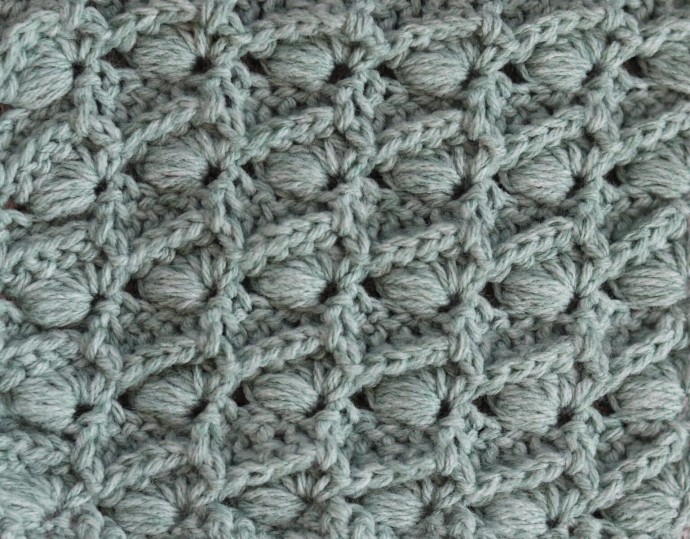
The Slanted Puff Shell stitch crochet pattern features an eye catching texture that would look stunning in larger projects where the texture is on full display!
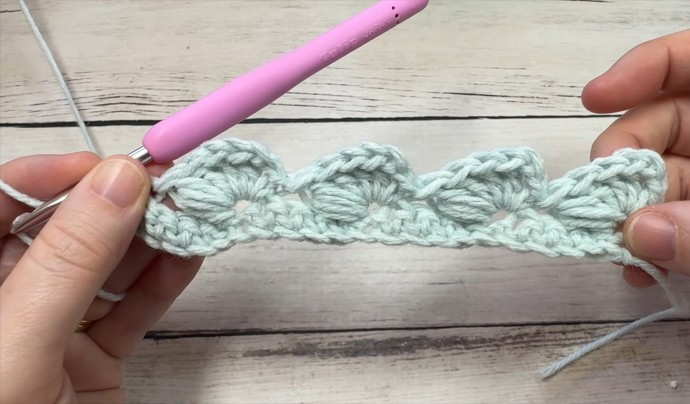
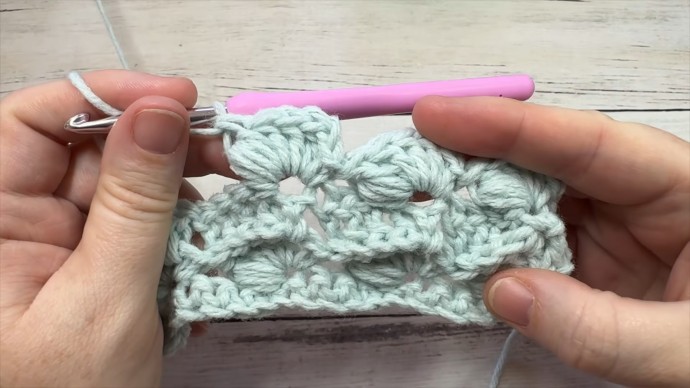
The Slanted Puff Shell stitch features all the texture to the front side and is worked as a two row repeat. For the first row you will work a combination of puff stitches alongside a double crochet stitch shell. Then, for the return row, you will work a row of front post double crochet.
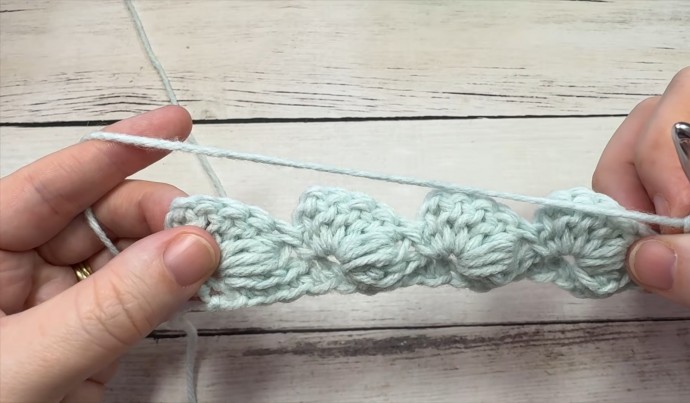
The result is absolutely beautiful with textured shell stitches that look as though they are set back into the fabric.
The finished item is quite thick, but is not too stiff. You could use the stitch in a variety of projects including blankets and cardigans. You may also wish to experiment with colour and the yarn weight.
Materials
- worsted weight yarn
- 5 mm (H/8) crochet hook
Abbreviations
- Ch – Chain
- Fpdc – Front Post Double Crochet
- Puff – Puff Stitch
- Rpt – Repeat
- Sc – Single Crochet
- Sk – Skip
- Sl st – Slip stitch
- Sp – Space
- Yo – Yarn over
Special Stitches
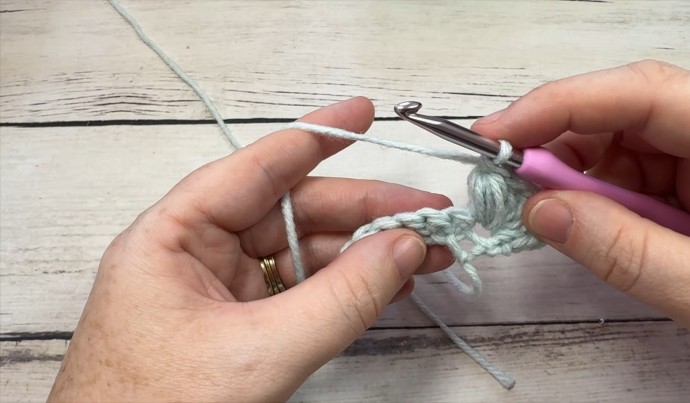
Puff Stitch - [yo, insert your hook into the indicated st, yo and draw up a loop] 4 times, yo and draw through all but one loop on your hook, yo and draw through the remaining 2 loops. Puff stitch made.
Notes
This stitch is worked in rows in this tutorial and it may be worked in one colour or many. I will be working this pattern in a single colour.
The turning ch-1 does not count as a stitch.
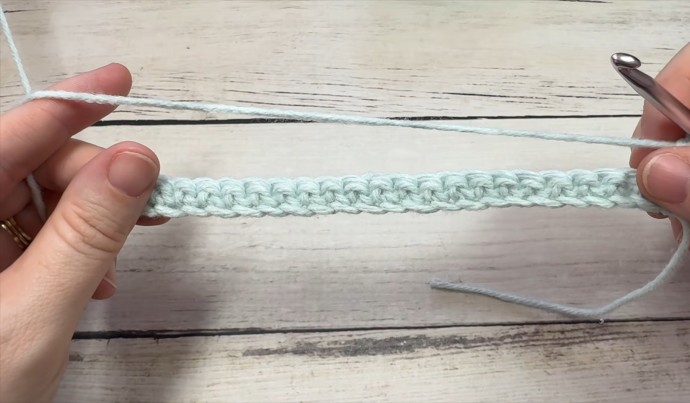
To begin, make a slip knot and make a foundation chain. For this stitch pattern, you will need a foundation chain with a multiple of 5 stitches, plus 2. For example, ch 32.
Instructions
Row One
Sc in the 2nd ch from your hook and in each st across. Ch 1, turn.
Row Two
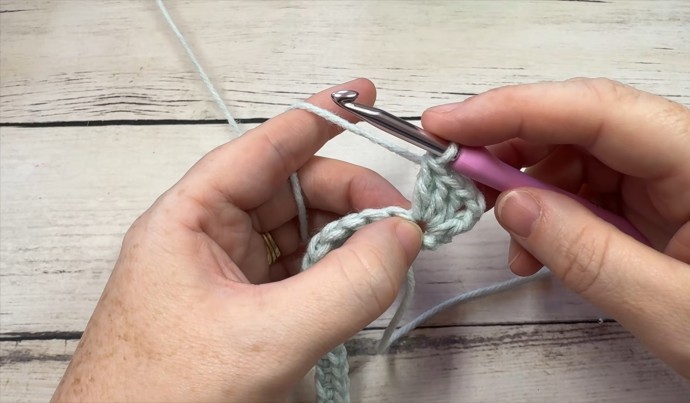
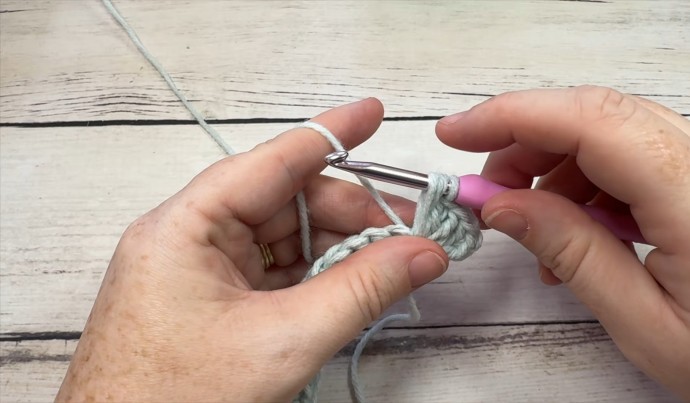
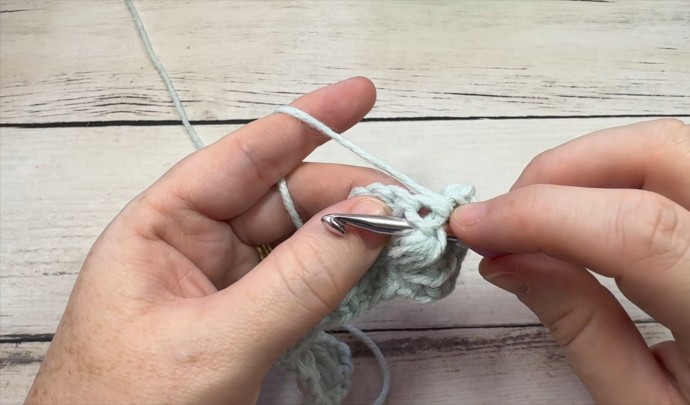
[Sc, ch 2, 3 dc, puff] in the 1st st, *sk the next 4 sts, [Sc, ch 2, 3 dc, puff] in the next st; rpt from * across until 5 sts remain, sk the next 4 sts, sc in the final st. Ch 1, turn.
Row Three
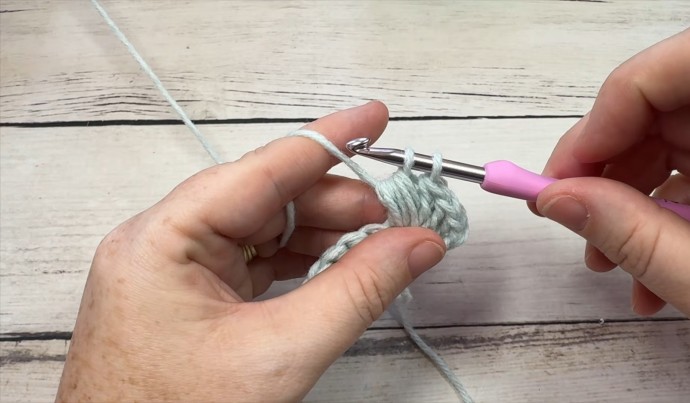
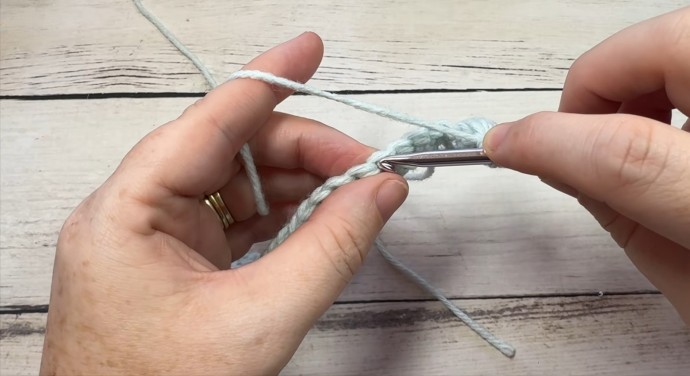
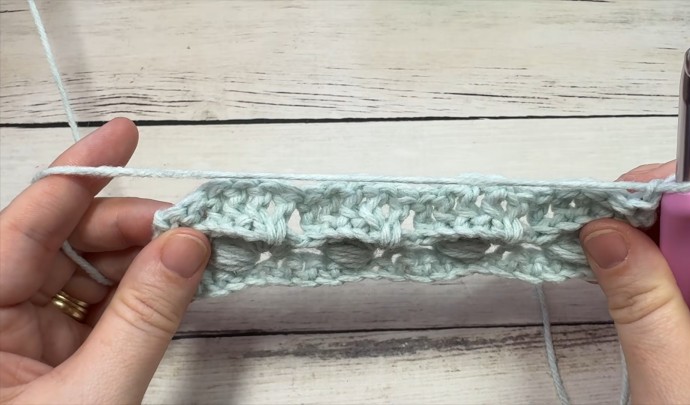
Sc in the 1st st, *fpdc in each of the next 4 sts**, dc in the next ch-2 sp, sk the next sc st; Rpt from * across ending repeat at **, complete the row with a sc in the final ch-2 sp. Ch 1, turn.
And that’s it!
For the rest of the pattern, simply repeat rows two and three. Fasten off, weave in your ends.