How to Crochet the Pumpkin Patch Stitch Photo Tutorial

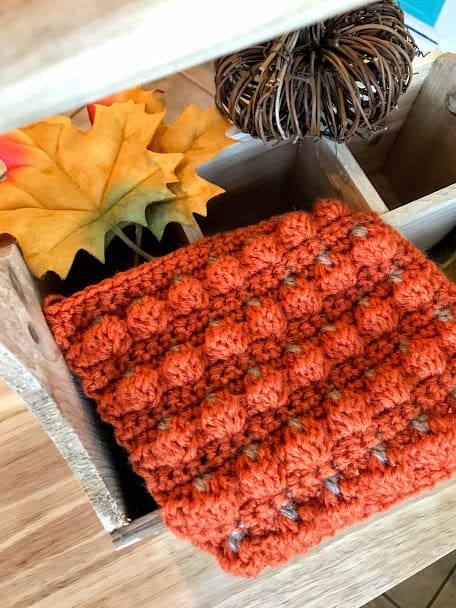
I am SO excited to share a new stitch pattern with you guys today…because it is such a fun one! We’ll get to mix some big bobbles and some color work for a unique effect…let’s learn together how to crochet the Pumpkin Patch stitch!
This is not your average pumpkin pattern…
When you search for “crochet pumpkin patterns” you’re probably thinking of an actual round, life-sized pumpkin.
I know there are a lot of patterns like that out there, which is why I wanted to create a stitch that is made up of a bunch of tiny little pumpkins instead!
This is a textured stitch obviously, but the pumpkin square itself will lay flat.
Personally, I think this stitch would look awesome made into a scarf or blanket!
Materials:
You can potentially use ANY yarn and hook for this stitch. However, here’s what I used:
- Red Heart Super Saver yarn (worsted weight)
- H/8 (5mm) crochet hook
Special Stitch:
Bobble: YO, insert hook into indicated st. *YO, pull up a loop, YO, pull through 2 loops. Rep from * 4 times more. YO, pull through all 6 loops on hook.
Notes:
- Stitch pattern is a multiple of 3+2
- Ch 1 at beginning of rows does NOT count as a sc OR a hdc
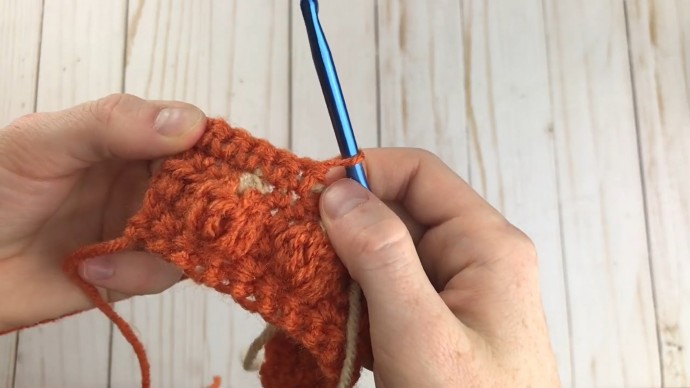
- Carry the orange throughout the entire square. As for the tan, you’ll only need it every few rows. You can choose to carry it throughout, or cut the yarn each row for a neater backside.
- Whenever you change colors, do so on the stitch BEFORE you need the new color. Simply finish the previous stitch by yarning over with the new color.
Instructions:
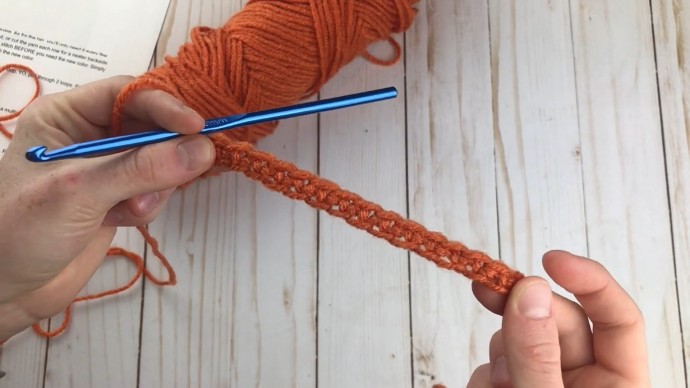
Fsc a multiple of 3+2 (to start with a chain stitch, you’ll need a multiple of 3, and then one row of single crochet).
Row 1: Ch 1, sc in ea st across. Turn.
Row 2: Ch 1, hdc in first 2 sts. *Bobble in next st, hdc in next 2 sts. Rep from * across, turn.
Row 3: Ch 1, sc in first st. *With CC, sc2tog over next st and middle of bobble. With MC, sc in next 2 sts. Rep from * across till 1 st left. Sc in last st, turn.
Row 4-5: Ch 1, sc in ea st across, turn.
Rep rows 2-5 for stitch pattern!
I hope you have enjoyed learning this fun stitch pattern.


