How to Crochet the Wavy Shell Stitch Photo Tutorial

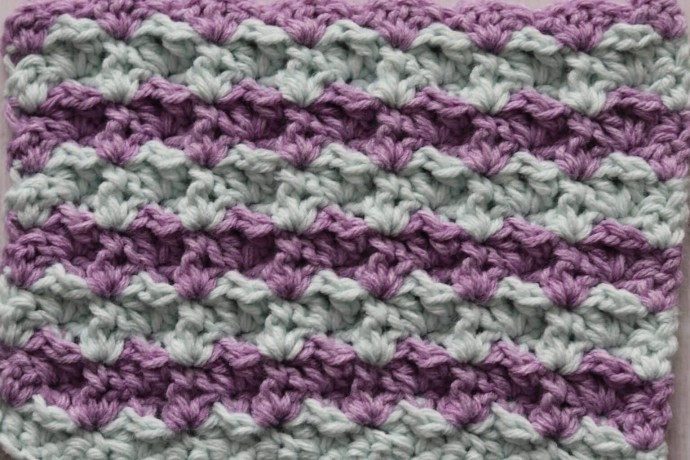
You will love the mesmerizing texture and colour work in this Wavy Shell Stitch crochet pattern!
There are a few things I love about the Wavy Shell Stitch.
First, I love that when the light hits it a certain way the stitch takes on a 3D look to it. This is created by the placement of some front post single crochet stitches.
I also love how striking and intriguing the pattern is when worked in multiple colours!
While the front and the back side are not completely identical, they are both still very pretty so I wouldn’t shy away from using this stitch in a double sided project such as a crochet blanket or a crochet scarf.
Learn how to crochet the Wavy Shell Stitch with this photo tutorial.
Materials
- worsted weight yarn
- 5 mm (H/8) crochet hook
Abbreviations
- Ch – Chain Stitch
- Dc – Double Crochet Stitch
- Fpsc – Front Post Single Crochet
- Rpt – Repeat
- Sc – Single Crochet
- Sl St – Slip Stitch
- Yo – Yarn Over
Notes
- This stitch is worked in rows in this tutorial and it may be worked in one colour or many. I will be working this pattern in two colours labelled A and B.
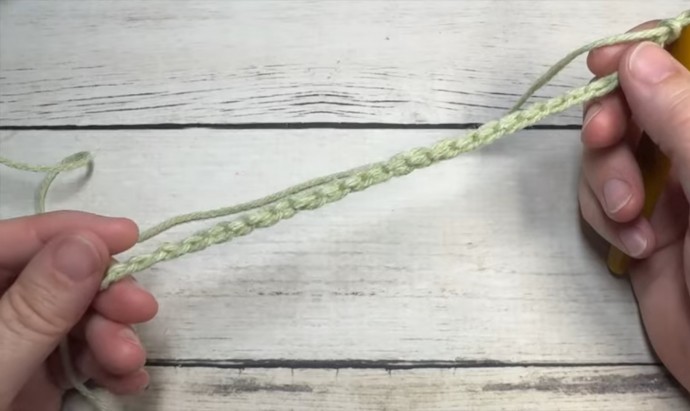
- To begin, with colour A, make a slip knot and make a foundation chain. For this stitch, you will need a multiple of four stitches for your foundation chain, plus 2 (4+2).
Instructions
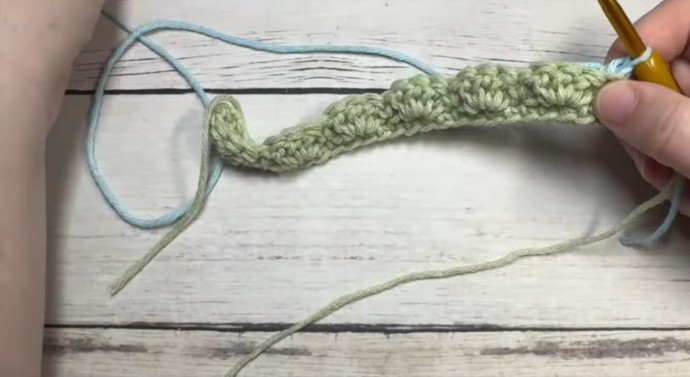
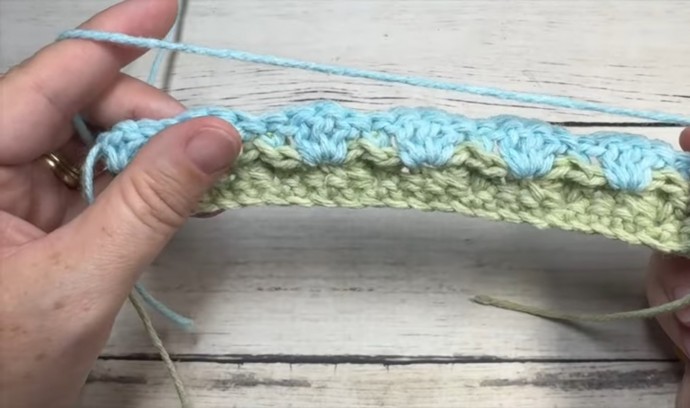
With colour A, ch 30.
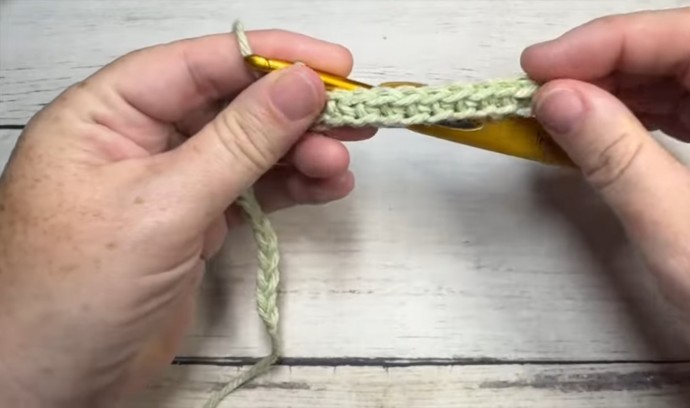
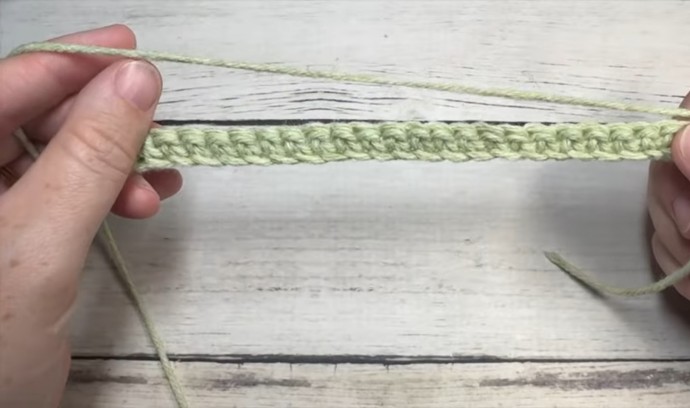
Row One: Sc in the 2nd ch from your hook and in each st across. Ch 1, turn.
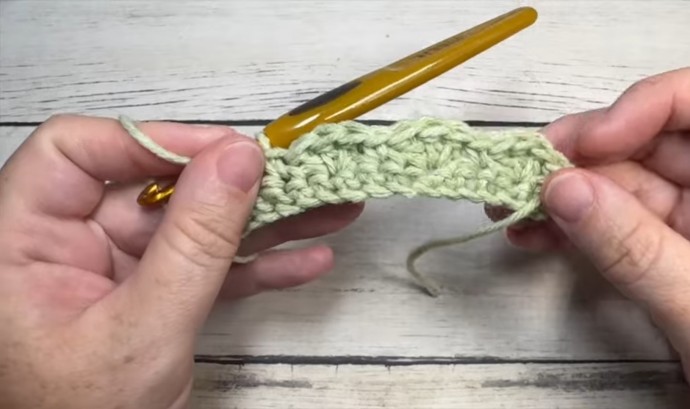
Row Two: Sc in the 1st st, *sk the next st, 3 dc in the next st, sk the next st, sc in the next st; Rpt from * across. Ch 1, turn. (Switch to colour B)
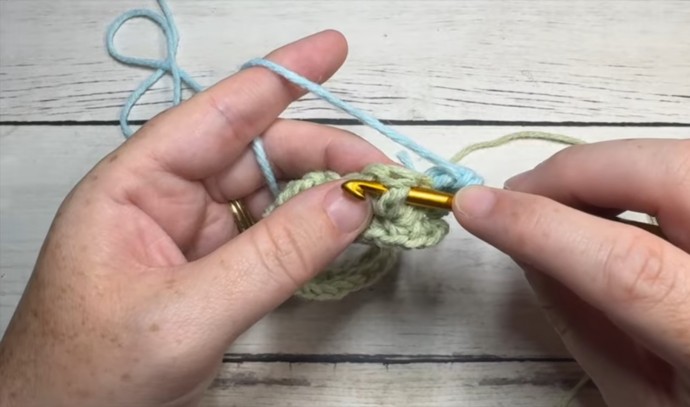
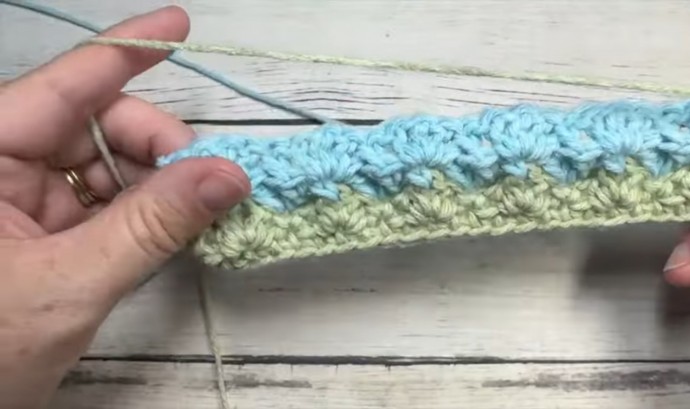
Row Three: 2 dc in the 1st st, sk the next st, fpsc in the next st, *sk the next st, 3 dc in the next sc, sk the next st, fpsc in the next st; Rpt from * across, ending with 2 dc in the final st. Ch 1, turn.
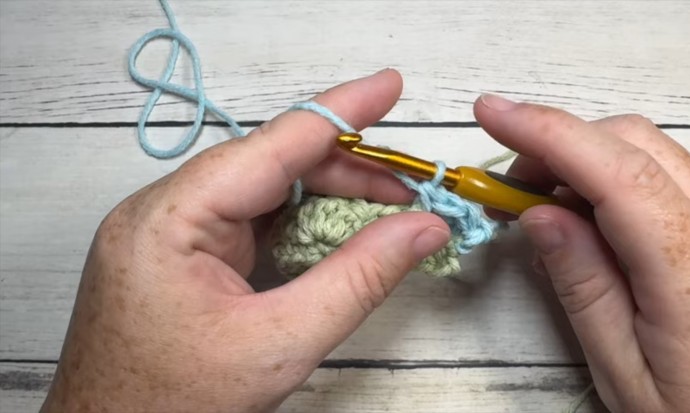
Row Four: Sc in the 1st st, *sk the next st, 3 dc in the next st, sk the next st, fpsc in the next st; Rpt from * across. Ch 1, turn. (Switch to colour A)
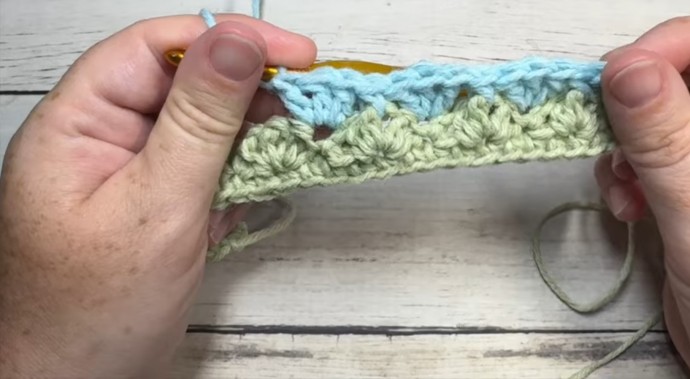
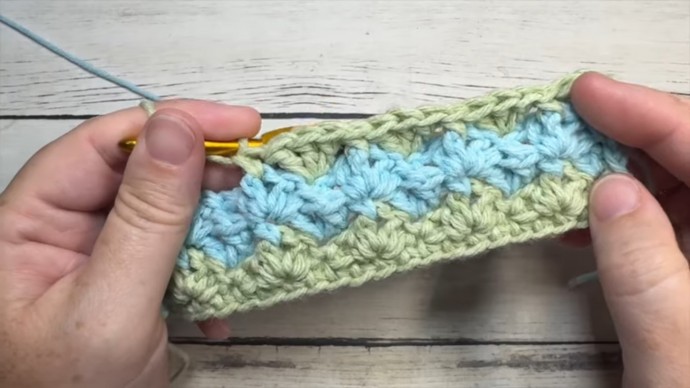
And that’s it!
Repeat rows 3 and 4 alternating colours every 2 rows.