How to Crochet the Honeycomb Waffle Stitch Photo Tutorial


Learn how to crochet this fun Honeycomb Waffle Stitch with its easy single and double crochet stitch texture!
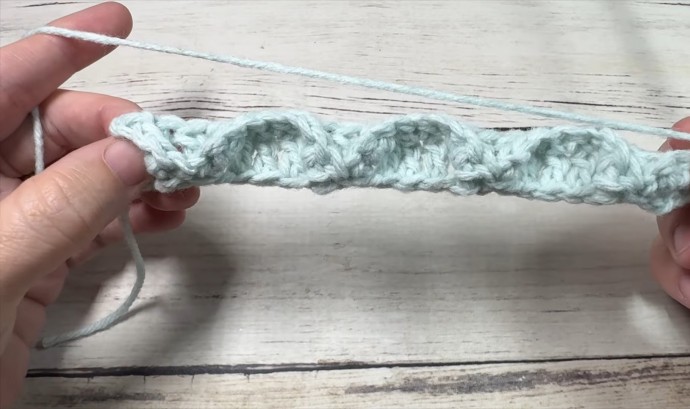
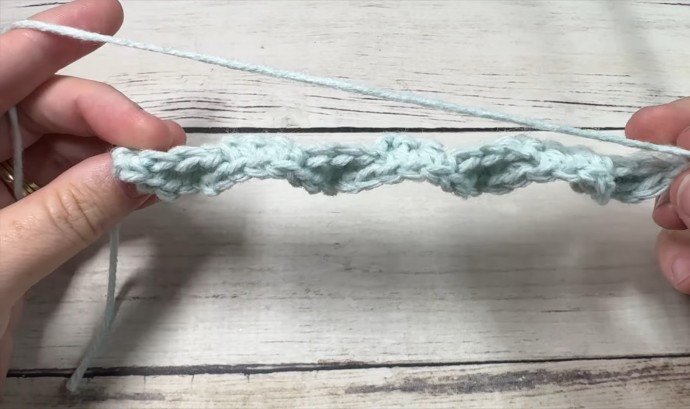
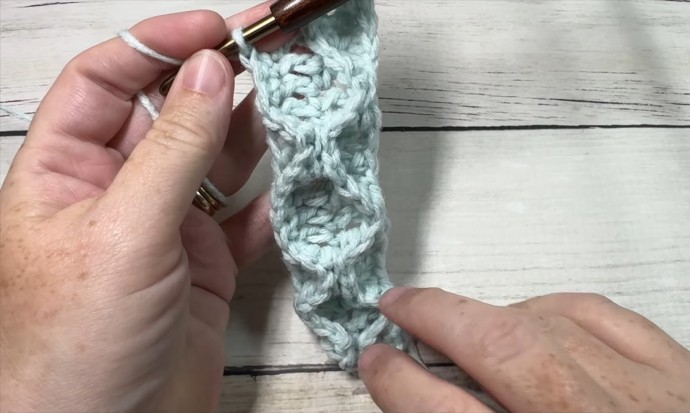
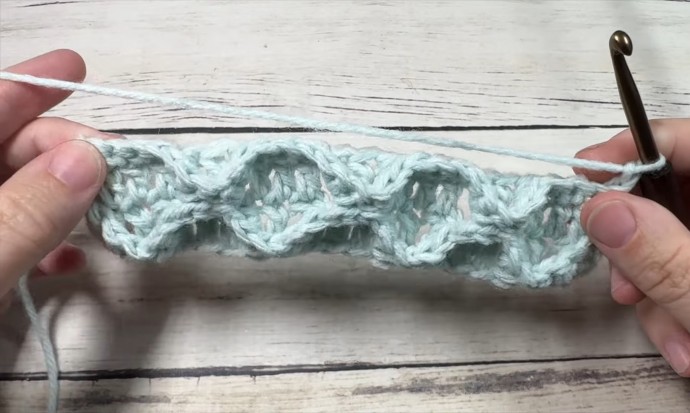
The structure of this Honeycomb Waffle Stitch reminds me of the popular Crocodile Stitch crochet pattern. The stitch itself features a combination of single and double crochet stitches, the single crochets being worked around the posts of the double crochet stitches below.
It sounds a bit complicated, especially at first, but once you get the hang of turning your work, it will be a stitch that you love.
Learn how to crochet the Honeycomb Waffle Stitch with this photo tutorial.
Materials
- worsted-weight yarn
- 5 mm (H/8) crochet hook
Abbreviations
- Ch – Chain Stitch
- Dc – Double Crochet
- Rpt – Repeat
- Sc – Single Crochet
- Sl St – Slip Stitch
- Yo – Yarn Over
Notes
- This stitch is worked in rows in this tutorial and it may be worked in one colour or many. I will be working this pattern in a single colour.
Instructions
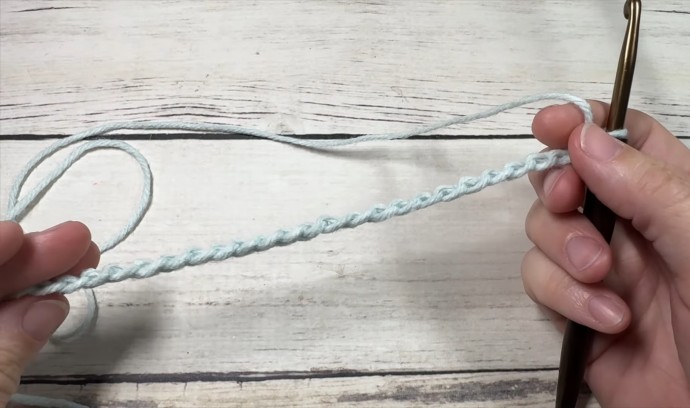
To begin, make a slip knot and make a foundation chain. For this stitch, you will need a multiple 6 chain stitches, plus 1 for your foundation chain.
For example, ch 31.
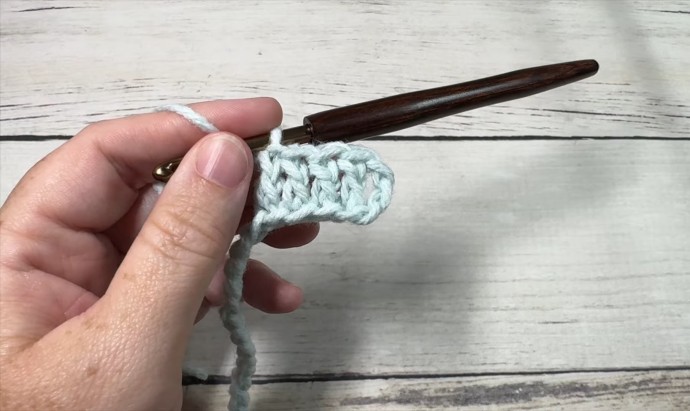
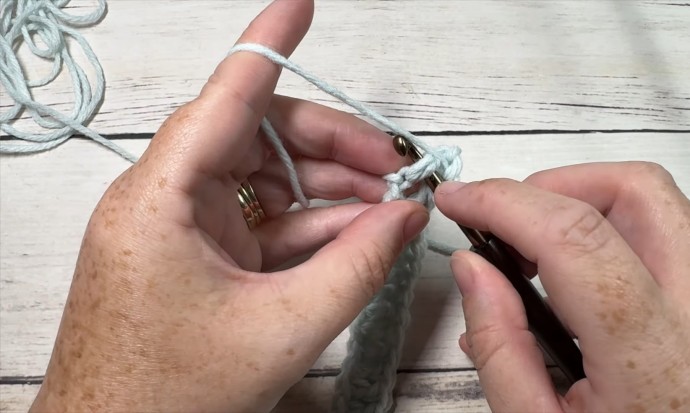
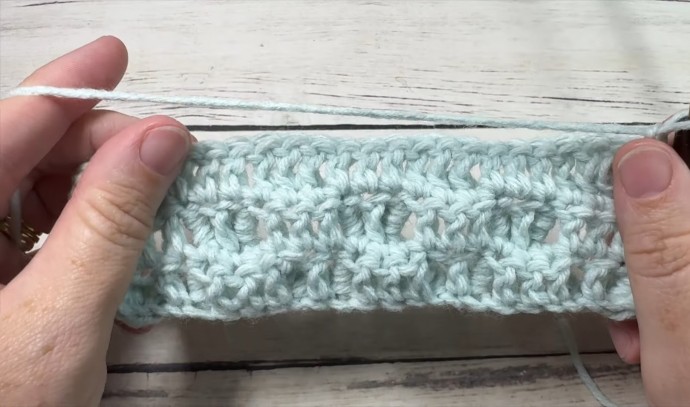
Row One: Dc in the 4th ch from your hook and in each st across, Ch 1 turn.
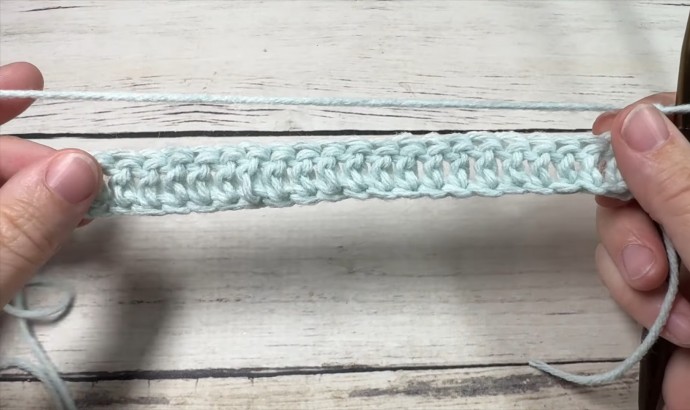
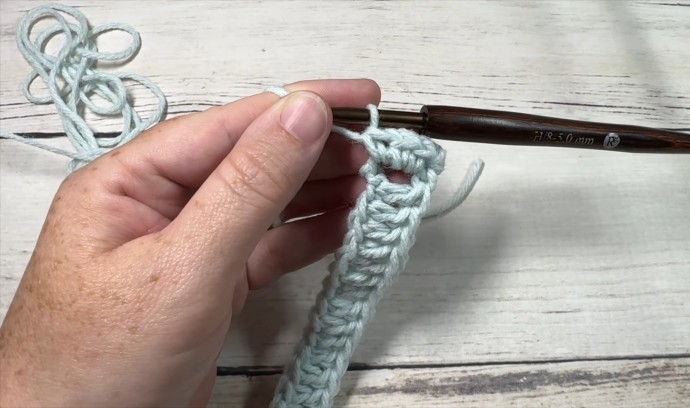
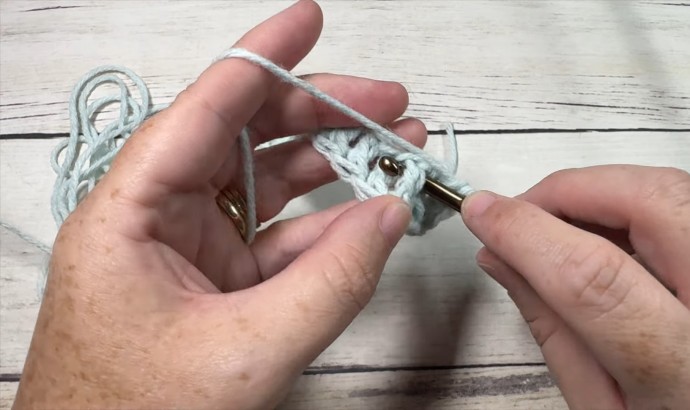
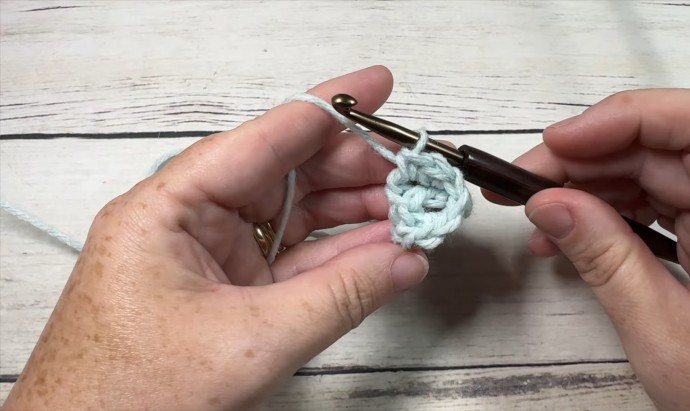
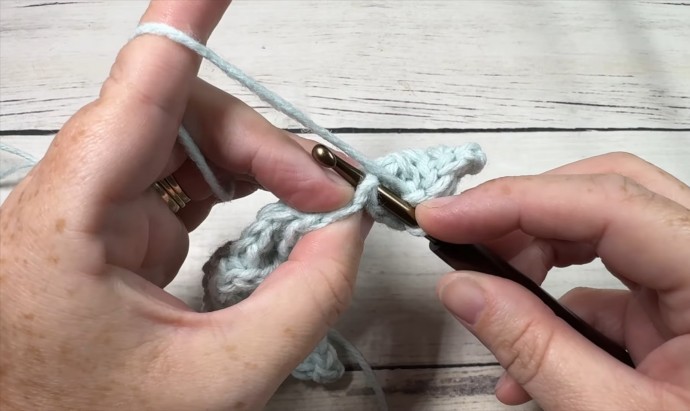
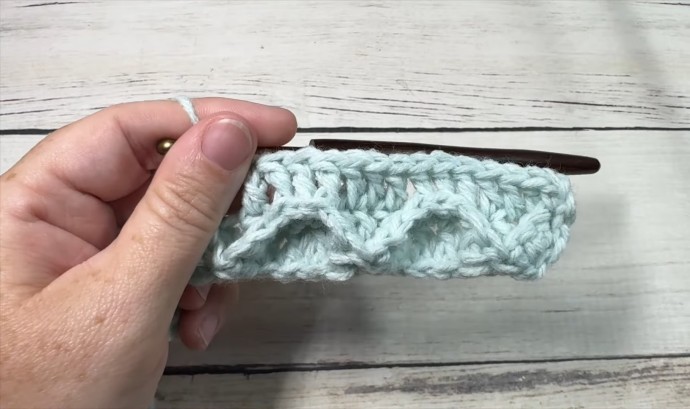
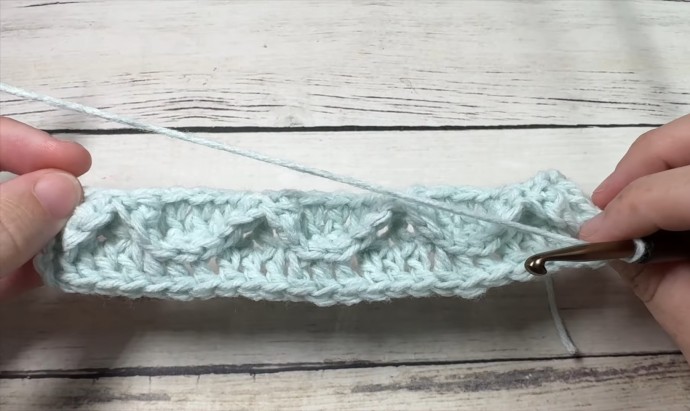
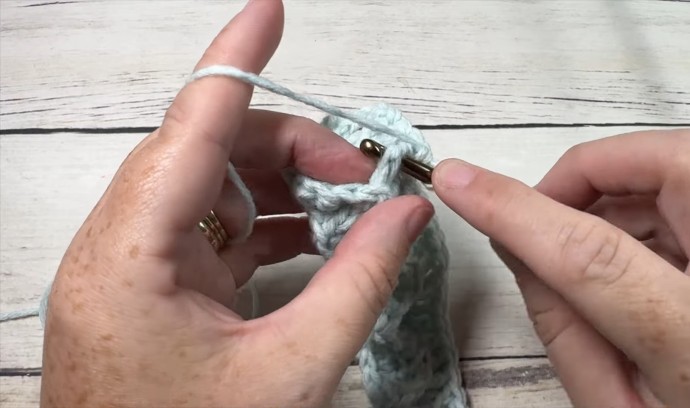
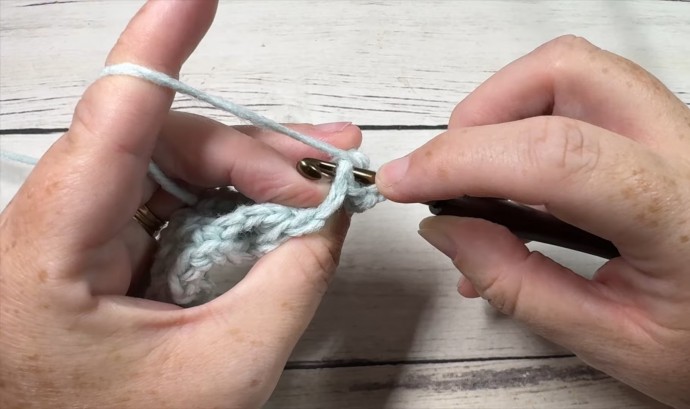
Row Two: Sc in the 1st st, *turn your work over, work 3 sc around the post of the next dc (working from the top of the stitch toward the bottom), turn your work clockwise, sk the next dc and work 3 sc around the post of the next dc (working from the bottom of the stitch toward the top), now turn so that you are once again working in the tops of your sts and sc in each of the next 3 dc; Rpt from * across ending with a sc in the top of the final st. Ch 1, turn.
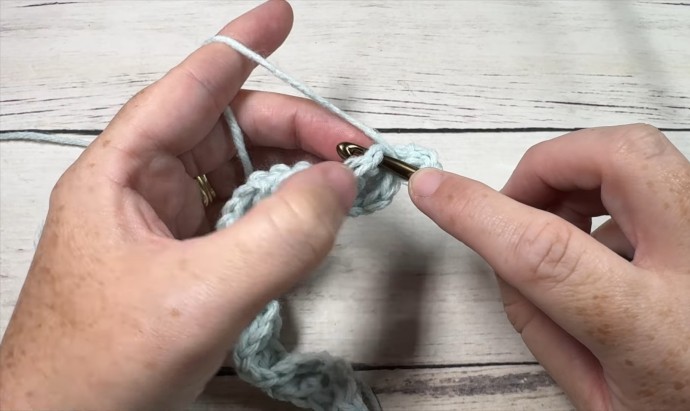
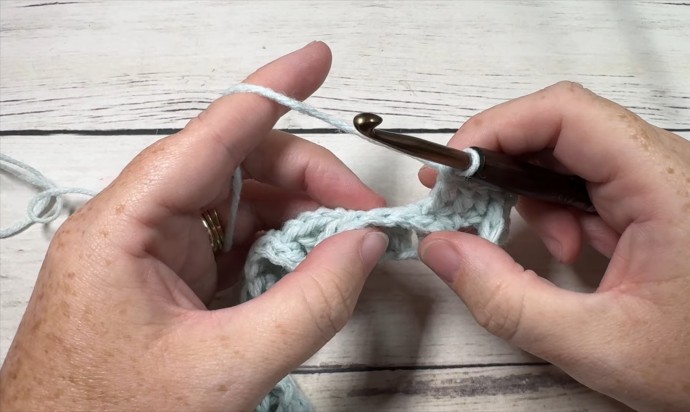
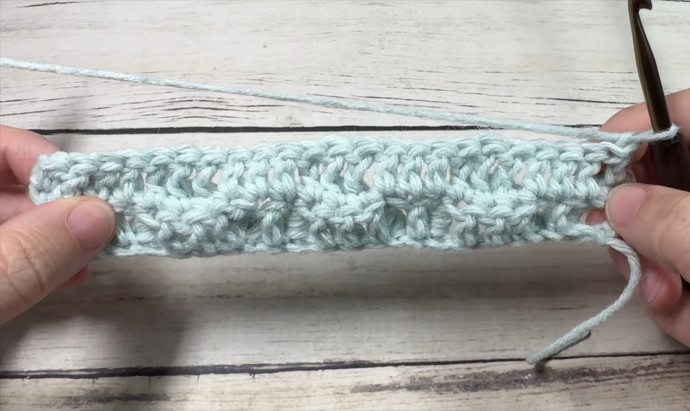
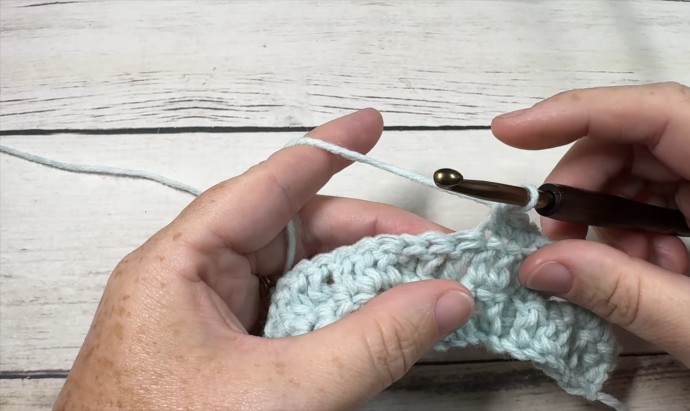
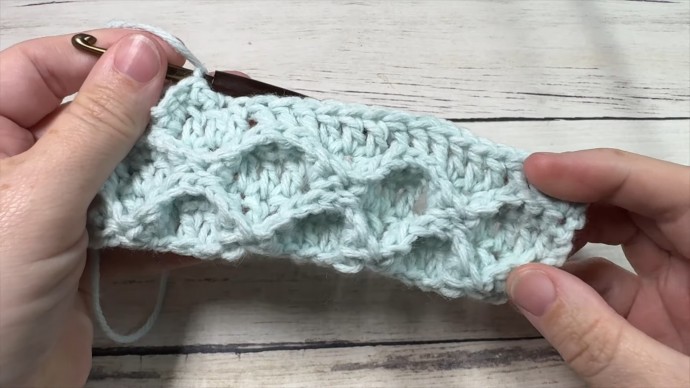
Row Three: Hdc in the 1st st, *dc in each of the next 3 dc sts 2 rows below, bpdc in each of the next 3 sc; Rpt from * across ending with an hdc in the top of the final sc. Ch 1, turn.
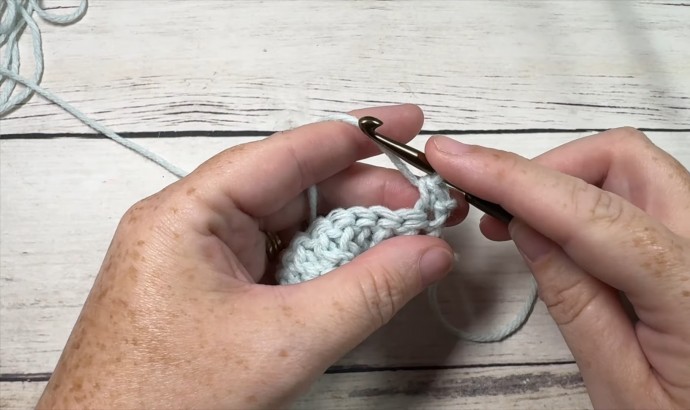
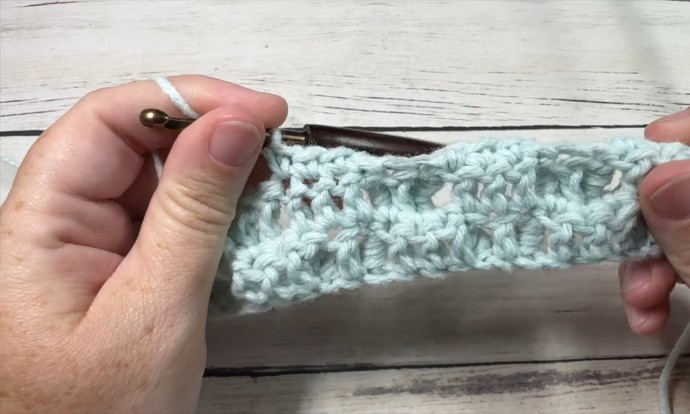
Row Four: Sc in the 1st st, *sc in each of the next 3 sts, turn your work over, work 3 sc around the post of the next dc, turn your work clockwise, sk the next dc and work 3 sc around the post of the next dc, now turn so that you are once again working in the tops of your sts and sc in each of the next 3 dc; Rpt from * across, sc in the top of the turning ch. Ch 1, turn.
Row Five: Hdc in the 1st st, *bpdc in each of the next 3 sc, dc in each of the next 3 dc sts 2 rows below; Rpt from * across to the final st, hdc in the final st. Ch 1, turn.
And that’s it!
For the rest of the pattern, repeat rows 2-5. Fasten off, weave in your ends.