Alpine Crochet Stitch Photo Tutorial

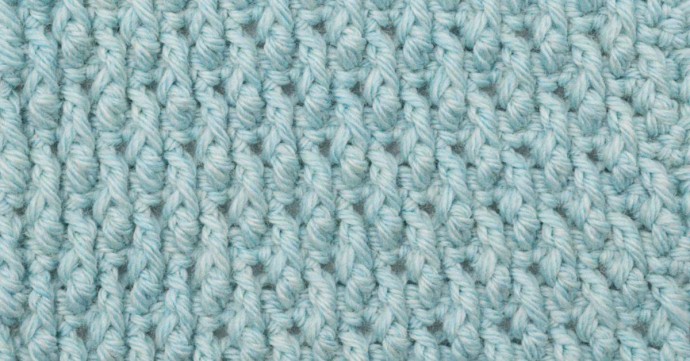
The Alpine Stitch tutorial showcase a beautiful and textured crochet stitch.
It creates a lovely stitch pattern that’s great for so many crochet pattern projects.
One thing to note about this stitch is the fact that it has a right side and a wrong side.
Learn how to crochet the Alpine Stitch with this photo tutorial.
Materials
- Crochet hook size: 5.5 mm / US: I-9 / UK: 5
- We Crochet – Swish Worsted. It’s a 4 medium / worsted yarn.
Abbreviations
- ch = chain(s)
- dc = double crochet
- FPdc = front post double crochet
- prev = previous
- sc = single crochet
- st = stitch(es)
- yo = yarn over
Special Stitches
Front Post Double Crochet Stitch: Yo, insert your hook from front to back between the prev st & the st you’re working, & bring it to the front again between the st you’re working & the next st, yo & pull up a loop, you have 3 loops on the hook, yo & pull through 2 of the 3 loops, yo and pull through the 2 last loops.
Notes
- This pattern is a stitch multiple of 2 stitches. Add 2 for base chain.
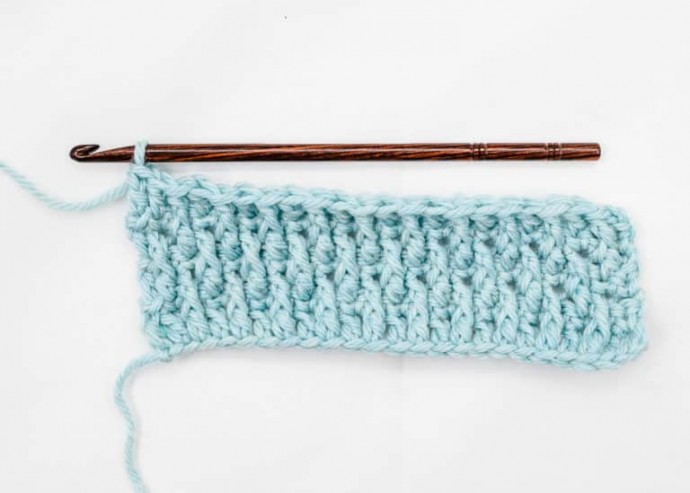
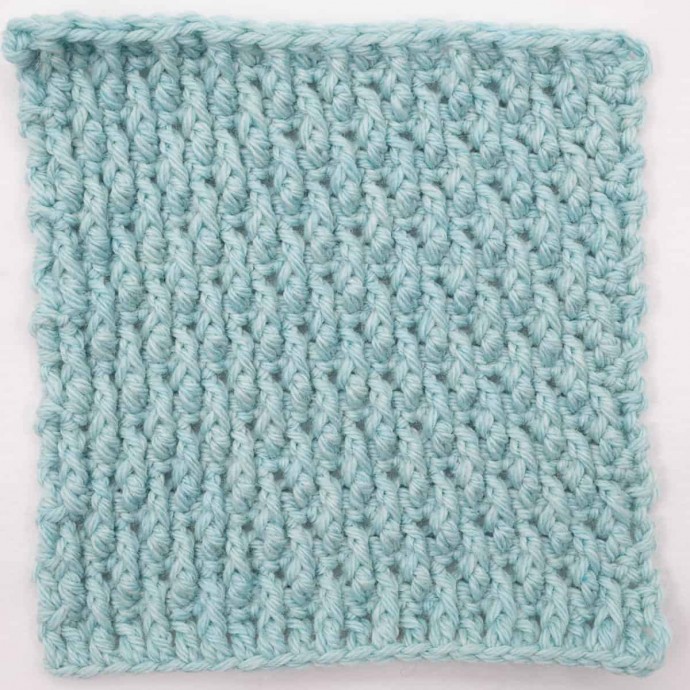
To Make a 15 cm x 15 cm / 6 x 6 Inch Square
- With the hook & yarn give, I crocheted: Ch 24 st, for a total of 22 stitches per row. 25 rows.
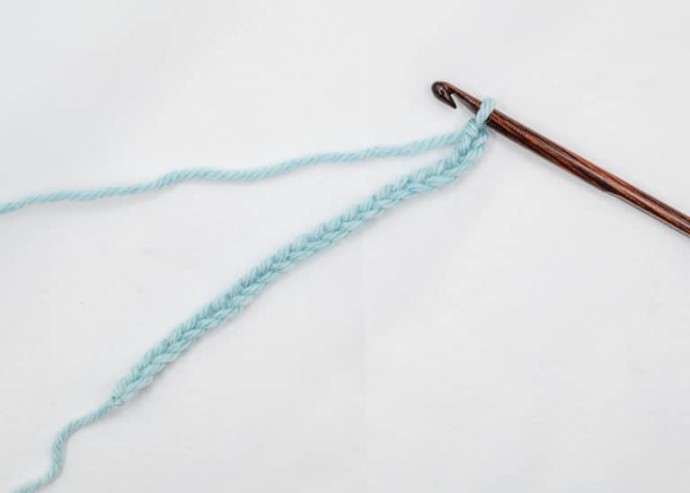
Instructions
Preparation Row
Ch a multiple of 2 st.
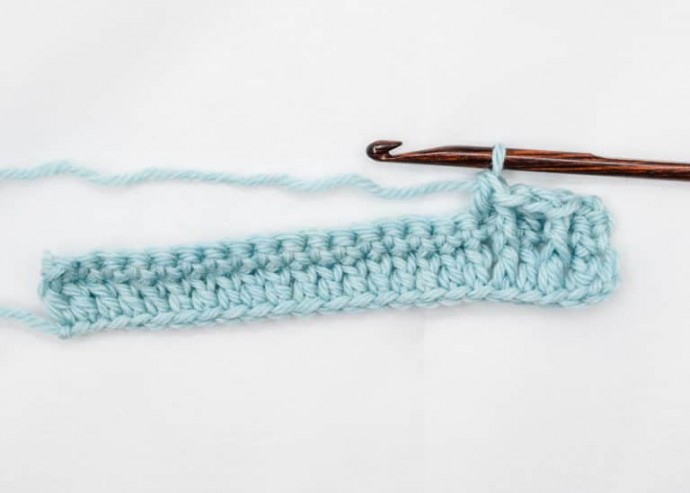
Row 1
Dc 1 in 3rd ch from hook, dc 1 in each st across, turn.
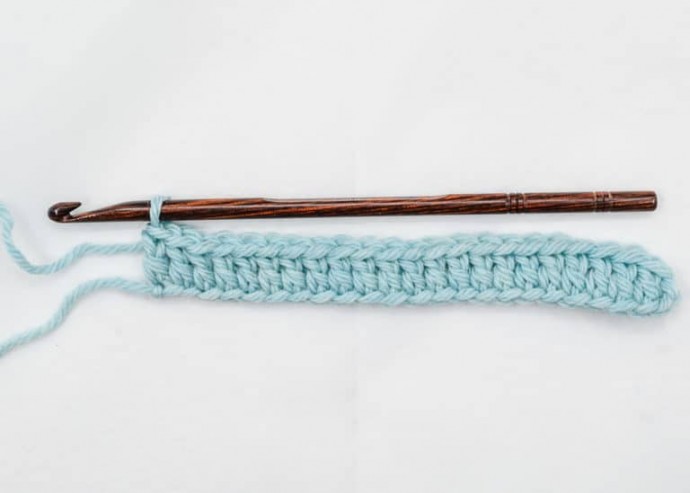
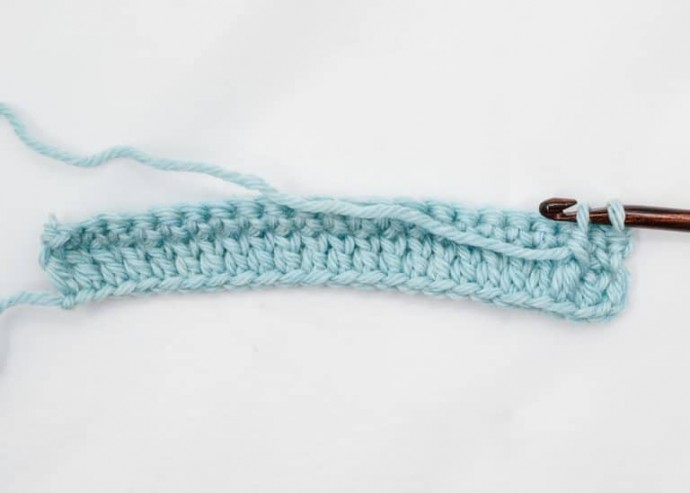
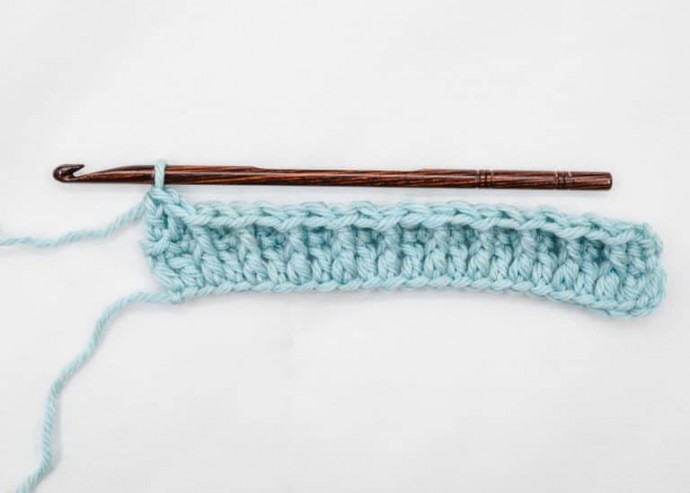
Row 2
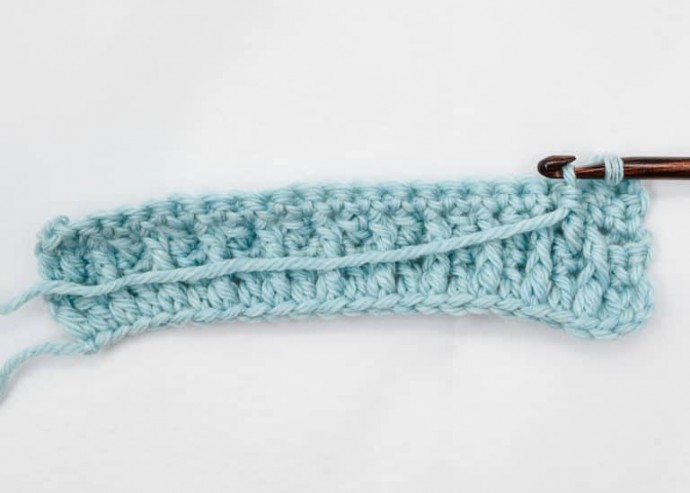
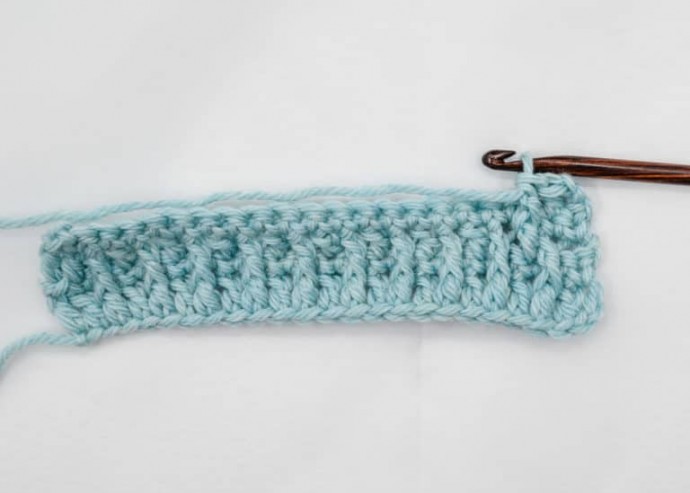
Ch 1 (counts as 1st st), sc 1 in each st across, turn.
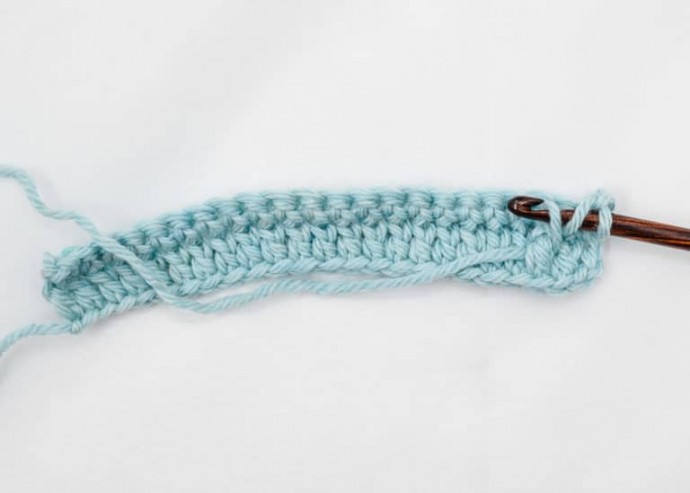
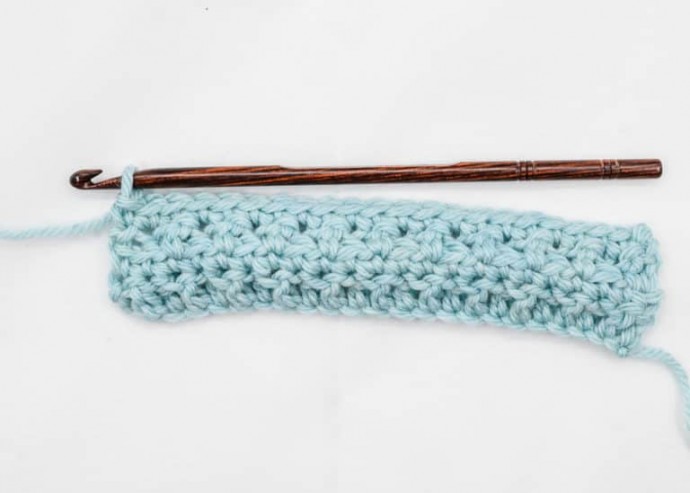
Row 3
Ch 2 (counts as 1st st), *FPdc 1 in dc 2 rows below, dc 1 in next st*, repeat from *to* until you have 1 st left, dc 1 in last st, turn.
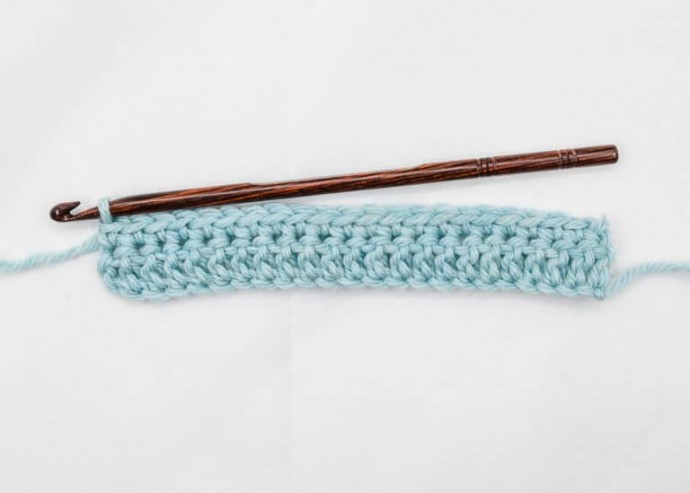
Row 4
Repeat row 2.
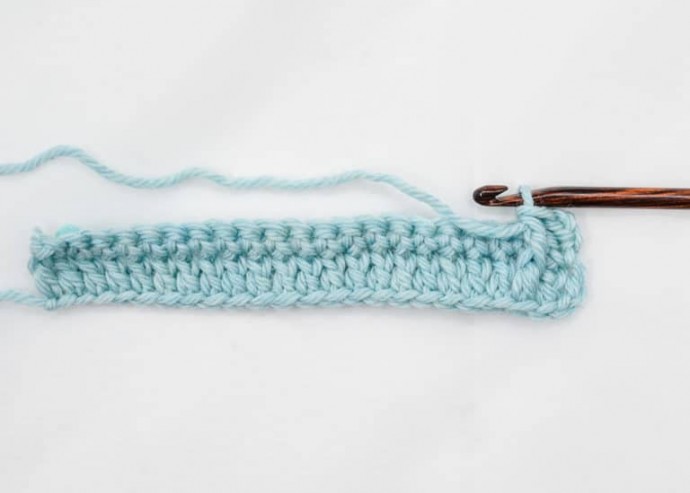
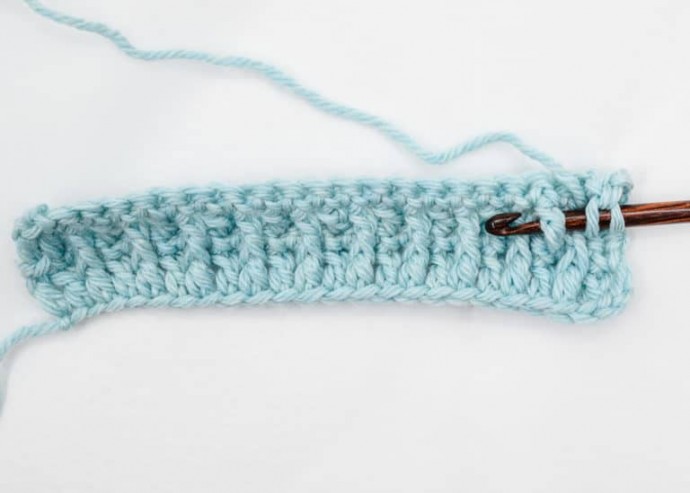
Row 5
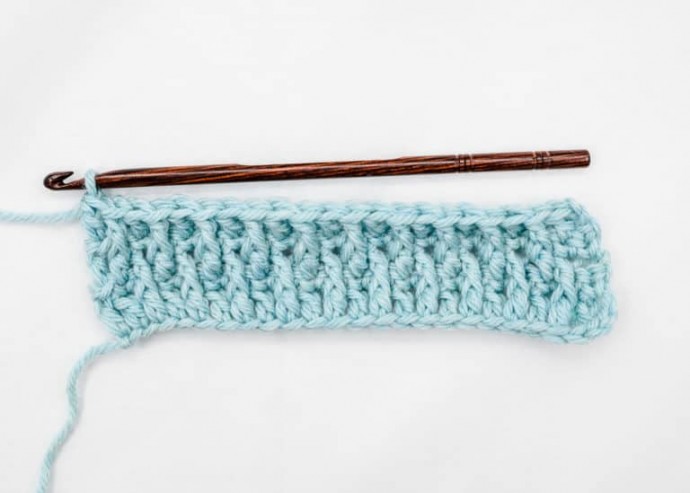
Ch 2 (counts as 1st st), *dc 1 in next st, FPdc 1 in dc 2 rows below*, repeat from *to* until you have 1 st left, dc 1 in last st, turn.
Repeat row 2-5 until project is desired size.
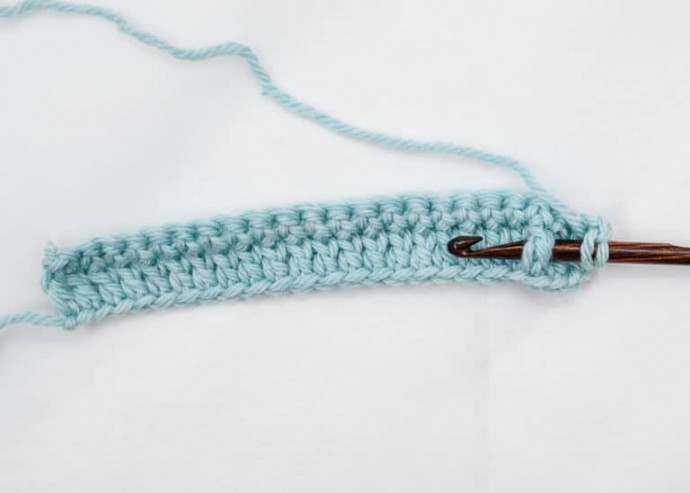
Row 6
Repeat row 2.
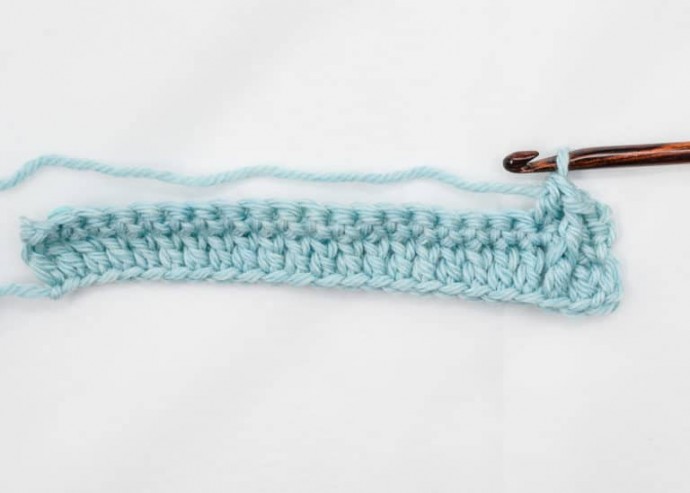
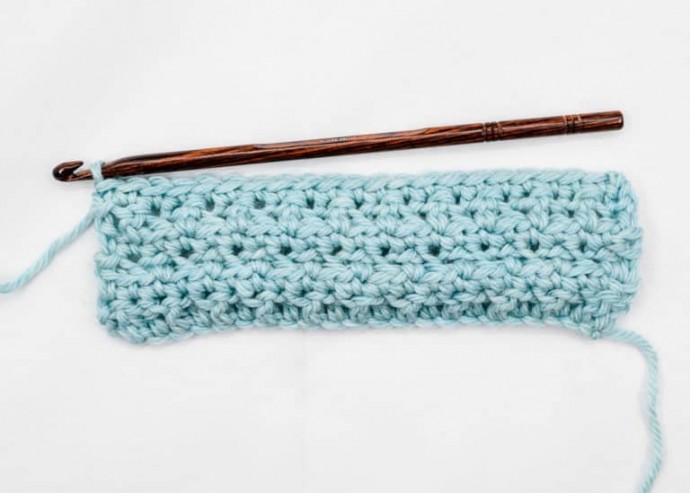
Row 7
Row 7 finished.