Alpine Crochet Stitch Photo Tutorial

Learn the Alpine Stitch crochet stitch pattern with this complete photo tutorial.
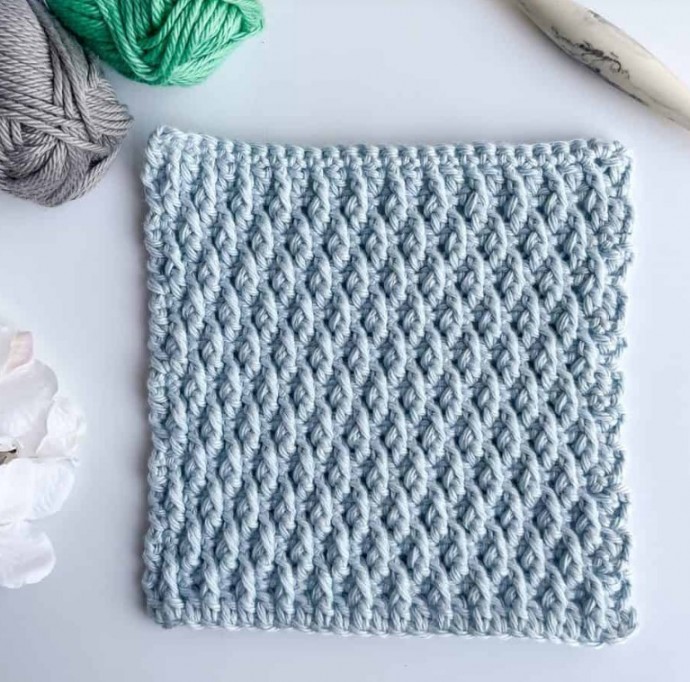
The Alpine Stitch crochet stitch pattern is so beautifully textured using front post stitches worked around stitches from a previous row creating a very unique and textured look.
Abbreviations:
ch(s) = chain(s)
yo = yarn over
dc = double crochet
st = stitch
sc = single crochet
FPdc = front post double crochet (see special stitch section below)
RS = right side
WS = wrong side
Special stitches:
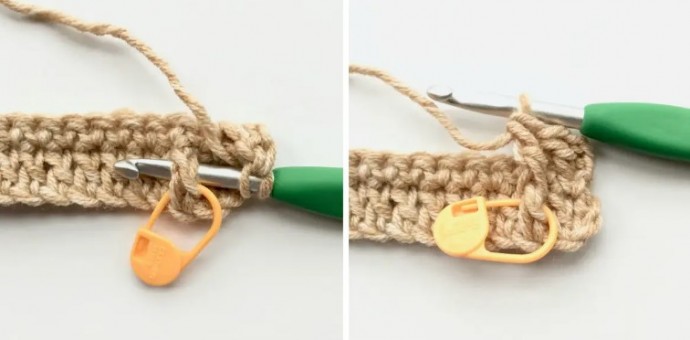
FPdc (front post double crochet stitch): yo and insert your hook from front to back to front around the dc st in row below previous row, yo, pull up a loop (3 loops on hook), yo, pull through 2 loops, yo, pull through remaining 2 loops. (Always skip sc st on previous row when making FPdc)
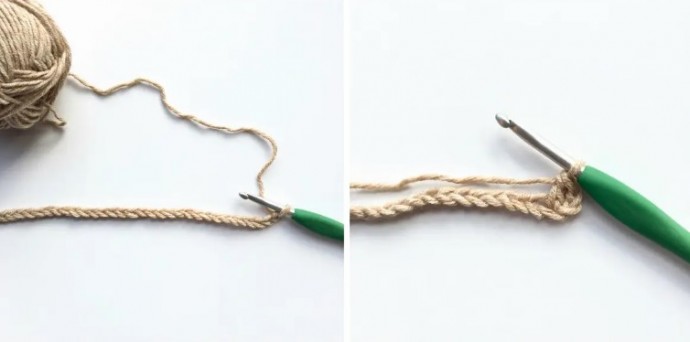
1. Chain 27 (31)
2. Row 1
(RS) dc in third ch from hook (skipped chs do not count as st) and in each ch across. Turn. Note (optional): place a st marker around 2nd dc st made – this will be the st you work your FPdc around in row 3. 25 (29)
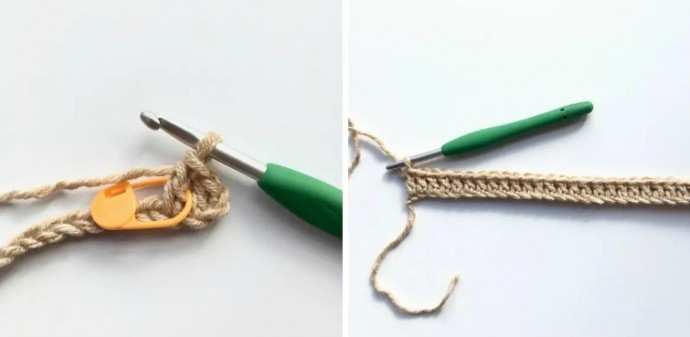
3. Row 2
(WS) ch 1, sc in same st (base of ch 1), and in each st across. Turn.
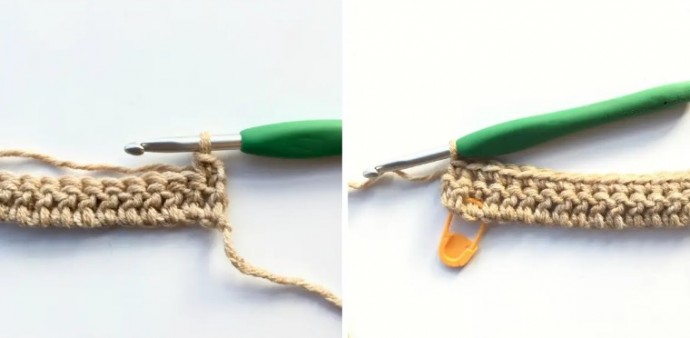
4. Row 3
ch 2, dc in same st,
5. Row 3 continued
*FPdc around the dc below the next st (marked dc st from row 1),
6. Row 3 continued
dc in the next st,* repeat from * to * to end. Turn.
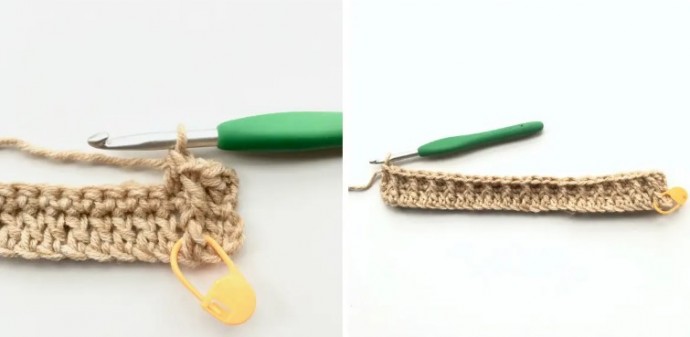
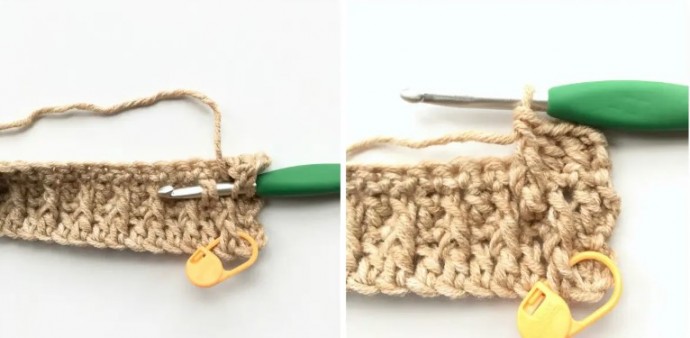
7. Row 4
repeat row 2.
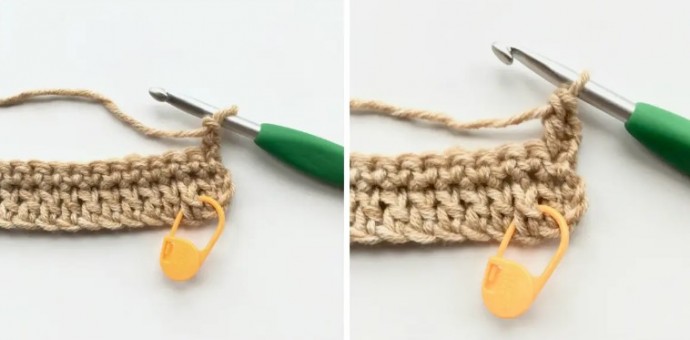
8. Row 5
ch 2, dc in same st, dc in next st, *FPdc around the dc below the next st, dc in the next st,* repeat from * to * to last st, dc in last stitch. Turn.
9. Row 6
repeat row 2.
10. Rows 7 – 24 (28)
continue repeating rows 3 – 6.