How to Measure Crochet Gauge

Understanding gauge is the secret to crochet projects that fit! In this comprehensive guide, we’ll break down how to measure gauge, adjust it if needed, and get perfectly sized results.
Wondering if gauge really makes a difference? Spoiler alert: it does! While it’s tempting to skip, checking your gauge is one of the most important steps before starting a new crochet project.
In fact, it’s the best way to know if your project will turn out the right size. And taking time upfront to make a quick gauge swatch can prevent a lot of headaches later. (Ask me how I know!)
In this guide, we’ll break down everything you need about gauge, why it matters so much, and how to measure it and match – no advanced math required!
What Exactly is Gauge?
Gauge is the number of stitches and rows in a certain area of crochet fabric, usually a 4-inch by 4-inch square.
For example, a pattern might give the gauge as:
14 sc and 17 rows = 4 in x 4 in
This means that in any 4-inch square, you should have 14 single crochet stitches across and 17 rows vertically.
In other words, gauge shows you how your particular yarn + hook combo affects the density of your stitches. The more stitches you can fit into a 4-inch swatch, the tighter the gauge. The fewer stitches, the looser the gauge.
Other Ways Gauge is Measured
Depending on the specific pattern, gauge may be written a different way.
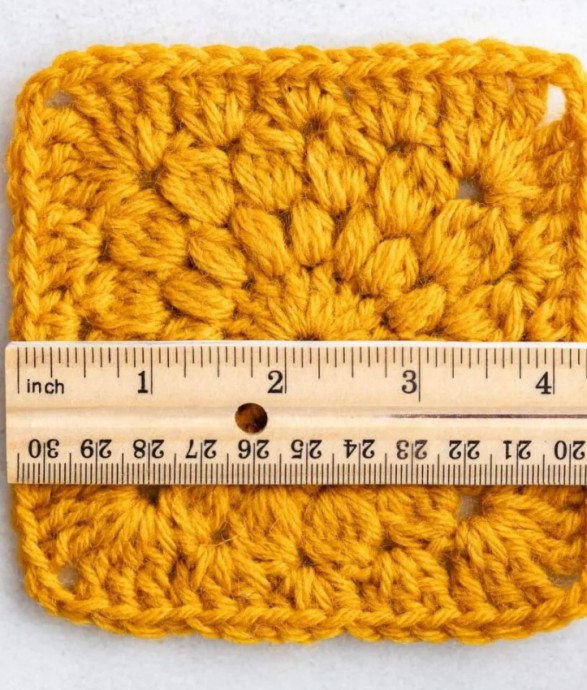
Stitch patterns: When a design uses a stitch pattern like v-stitch, shells, or granny stitch, gauge may be given in pattern units, rather than individual stitches. For example, in a granny stripe bandana pattern, the gauge may be given as:
5 dc-clusters and 9 rows = 4 in by 4 in (10cm by 10cm)
Large pattern repeats: Gauge may be given as the width of a stitch pattern repeat. This is especially useful for chevron, ripple, or lace stitch patterns, where the stitches don’t line up in straight rows. For example, in this ripple baby blanket pattern, the gauge is given as:
2 pattern repeats (24 sts total) = 5 in (12.5 cm)
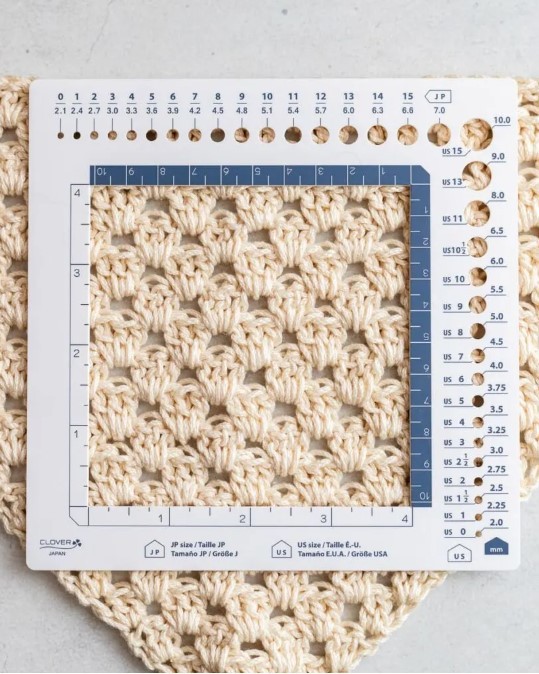
Motifs, like granny squares: Gauge can also be given as the size of an individual motif. For example, this granny square blanket pattern gives the gauge as the size of a finished granny square.
1 granny square = 6 in (15 cm) square
Why is Matching Gauge So Important?
Getting gauge is the secret to crochet projects that fit as expected. When your gauge matches the designer’s gauge, you can feel confident your finished pieces will turn out the correct size and shape.
But if your gauge doesn’t match, the dimensions of your project will be off. For example, a sweater may turn out too large in the chest or too short in the sleeves. Or you may run out of yarn well before completing your project!
That’s why making a gauge swatch before beginning a big project is so important!
How to Crochet a Gauge Swatch
To determine your gauge, you’ll need to crochet a gauge swatch – or a small sample square – before starting your main project.
Here are some tips for crocheting an accurate gauge swatch:
- Use the exact yarn, hook size, and stitch pattern you intend to use in your project.
- If your pattern lists different gauges for multiple stitch patterns or hook sizes, you’ll need to make a swatch for each one.
- Make your swatch at least 6 inches square – the bigger the better for accurate measuring. This way, you can take your measurements from the center of the swatch, not the edges where tension is inconsistent.
- Crochet normally, without intentionally altering your tension. You want the swatch to reflect your typical crochet habits.
- Once finished, block the swatch in the same way you’ll block the finished piece. Let it dry completely before measuring.
Then, follow these instructions to make a gauge swatch.
- Chain as many stitches as needed for a 6-inch swatch. If the pattern gauge is 14 stitches in 4 inches, you will need to crochet 21 stitches for a 6-inch swatch.
- Crochet as many rows as needed to make a 6-inch square.
- Wash and block the swatch. Let dry.
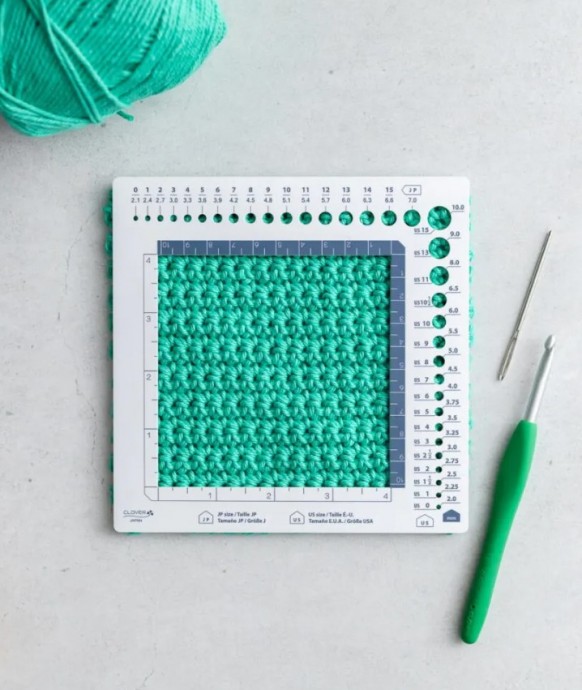
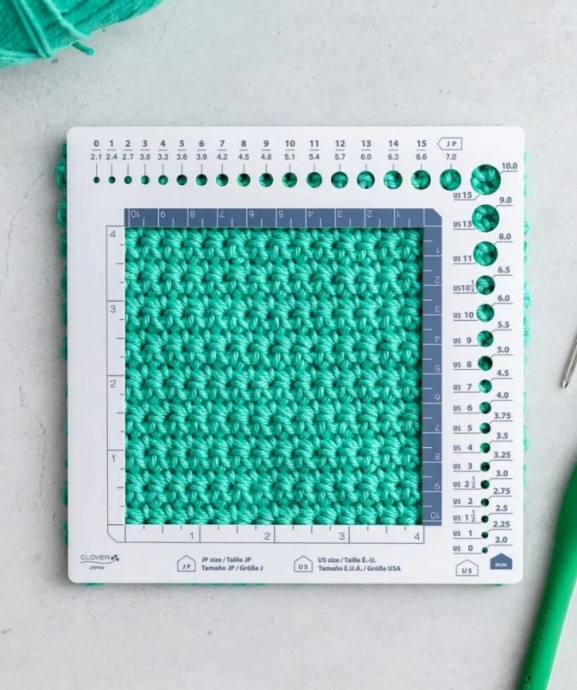
How to Measure Your Gauge
Once your swatch is fully dry after blocking, you are ready to measure gauge. Follow these steps for accurate measuring:
- Lay the blocked swatch on a flat, firm surface. Try not to stretch or distort it with your ruler.
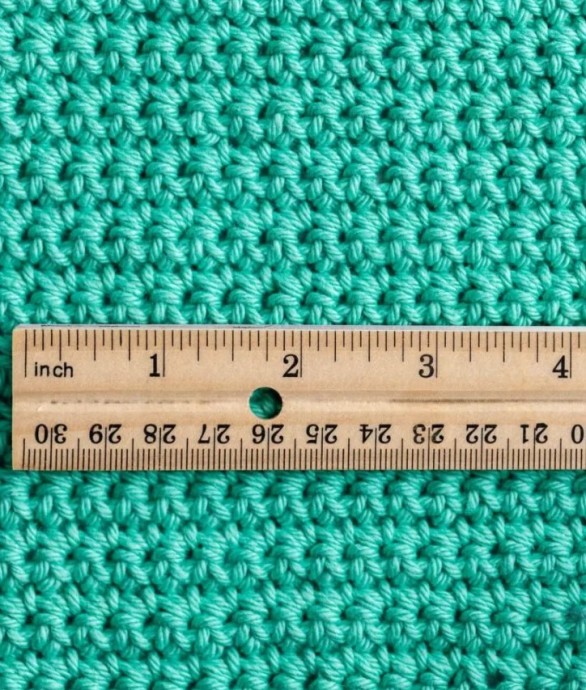
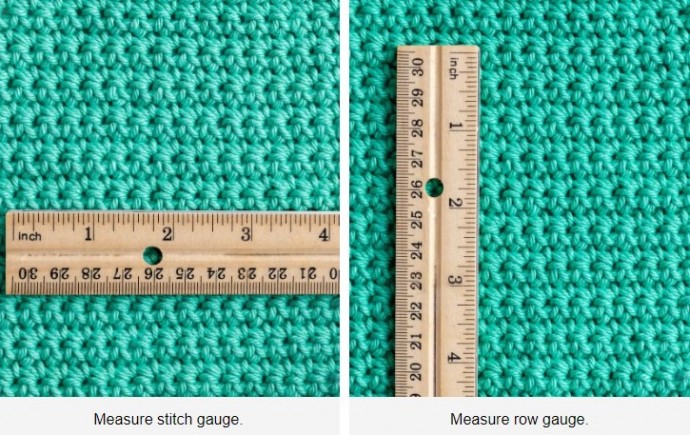
- Measure the stitch gauge: Place a ruler horizontally across the center of the swatch. Avoid the edges where tension may be inconsistent. Count the number of stitches in 4 inches.
- Measure the row gauge: Then, place the ruler vertically and count the number of rows in 4 inches.
- Finally, compare your gauge to the designer’s specified gauge in the pattern. If they match, wonderful! If not, read on.
What To Do if Your Gauge is Off
If your swatch gauge does not match the pattern gauge on the first try, do not panic! This is a very common occurrence. Make some changes according to the advice below, and try again with a new swatch.
Adjusting Stitch Gauge
You can adjust your gauge by changing hook sizes.
- If you have too many stitches per inch, your row gauge is too tight. Try again with a larger hook, which will give you fewer stitches per inch.
- If you have too few stitches per inch, your row gauge is too loose. Try a smaller hook to get more stitches per inch.
Adjusting Row Gauge
Getting the correct stitch gauge is only half the battle – you also need to match the specified row gauge.
To adjust the row gauge, you’ll need to modify the height of your stitches. Specifically, focus on altering the very first loop created after inserting your hook into a stitch. This loop is sometimes called the “golden loop.”
- If you have too many rows per inch, your row gauge is too tight. Try lifting up on the golden loop to create taller stitches.
- If you have too few rows per inch, your row gauge is too loose. Try tightening down the golden loop to create shorter stitches.
Keep making new swatches until you match the stitch and row gauge. It can feel tedious, but it’s worth it for a well-fitting project!
Other Factors that Affect Your Gague
- Yarn weight: Bulkier yarns naturally have larger stitches, while thinner yarns have smaller stitches. And even within yarn weight categories, there is a lot of variation. So if you’re substituting chain, be sure to make a swatch!
- Hook size: Larger hooks create bigger, looser stitches, and smaller hooks make smaller, tighter stitches.
- Hook material: Wood, plastic, metal, and bamboo hooks may create subtle differences in gauge.
- Your own tension: Some crocheters naturally work tightly, others more loosely. Grip style – pencil or knife grip – can also affect tension.
- Your mood: You might have a tighter gauge when you’re stressed or anxious than when you’re calm and relaxed.