How to Crochet Picot Stitch Photo Tutorial

The Picot Crochet Stitch is a great way to add a little bit of “extra” to a crochet project – a bump of texture that can add just the right finishing touch to a border for a blanket or scarf!
And even though you will see it most commonly used in borders, you can use it at any point in a crochet pattern to give it a small pop of fun texture!
Learn how to crochet the Picot Stitch with this photo tutorial.
Materials
- WeCrochet Knit Picks Comfy Worsted Weight (75% Pima Cotton, 25% Acrylic): Sea Foam (Color A), Ivory (Color B)
- Size H (5.0 mm) crochet hook
Abbreviations
- ch = chain
- sc = single crochet
- st(s) = stitch(es)
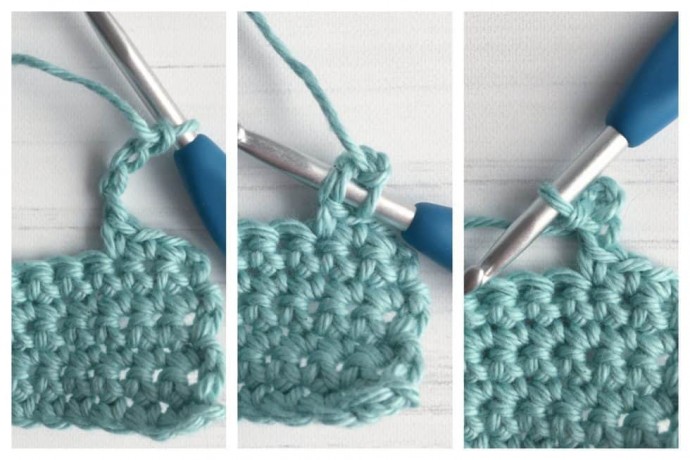
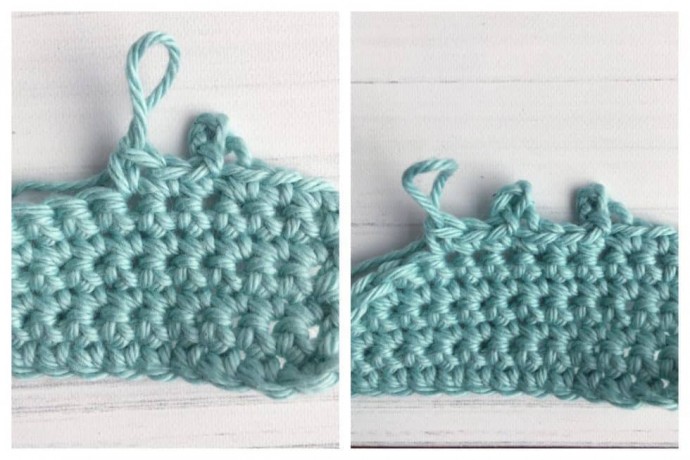
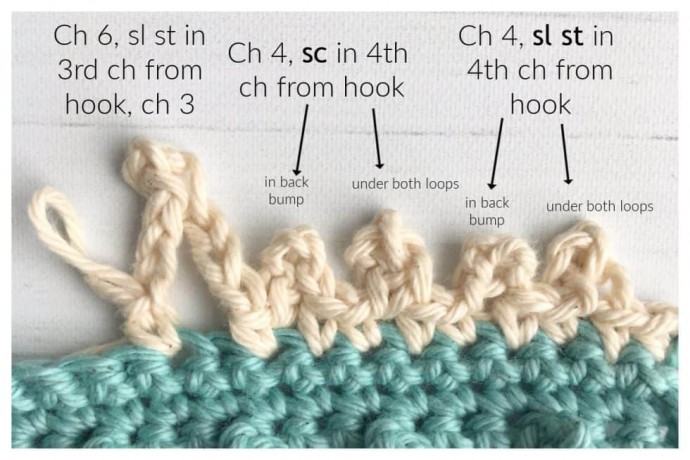
- picot = ch 4, sl st in 4th ch from hook.
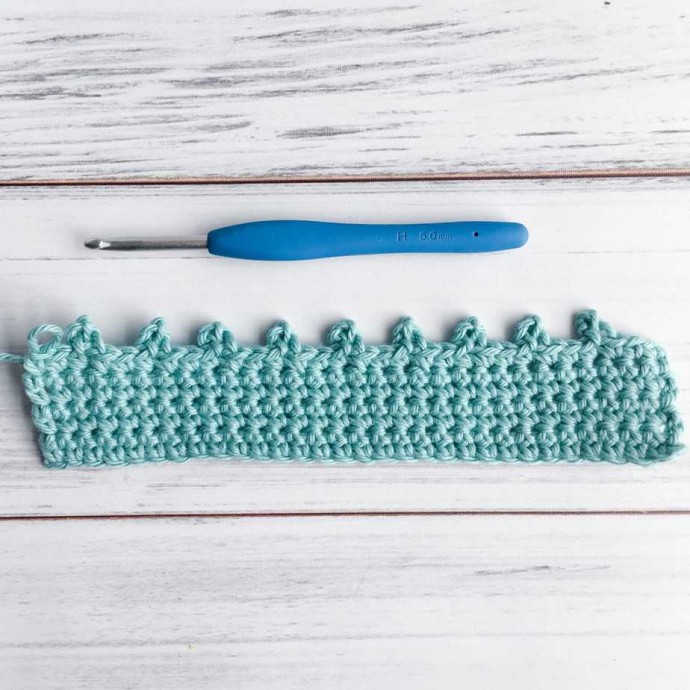
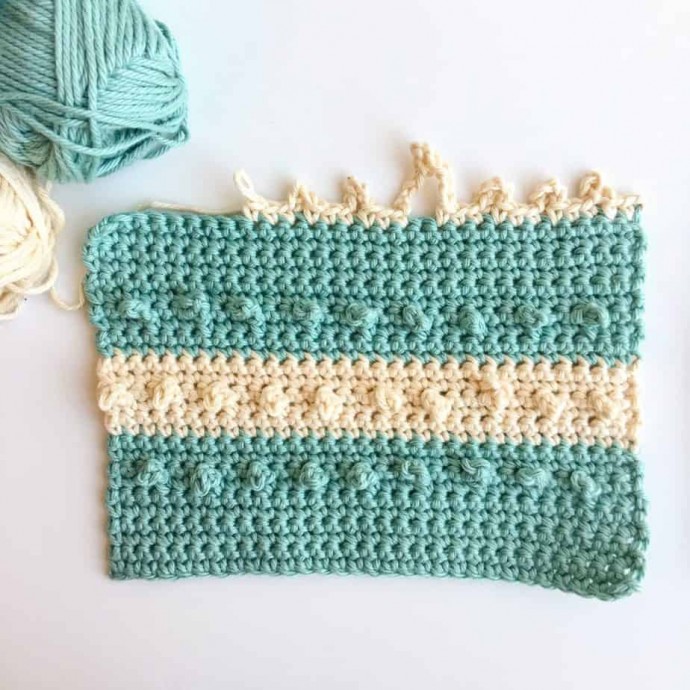
To place the picots evenly throughout a row as shown below, I am using multiples of 3 + 1 for the foundation chain. I am also working my swatch with single crochet stitches. However, picots can be placed after working any stitch – single, half double, double crochets, etc.
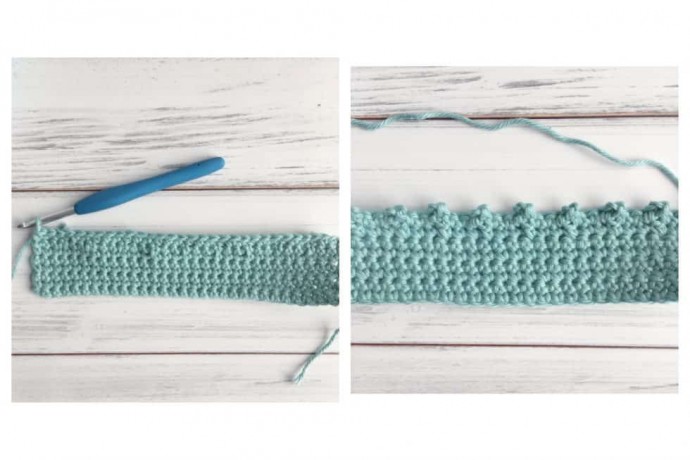
After several rows of single crochet stitches, on the right side of my work I begin working a row of picot stitches as shown below.
Instructions
Picot Stitch within a project
Picot Row 1
ch 1, sc in first 2 stitches, *(sc, picot) in next st, 1 sc in next 2 st,* repeat from * to * to last st, 1 sc in last st. Turn.
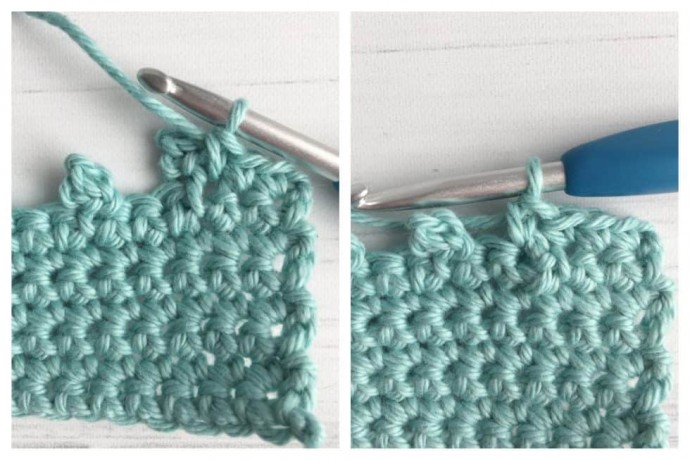
Row after Picot
For the next row you will want to keep the picots on the right side of your fabric so you will push the picots to the right side as you work a row of single crochet stitches.
You can experiment with different styles of picots for your border or edging as you can see below.
Picots are marvelously versatile – experiment to create your own picot look!