Crochet Houndstooth Stitch Quick Tutorial

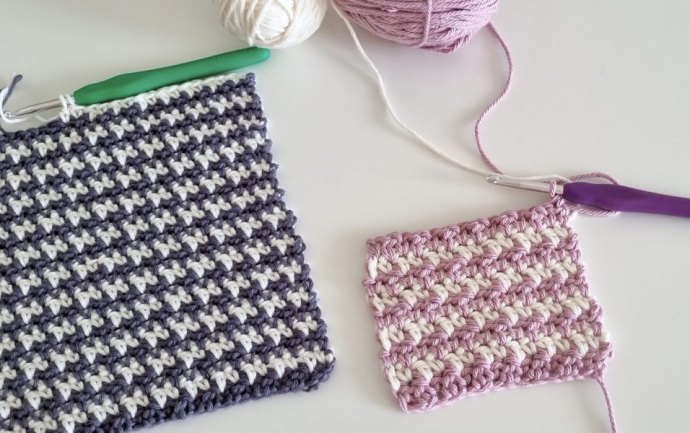
The Houndstooth pattern is a classic pattern that uses two contrasting colours. In crochet, the Houndstooth stitch is an easy, beginner-friendly stitch created by alternating single crochets and double crochet stitches. If you want to learn how to crochet the Houndstooth Stitch, then scroll down! The Houndstooth stitch is essentially the same as the Lemon Peel Stitch, with the key difference being the use of two contrasting colors. Achieving the houndstooth pattern is a matter of alternating between these two colors in each row. So, if you're already familiar with how to crochet the Lemon Peel stitch, then you're well on your way to mastering the Houndstooth stitch!
For beginners, fear not! The Houndstooth crochet stitch is surprisingly straightforward to pick up. You'll only need to be comfortable with the fundamental crochet stitches of single crochet and double crochet. Once you've got those basics down, crocheting the Houndstooth stitch will become second nature in no time!
Instructions
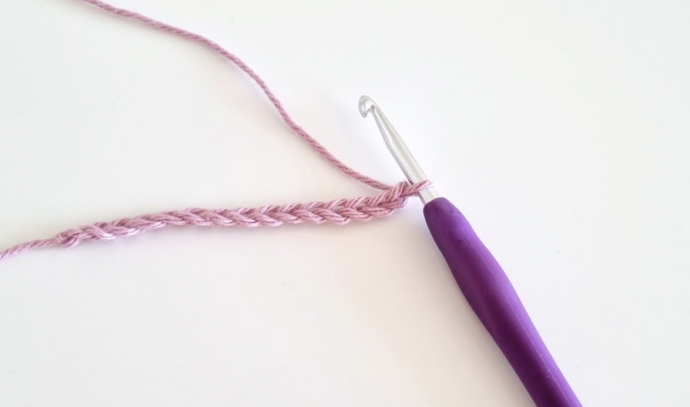
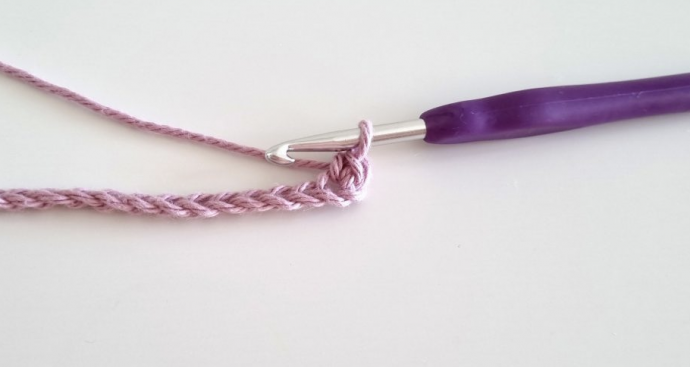
Chain any odd number. For this demonstration, I chained 15.
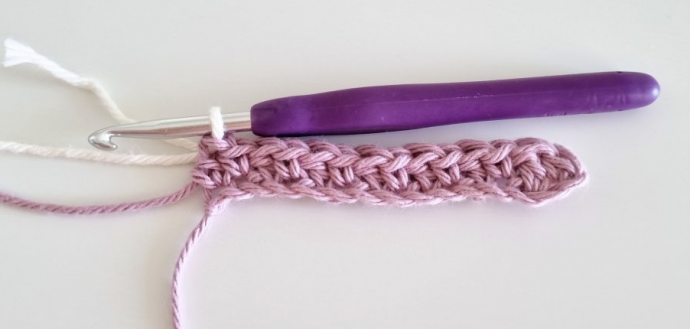
Row 1: SC in second chain from hook, *DC in next, SC in next, repeat from * across the row. DC in last St. Change to your contrasting colour in the last stitch.
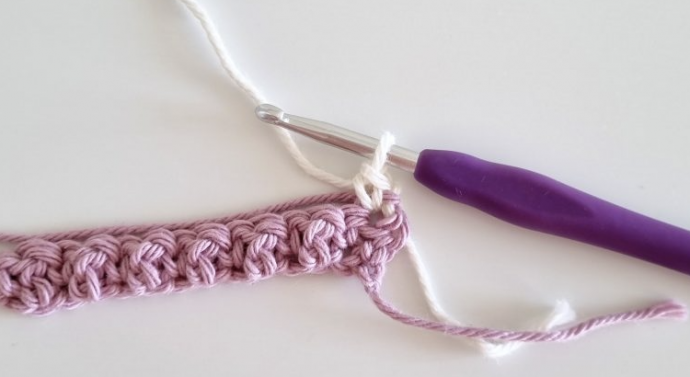
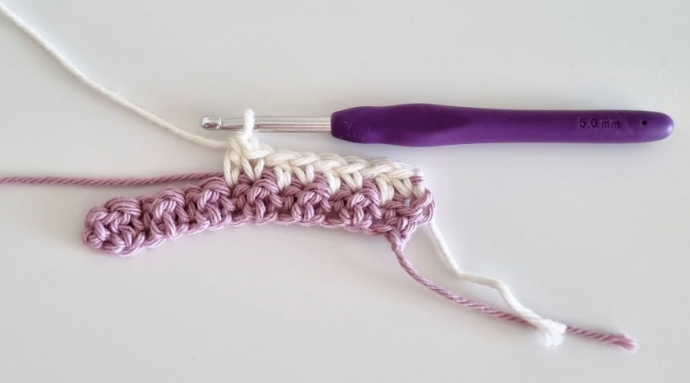
Row 2: With the new colour, Ch 1 and turn. SC in first St (on top of DC in previous row, see photo tutorial below), DC in next (on top of SC in previous row), *SC in next, DC in next, repeat from * across the row.
Row 3- until your desired size: repeat row 2
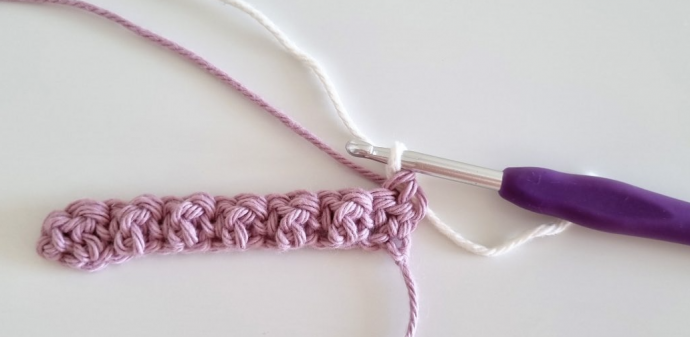
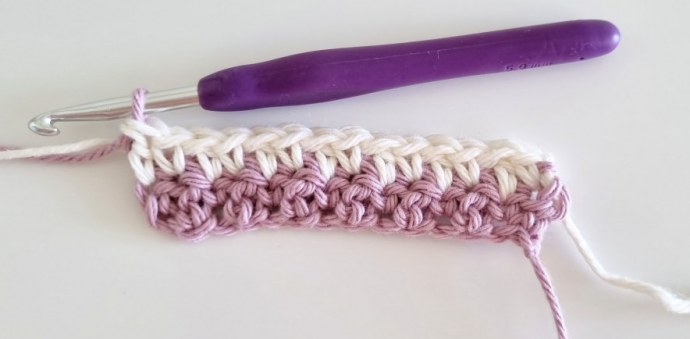
When working with the Houndstooth stitch, there are a few key things to keep in mind. First, you should always start a new row with a single crochet and finish with a double crochet stitch. Additionally, it’s important to change colours in the last double crochet stitch of each row and carry the non-working yarn across.
Make sure the non-working yarn is not too tight and not too loose. If it’s too tight, your tension and edges will not be straight. After I finish one row, I gently pull the non-working yarn to tighten the first stitches where the colour was changed. Then I straighten the rest of the row so the yarn is loosely spread inside and the rest of the crochet project can stretch a little.