How To Add Soles to Knit or Crochet Slippers

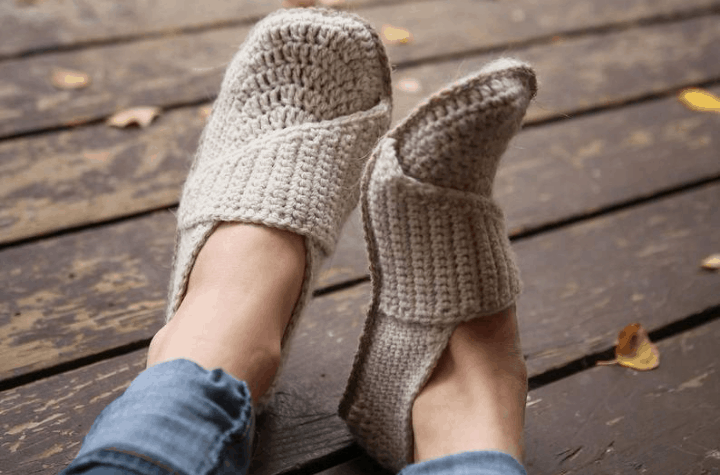
I love my knitted slippers. They are beautiful, comfortable and very cozy! The only downside to them is that they can be a little, well, slippery on slick surfaces. And let me tell you, slipping on the wooden floor with a cup of steaming hot coffee in my hand is not my idea of a good time. That did not really happen - I just had visions of it. So I had to do something to prevent it from happening (someday in the future). I decided to add soles to my knit slippers, and wanted to share with you how I did it. It's a super simple process that makes your slippers even better than they already are (which is great). What I love most about this project is that you can customize the sole to your liking! I wanted to do something different than the usual big leather sole on the bottom of my slippers.

Adding leather soles to knit slippers is so easy, anyone can do it. Knitting your slippers is the "hard part", but it's not a hard project either! It's just that this project is so easy that it makes the slippers look heavy.
Here is how to make individual circles for the leather sole:
1. Cut out an oval shape from your faux leather (or other material of your choice) with the longest side about 4" inches long and the width about 2 ¾" inches wide.
2. Cut out a smaller oval that is about 2 ¼" long and 1 ½" wide.
3. Use a leather punch (or similar tool) to punch holes in the material at even intervals, all around the oval. This will allow you to poke a needle through the fabric to sew it to your slippers.
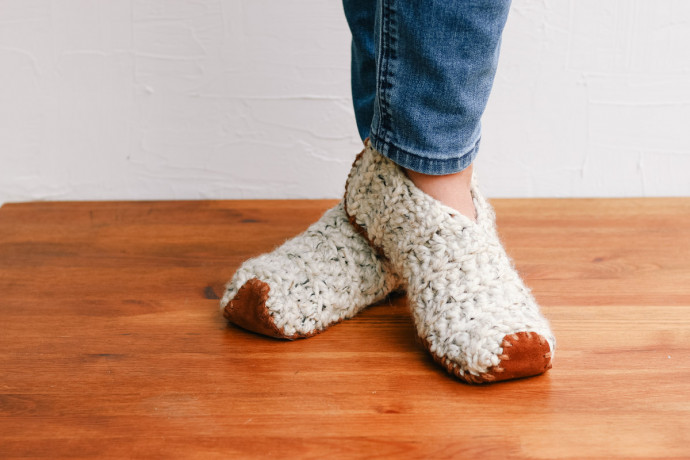
4. Place the larger oval on the bottom of the slipper under the front of the foot (under where the ball of the foot would be). Attach it with the blanket stitch.
5. Next, attach the smaller oval to the heel of the slipper. Repeat the same process to attach the smaller oval with the blanket stitch.