Spring Cleaning: Step-by-step Guide

Blossom Lady
Mar 13, 2022 03:31 AM
The annual spring cleaning may well be my favorite time of the year! I think spring cleaning should be celebrated, not dreaded - it's time to freshen up our homes and bring them back to life after the gray days and dark nights when we have spent a lot of time inside, curled up on the couch, snacking and watching endless TV. It's time to put on the marigolds, dust off the aprons and start cleaning and organizing your home.
Spring cleaning is not just about cleaning, it's also about decluttering. It's time to get rid of the unwanted items and junk that has accumulated throughout the year.
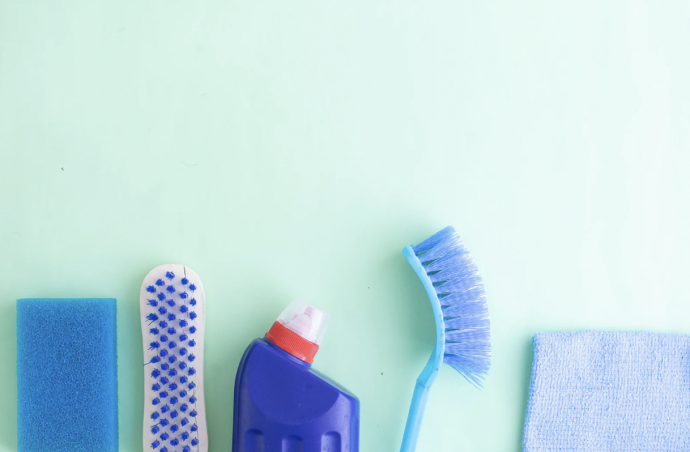
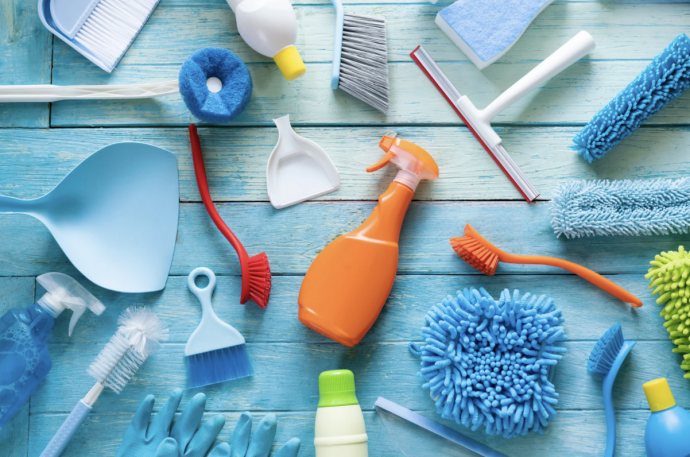
You will need:
- Rubber gloves
- Apron
- Old clothes
- Washing-up bowl or bucket
- Microfibre cloths
- Sponges
- Toothbrush
- Floor mop or steamer
- Carpet cleaner or vacuum
1. General tasks for all rooms
Wipe over all light switches.
Test batteries in smoke alarms, door bells, etc.
Replace any light bulbs that aren’t working.
Open the windows when using chemicals to clean.
2. Cupboards

Clean the cupboards inside and out, paying attention to the handles, too. Use a good multipurpose cleaner. If you have high-gloss cupboard doors, give these a really good buff (to maintain shine and get rid of any streaks, use a little glass cleaner). If you have wooden doors, use a bit of furniture polish to get them nice and shiny.
Make sure you get a ladder out and do the tops of the cupboards – dust really settles here and with the added cooking fats and greases that accumulate in a kitchen, it can also be rather sticky. Give them a really good clean with warm soapy water and don’t forget the top of the extractor fan, too!
3. Fridge

Take out any of the shelves and trays that are removable and put them to soak in warm soapy water.
Meanwhile, clean the rest of the fridge with warm soapy water. If you have any sticky patches, sprinkle with some bicarbonate of soda and leave it for a while to soak in (this will pull the stain up and remove any nasty fridge smells).
Rinse and wipe down the shelves and trays with a microfiber cloth and replace.
If you are strong enough or if you have a helper, pull the fridge out while it’s empty and give the floor underneath and the sides a good clean. Dirt really builds up under the fridge, and you may even find odd bits of food that have started to smell unpleasant. Don’t forget to the clean the top.
4. Dishwasher
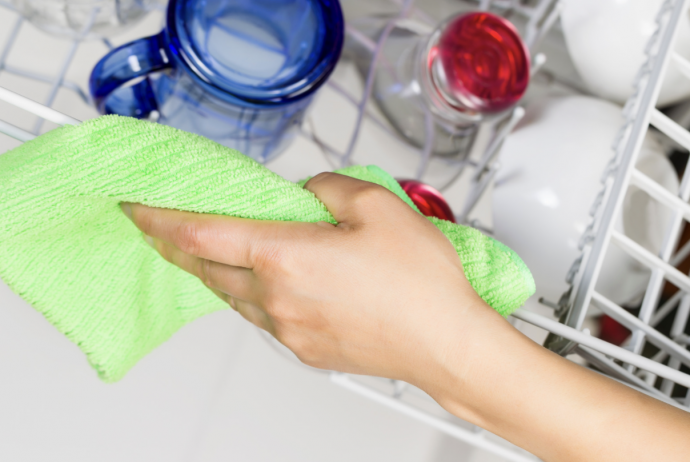
Empty out the filters and give them a really good rinse. Grime and grease can build up here and you may also find traces of old food.
5. Washing machine

Wash the area where the drawer is placed in the machine with warm soapy water.
Make a paste of baking fizzy drink and lemon juice and use a toothbrush to apply and scrub between the rubber seals and on the drum. Let the paste sit for 15 minutes and then wipe it off with a damp cloth, or leave your machine on for a short idle.
Be sure to wipe down the outside of the machine as well. If you can move the machine, take it out and clean the floor underneath and the sides.
6. Oven

Take out any shelves or racks, soak them in water and spray them with a good oven cleaner. Let them sit for 15 minutes and then clean them with some wire wool. For a more natural clean, make a paste of baking fizzy drink and white wine vinegar, rub it all over, let it sit for 15 minutes, and then rinse it off.
Meanwhile, spray the oven cleaner very generously inside the oven. If the oven is very dirty, leave the product on for a few hours and come back when it is easier to remove the dirt. Use a scouring pad to remove the baked-on grease and pay special attention to the glass door. If you prefer not to use a chemical product, sprinkle the oven with baking fizzy drink and spray it with vinegar (this will fizz and loosen the dirt) and then scrub it down.
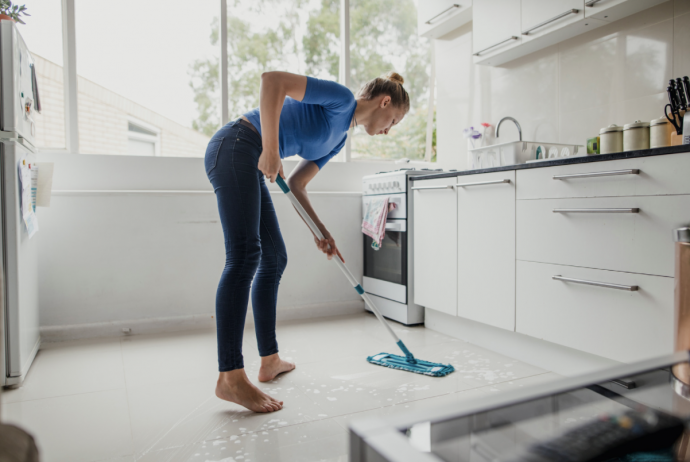
7. Floor
8. Table and chairs
No comments
Write a comment