How to Crochet the 3D Twisted Granny Stitch Photo Tutorial

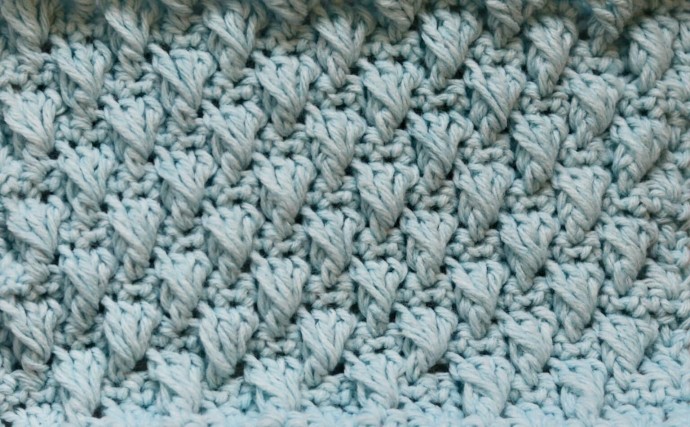
You’ll love the thick texture of this 3D Twisted Granny Stitch that you can use in crochet blankets, hats and more!
And this stitch is not as hard as it looks!
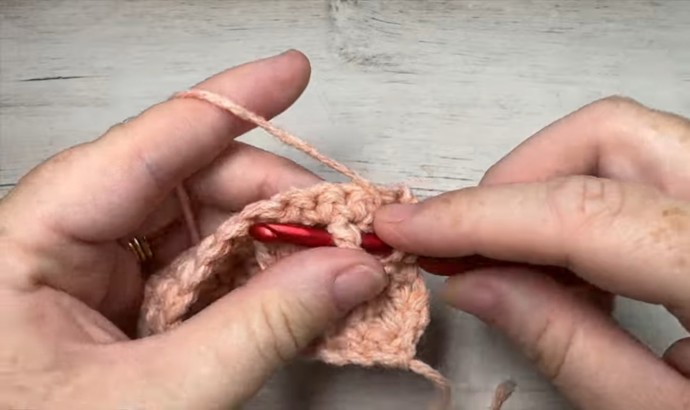
The 3D Twisted Granny Stitch crochet pattern is contrasted similarly to the alpine stitch with its long front post double crochet stitches worked around the stitch two rows below.
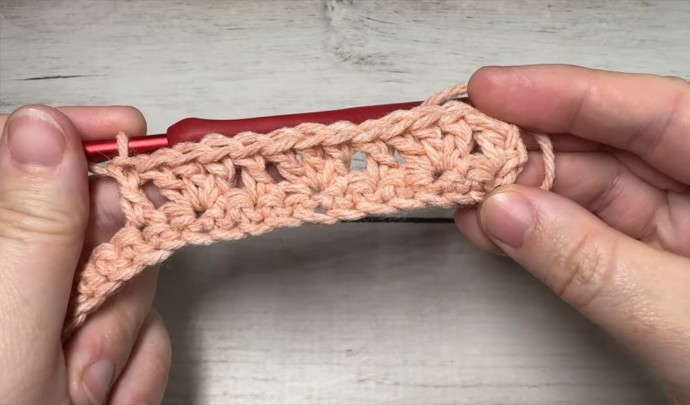
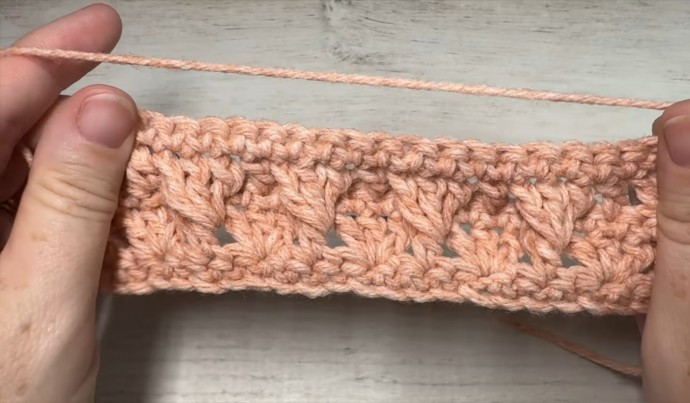
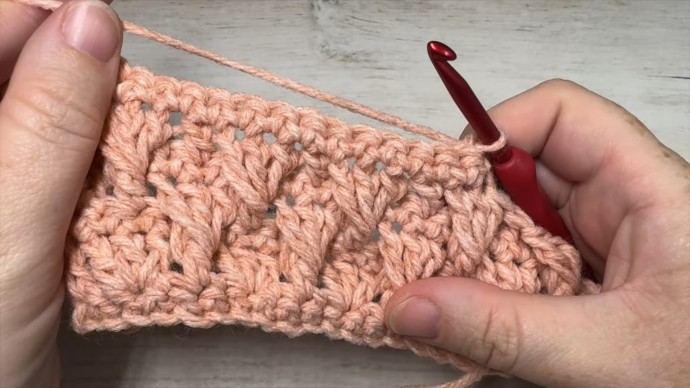
To create the wide fan-like shape, you will work 3 front post double crochet stitches around the stitch two rows below. These stitches are staggered between one another. It’s so pretty!
If you are looking for a project to work with this stitch, I would consider the 3D Twisted Granny Stitch for blankets, bags, perhaps a little detail in a sweater and more!
Learn how to crochet the 3D Twisted Granny Stitch with this photo tutorial.
Materials
- medium/worsted weight yarn
- 5 mm (H/8) crochet hook
Abbreviations
- Ch – Chain Stitch
- Dc – Double Crochet Stitch
- Fpdc – Front Post Double Crochet
- Rpt – Repeat
- Sc – Single Crochet
- Sl St – Slip Stitch
- Yo – Yarn Over
Notes
- This stitch is worked in rows in this tutorial and it may be worked in one colour or many. I will be working this pattern in a single colour.
Instructions
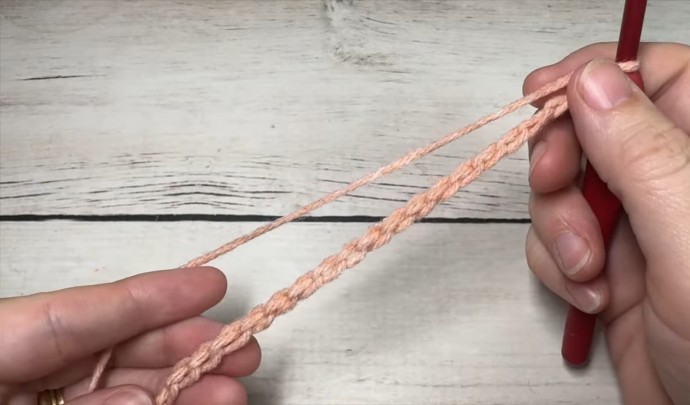
To begin, make a slip knot and make a foundation chain. For this stitch, you will need a multiple of four stitches, plus two (4+2) for your foundation chain.
For example, ch 30.
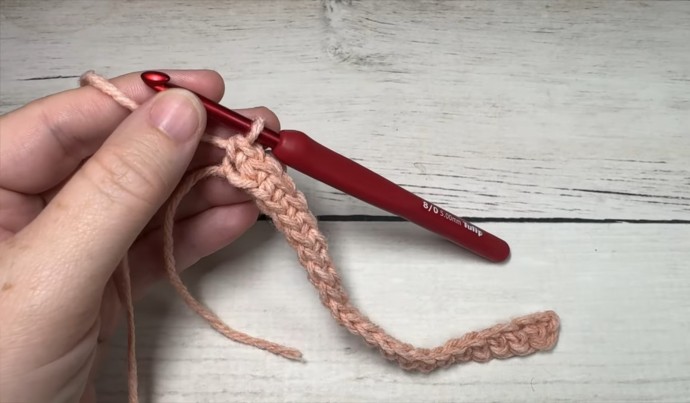
Row One: Sc in the 2nd ch from your hook, sc in each st across. Ch 1, turn.
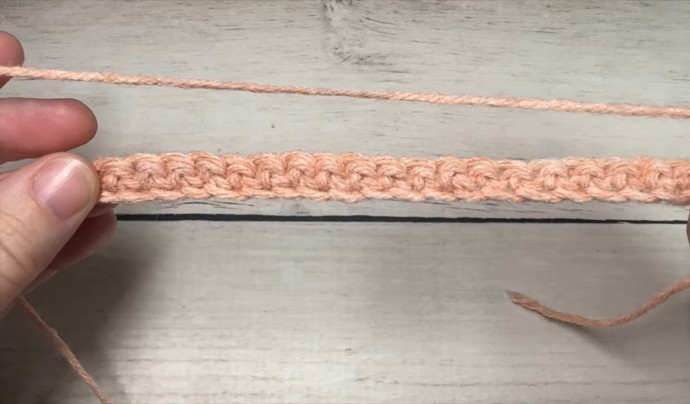
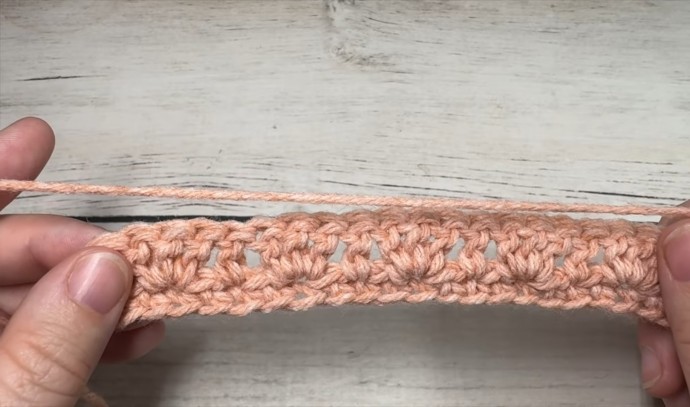
Row Two: Dc in the 1st st, *sk the next st, 3 dc in the next st, sk the next st, dc in the next st; Rpt from * across. Ch 1, turn.
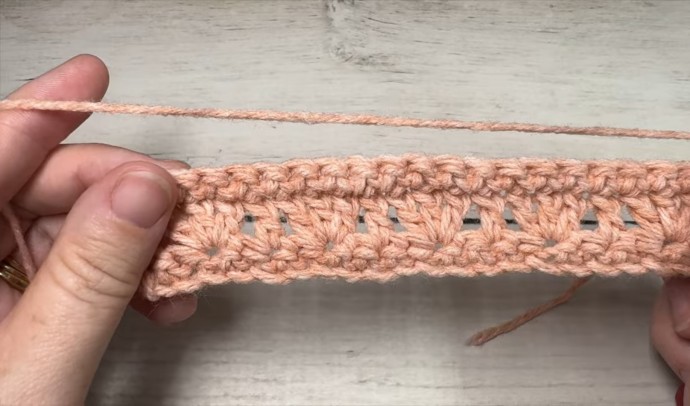
Row Three: Sc in the 1st st, sc in each st across. Ch 1, turn.
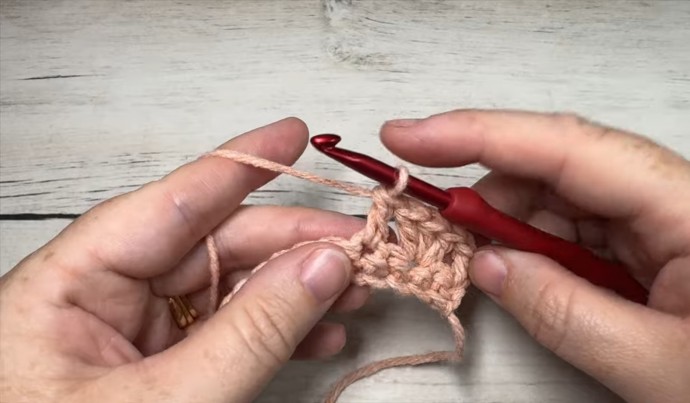
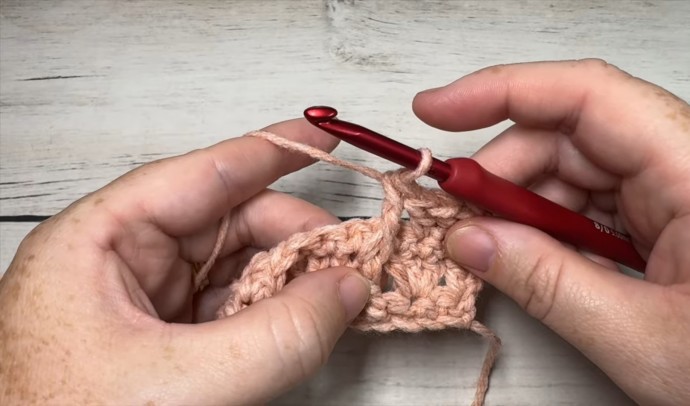
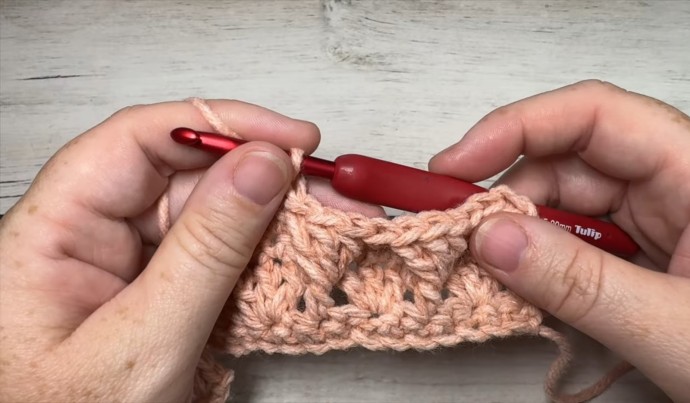
Row Four: 2 dc in the 1st st, * sk the next st, dc in the next st, sk the next st, 3 fpdc around the post of the next st 2 rows below; Rpt from * across until 3 sts remain, dc in the next st, sk the next st, 2 dc in the final st. Ch 1, turn.
Row Five: Sc in the 1st st and in each st across. Ch 1, turn.
Row Six: Dc in the 1st st, * sk the next st, 3 fpdc around the post of the next st 2 rows below, sk the next st, dc in the next st; Rpt from * across ending with a dc in the final st. Ch 1, turn.
And that’s it!
For the rest of the pattern repeat rows 3-6. Fasten off, weave in your ends.