How to Crochet the Picot Waves Stitch Photo Tutorial

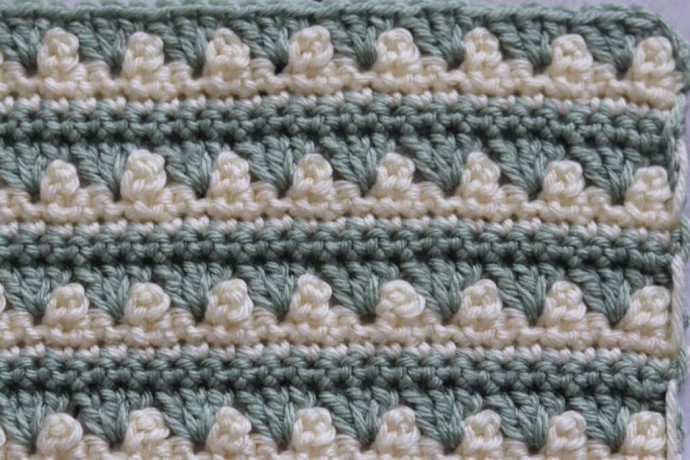
The Picot Waves Stitch pattern is a unique looking stitch that really stands out when worked in two different colours!
Overall this stitch pattern is fairly simple to work as it is worked in single crochet, double crochet and picot stitches. It’s the picot stitches that create the “wave” look.
There are a number of options for this crochet stitch when it comes to projects. Of course, the Picot Waves stitch would look wonderful in crochet blankets and wash cloths. But it would also add some interest to crochet bags, and perhaps around an edging for a cardigan.
Learn how to crochet the Picot Waves Stitch with this photo tutorial.
Stitches and Abbreviations:
- Ch – Chain Stitch
- Dc – Double Crochet
- Picot – Ch 3, sl st into the 1st st (Note: When working the picot stitch I will often sl st back into the top of the previous st made at the base of the ch-3 for a tighter picot st)
- Rpt – Repeat
- Sc – Single Crochet Stitch
- Sl St – Slip Stitch
- Yo – Yarn Over
Pattern Notes:
This stitch is worked in rows in this tutorial and it may be worked in one colour or many. I will be working this pattern in a two colours: A and B.
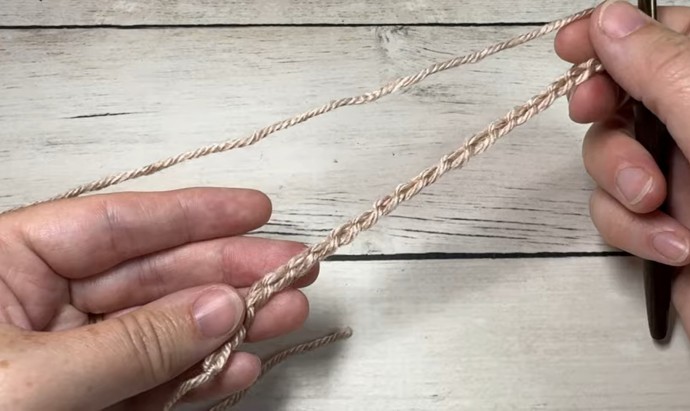
To begin make a slip knot and make a foundation chain. For this stitch you will need a multiple of 3 stitches for your foundation chain.
For example, with colour A, ch 30.
Pattern Instructions:
Row One: Sc in the 2nd ch from your hook and in each st across. Ch 3 (counts as a dc here and throughout), turn.
Row Two: Sk the next st, 3 dc in the next st, *sk the next 2 sts, 3 dc in the next st; Rpt from * across until 2 sts remain, sk the next st, dc in the final st. Ch 1, turn.
Row Three: Sc in the 1st st and in each st across. Switch to colour B in the final st, ch 1, turn.
Row Four: With colour B, sc in the 1st st and in each st across. Ch 1, turn.
Row Five: Sc in each of the 1st 2 sts, [sc, picot] into the next st, *sc in each of the next 2 sts, [sc, picot] into the next st; Rpt from * across until 2 sts remain, sc in each of the final 2 sts switching to colour A. Ch 3 (counts as a dc), turn.
Row Six: Sk the next st, 3 dc in the next st (at the base of the picot st), *sk the next 2 sts, 3 dc in the next st (at the base of the picot st); Rpt from * across until 2 sts remain, sk the next st, dc in the final st. Ch 1, turn.
And that’s it!
For the rest of the pattern repeat rows 3-6 for the pattern. Fasten off, weave in your ends.


