How to Make Double Knotted Fringe Photo Tutorial

Learn how to add double knotted fringe to your handmade crochet or knit scarves in this photo tutorial.
A scarf is the perfect project to add fringe to, but you can also add it to garments and home decor projects.
While this tutorial is about how to add double knotted fringe, which is a second row of knots, you can also add a third row of knots. Once you learn the technique then you can add as many rows as you like, given enough yarn.
Materials
- Yarn for fringe
Tools
- Crochet hook
- Scissors
Instructions
1. Estimate how long you want your finished fringe to hang. Give yourself some extra length here.
2. Cut one length of yarn to 3 - 4 times longer than your desired length. Or you can cut two lengths of yarn that are 2 times longer than your desired length and pair them up for fringing.
3. I cut one length of 36" long and then fold it two times (cut the bottom fold when you trim the final fringe length) so there are 4 lengths of yarn hanging for each fringe. If you cut two lengths then pair up two pieces and fold them over once.
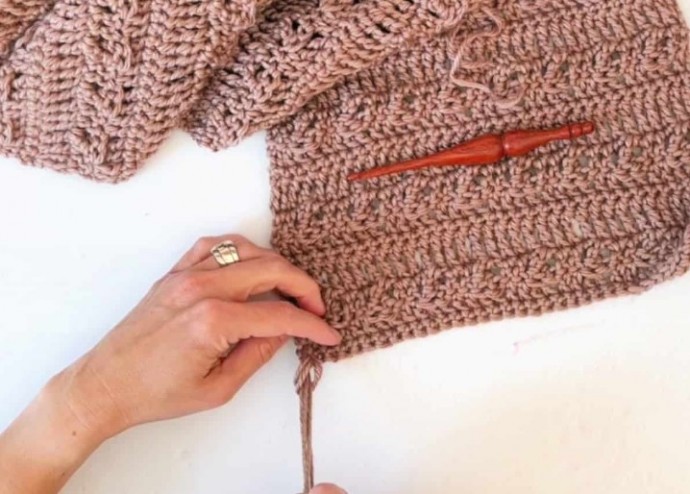
4. I prefer the horizontal strands of the knot to show on the right side, so work on the wrong side of your project.
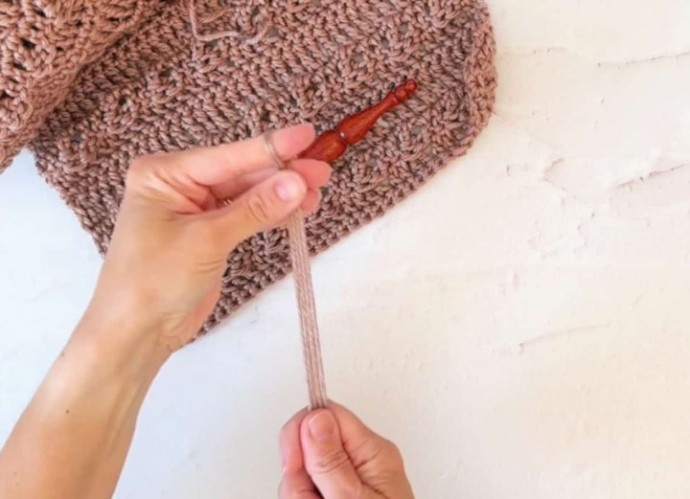
5. Insert hook from the wrong side into the stitch.
6. Yarn over at the fold of your fringe and pull it through the stitch.
7. Pull up a loop and put down the hook.
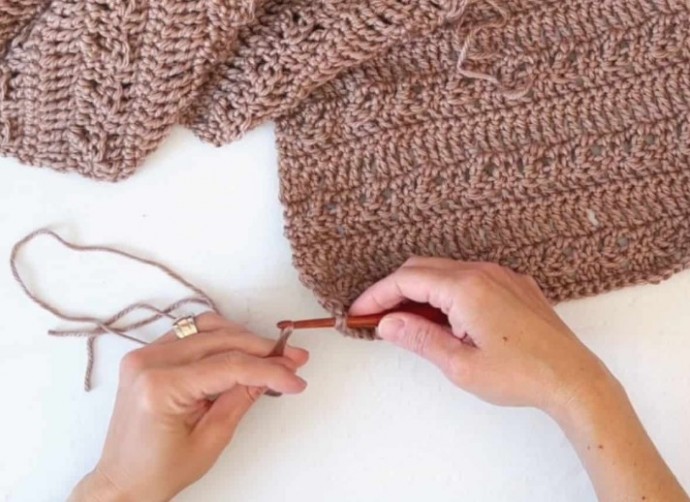
8. Use your fingers to pull the lengths of yarn through the loop to secure it to the stitch.
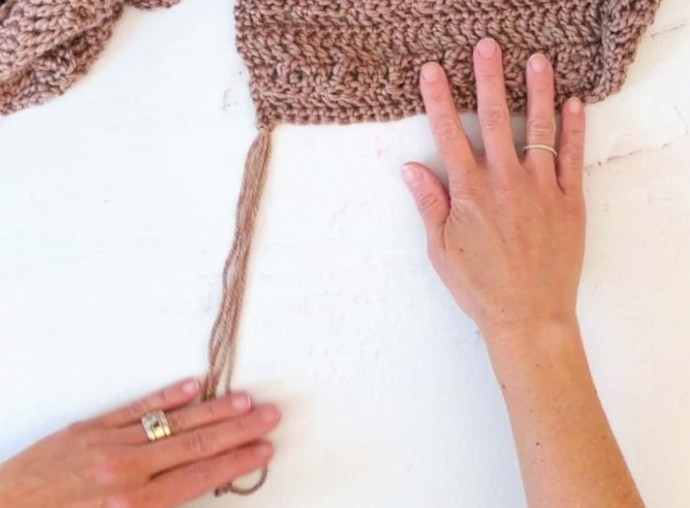
9. Pull yarn tails through as evenly as possible.
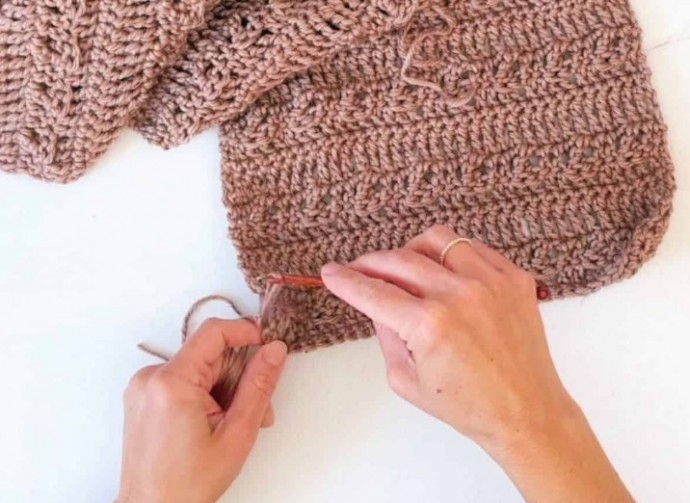
10. Repeat across the edge of your scarf, skipping one stitch in between groups of fringe.
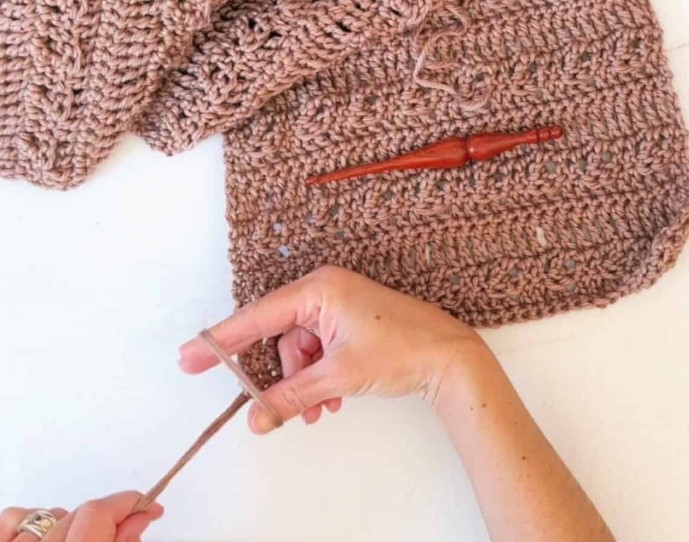
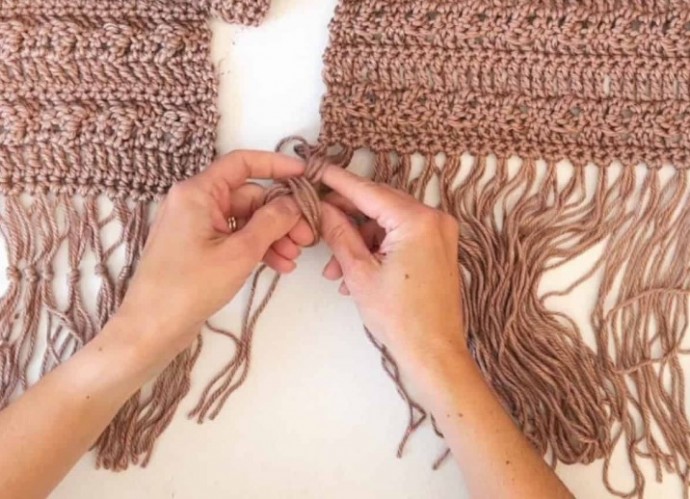
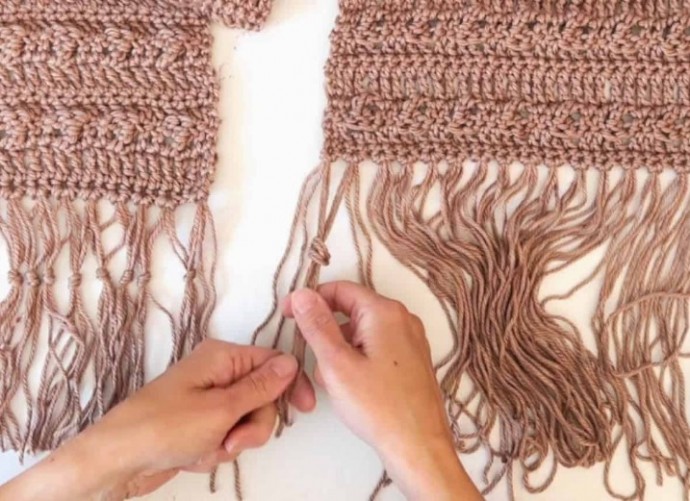
11. On the first fringe group leave the first two strands hanging loose. For the first knot we'll pair up the second two strands of this fringe group with the first two strands of the second fringe group.
12. Hold these 4 pieces as one and tie into a loose knot. You'll tighten this knot at the end to line everything up. I'm using a basic knot here, or an overhand knot.
13. Now move to the next. For the second knot pair the second two strands from this fringe group with the first two strands of the next fringe group and knot.
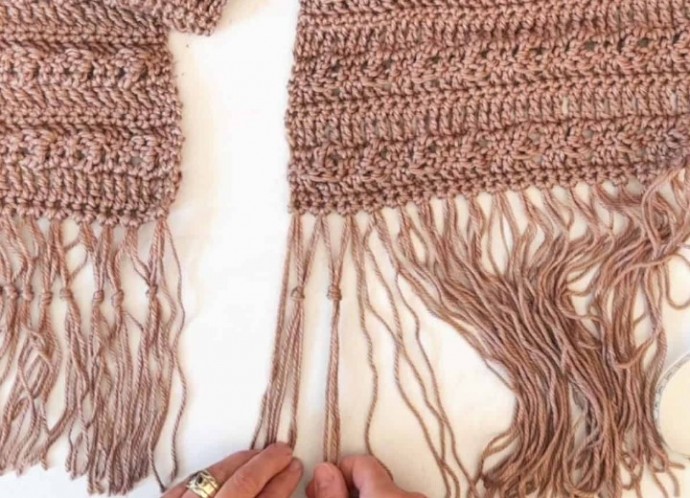
14. Continue knotting groups of strands across all the fringe groups always joining from the previous one to the next one.
15. On the last fringe you'll leave the last two strands hanging straight.
16. Repeat on the other side of your scarf.
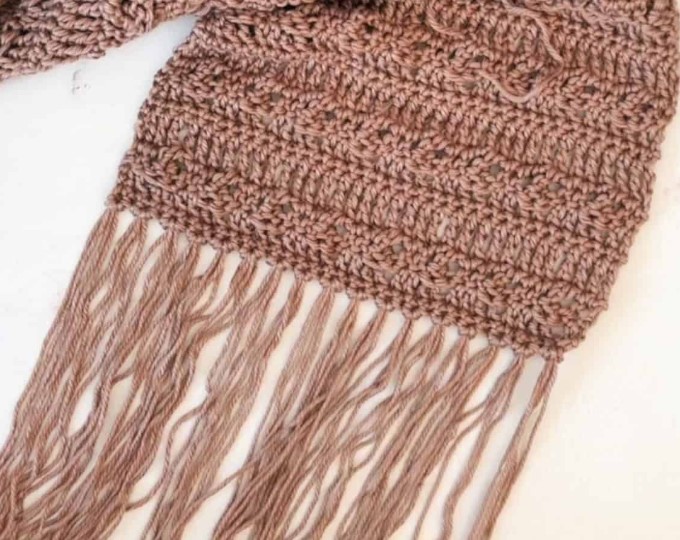
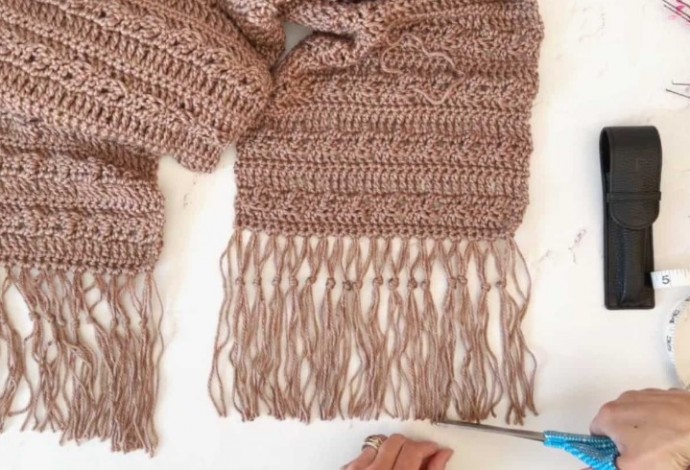
17. Adjust your fringe knots so they're all at the same height.
18. Trim fringe ends. Make sure if you double folded like I did that there aren't any loops at the bottom of your fringe.
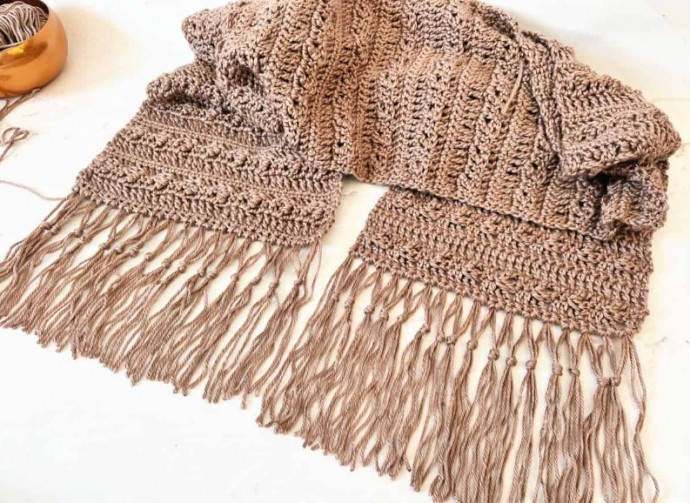
19. I like to steam block my fringe once I'm finished to get it to hang straighter.