Tornado Crochet Stitch Photo Tutorial

Learn how to crochet Tornado Stitch with this photo tutorial.
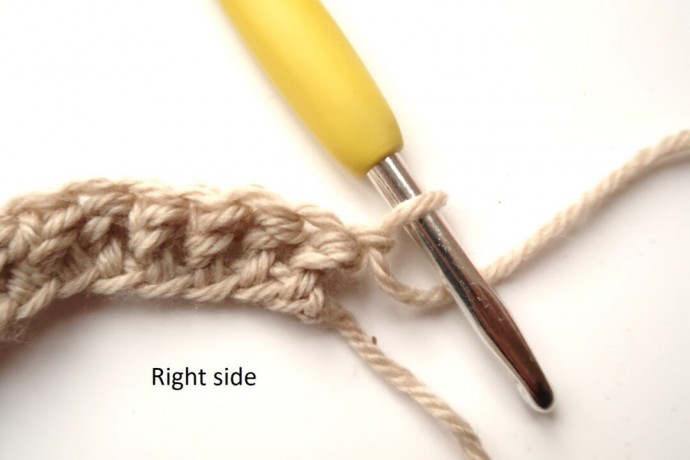
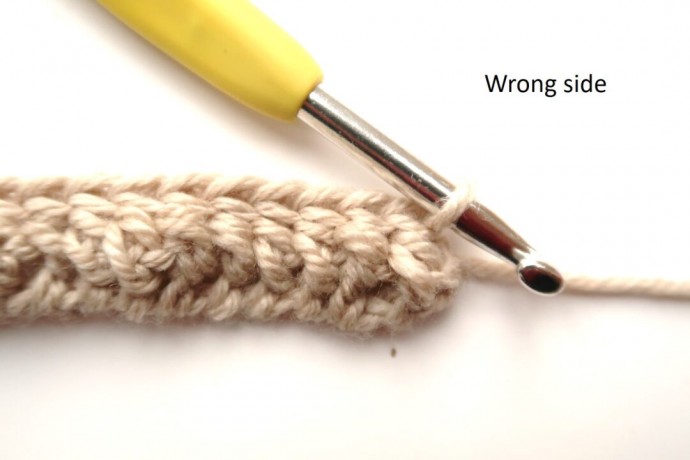
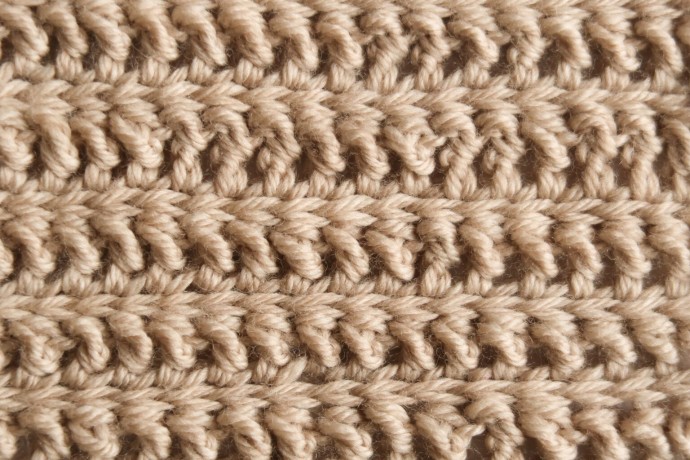
The thick rich texture of the Tornado crochet stitch has me dreaming of cozying up by the fireplace. Both sides of this stitch look a little different, but they’re equally pretty, which makes it a fun choice for a crochet blanket stitch or oversized winter cardigan. The possibilities are endless for this beginner-friendly crochet stitch pattern.
Size
The pattern is written for a 15cm by 15cm / 6” by 6” square.
Stitch Multiple
The pattern doesn’t need a stitch multiple.
Gauge
The gauge for this pattern is 13 st by 13 rows in stitch pattern for a 10 cm by 10 cm square (4” by 4”).
Abbreviations
st = stitch
ch = chain
sc = single crochet
yo = yarn over
skip = miss
sl st = slip stitch
Special Stitches
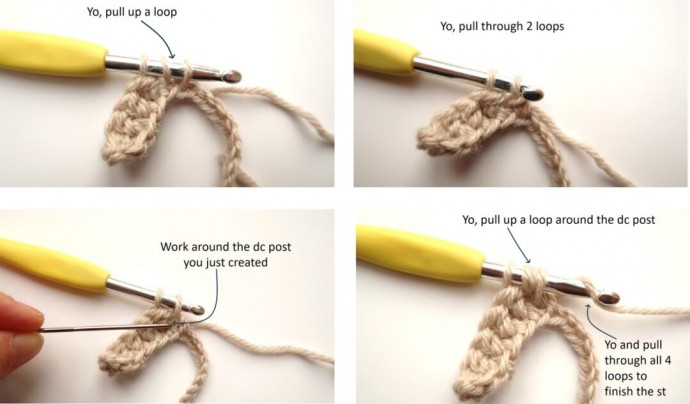
Tornado st = Yarn over, insert hook in designated st, yarn over, pull up a loop, with 3 loops on hook, yarn over and pull through 2 loops, yarn over, insert hook behind post you created, yarn over, pull up a loop, yarn over, pull through all 4 loops on hook.
The Tornado Crochet Stitch Tutorial
With your 5.5mm / US I- 9 hook ch 22,
Row 1: In the 3rd st from the hook tornado st, tornado st across, turn.
Row 2: Ch 1, sl st across, turn.
Row 3: Ch 2, tornado st in the back loops of every sl st, turn.
Repeat Row 2 and 3 until you reach 15 cm / 6″.