Crochet Monochromatic Polka Dot Pattern Photo Tutorial

The Monochromatic Polka Dot Pattern is beginner friendly and works up fast using only one stitch: the double crochet stitch.
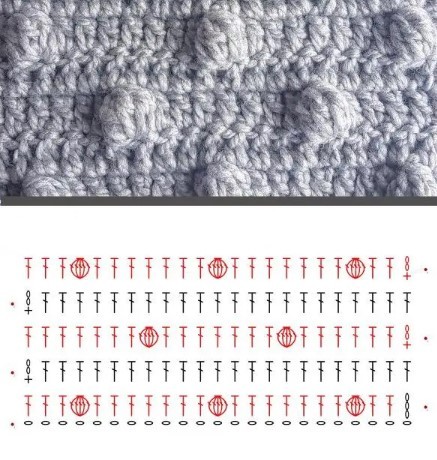
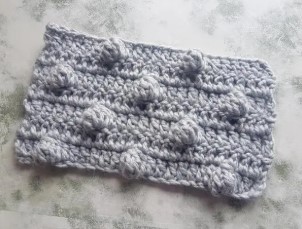
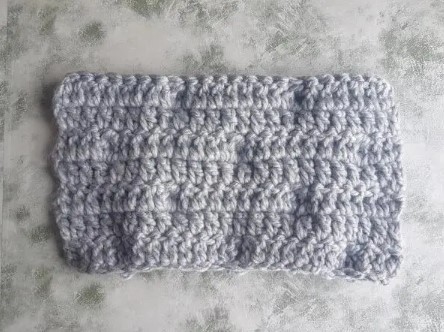
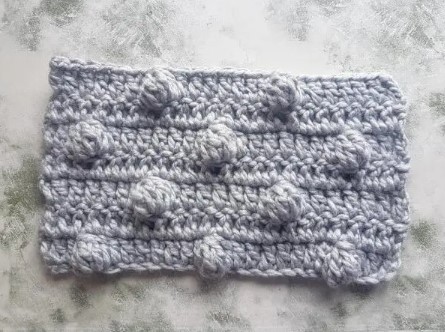
The pattern has a textured side, where the bobble stitches are placed in a Polka Dot Pattern, and a flat side thus can be used in a variety of projects, from blankets and afghans to garments and toys.
Learn how to crochet the Monochromatic Polka Dot Pattern with this photo tutorial.
Materials
- Marriner Yarns Super Chunky (super bulky) yarn in grey
- 10mm crochet hook
Abbreviations
- dc – double crochet
- ch – chain
- yo – yarn over
- bo – front post double crochet
- dc1 – first double crochet in the row
Special Stitches
First Double Crochet In The Row (dc1) – sc in the very first stitch, ch2
Crocheting the first double crochet in the row with this method (as opposed to the usual ch3 method) will prevent the gap that usually occurs between the first and second posts.
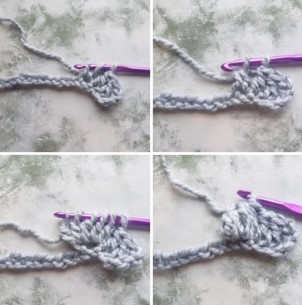
The Bobble Stitch (bo) - yo, insert hook in the stitch/chain, yo and pull up a loop, yo and pull through 2 loops*, repeat 4 more times (6 loops on hook), yo and pull through all loops on hook.
Notes
- The pattern is a repeat of 4 rows and requires multiples of 8 + 2 chains.
- The bobble is spaced 7 stitches apart horizontally and 1 row apart vertically.
- For this tutorial, my starting chain was 26 long.
Instructions
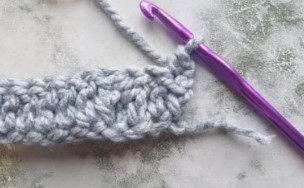
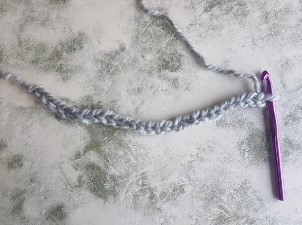
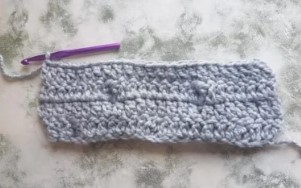
Row 1: ch26
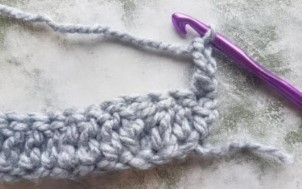
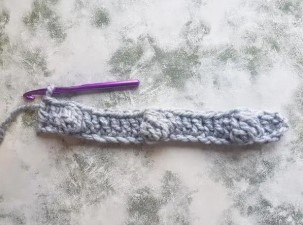
Row 2: dc in 5th chain, 2dc, bo, *7dc, bo* x 2, 3dc, turn
For larger projects, repeat the *7dc, bo* section until you have 3 chains left in the row.
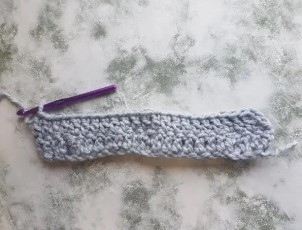
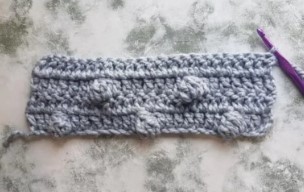
Row 3: dc1, dc in each stitch, turn
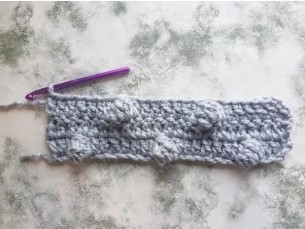
Row 4: dc1, 6dc, *bo, 7dc* x 2, turn
For larger projects, repeat *bo, 7dc* until the end of the row.
Row 5: dc1, dc in each stitch, turn
From this point on, repeat rows 2 to 5 until the required length is achieved.