Raised Ridge Stitch Crochet Tutorial

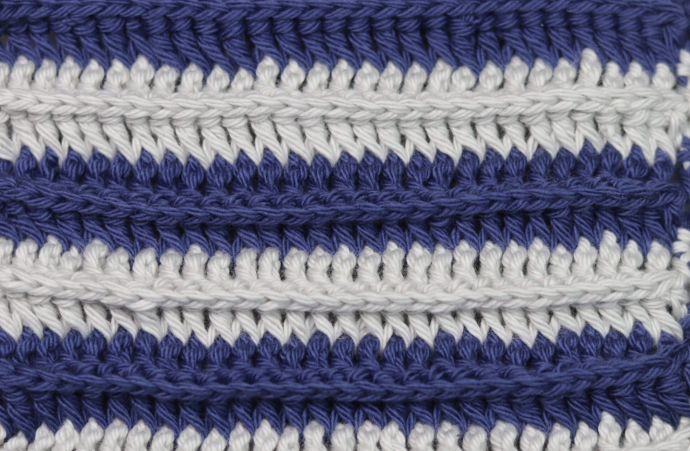
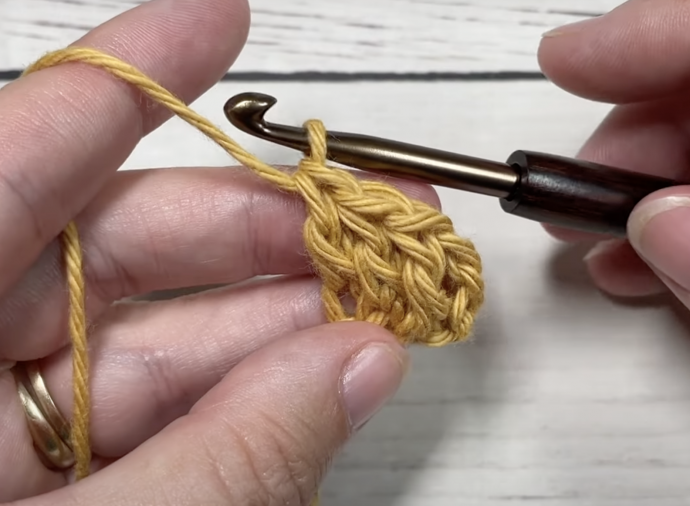
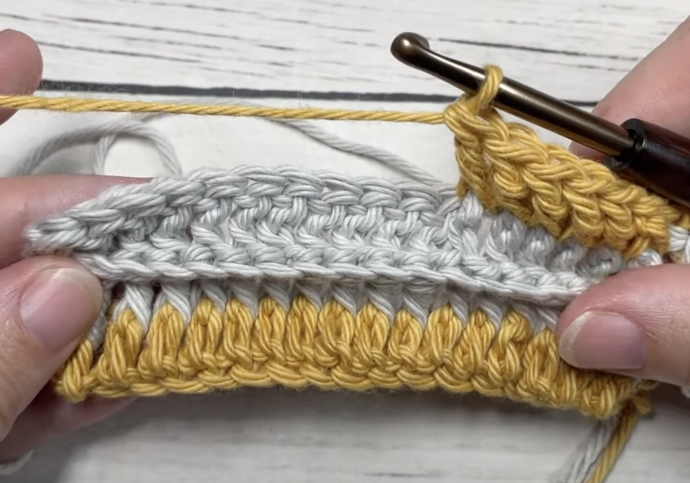
Discover the captivating Raised Ridge Stitch, a delightful crochet pattern that boasts a thick texture and an effortless one-row repeat! What makes this stitch truly stand out is the stunning effect achieved by working it in multiple colors. The Raised Ridge Stitch's simplicity lies in its one-row repeat, and for added flair, you can switch colors every two rows if you opt for a two-color approach, as demonstrated below. This versatile stitch pattern can elevate a wide range of projects, especially those where both the front and back are visible. Get ready to infuse your crochet creations with charm and dimension using the enchanting Raised Ridge Stitch!
This stitch is worked in rows in this tutorial. You may work the stitch in one colour or many. I will be working the design in two different colours labeled as A and B.
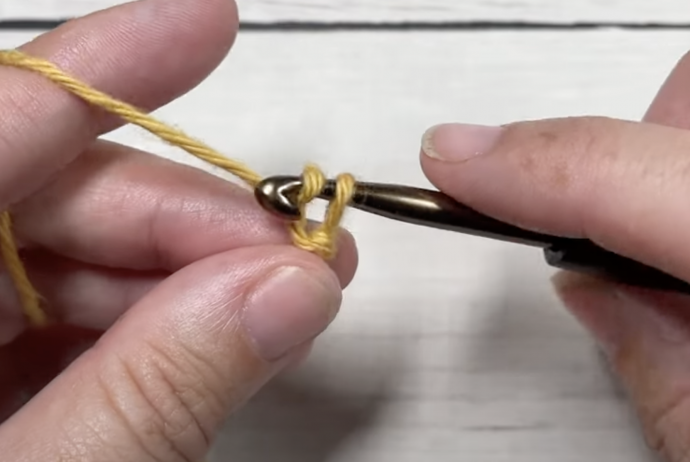
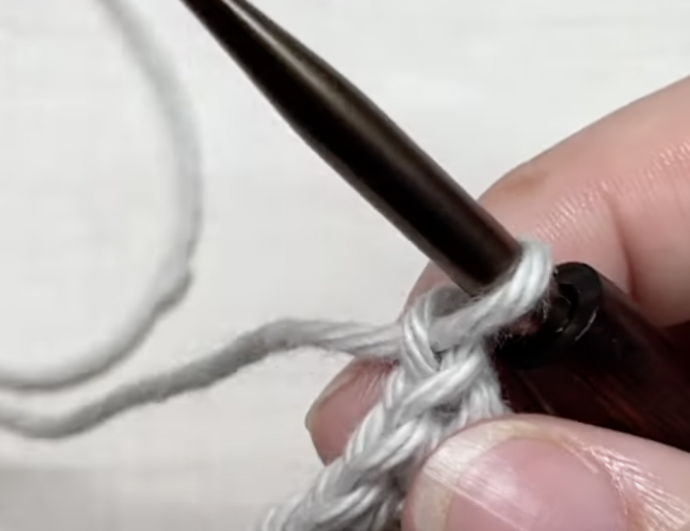
To begin, make a slip knot and then chain your desired number of chains. For this stitch pattern you may use any number of stitches for your foundation chain.
For example, with colour A, ch 23.
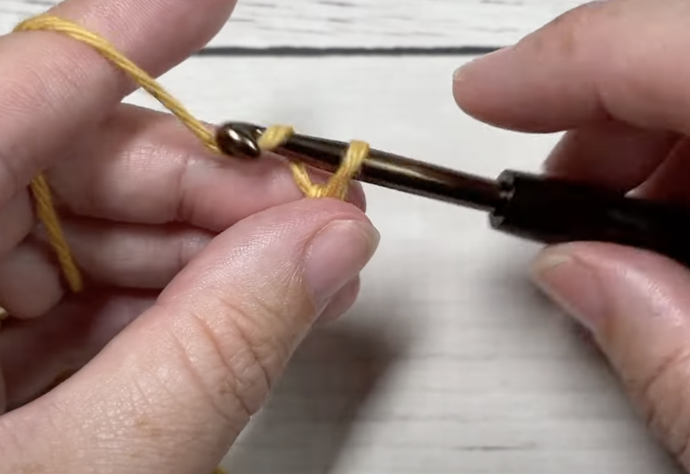
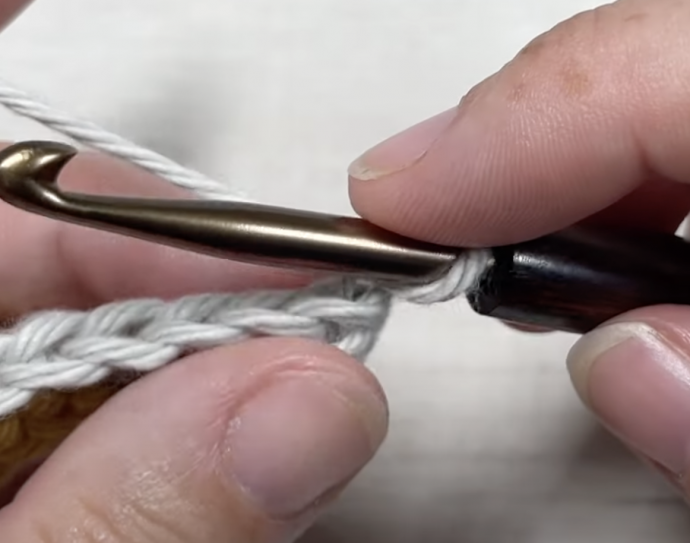
Row One:
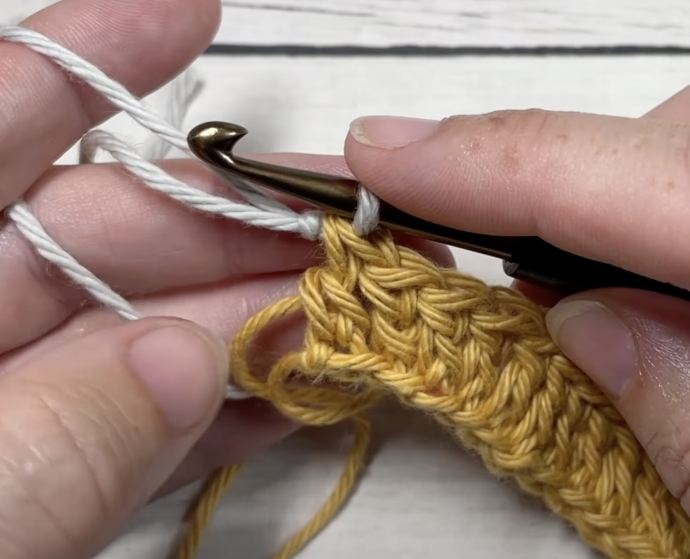
Dc in the 4th ch (the starting ch-3 counts as a dc) from your hook and in each st across switching to colour B in the final st. Ch 1, turn.
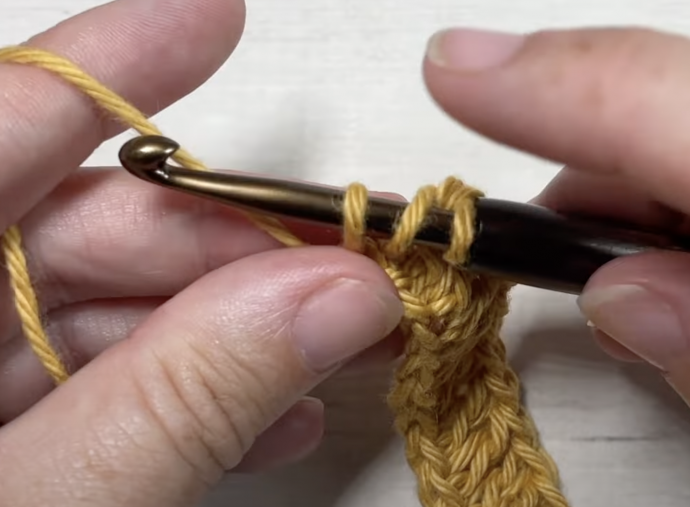
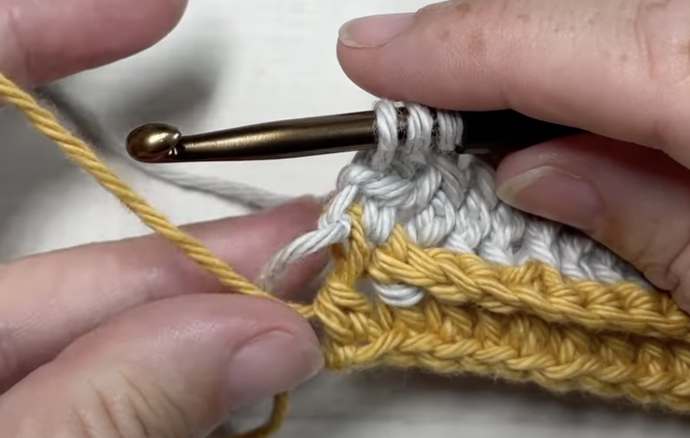
Row Two:
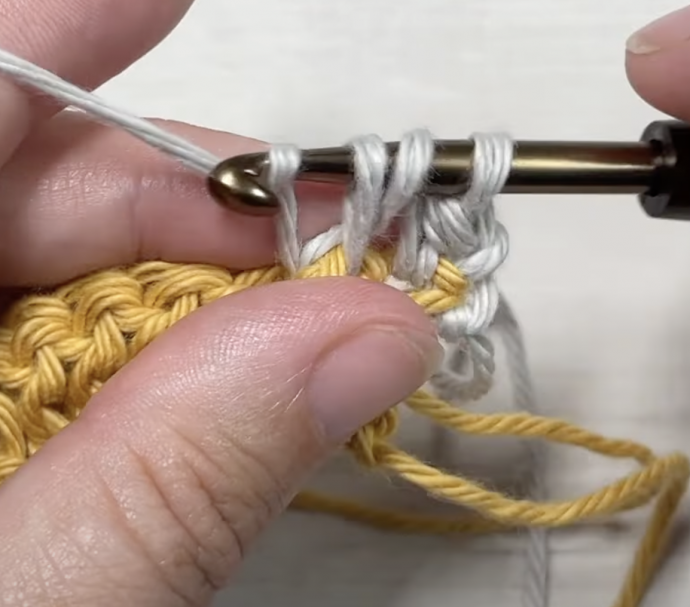
With colour B, hdc in the 1st st, fpdc in each st across until one st remains, hdc in the final st (this is your ch-3). Ch 1, turn.
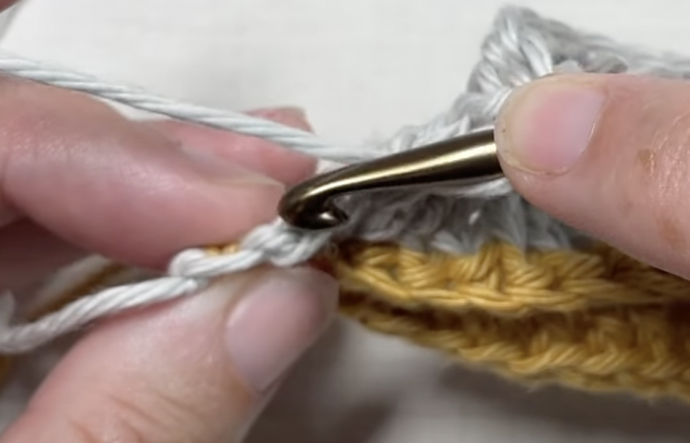
Row Three:
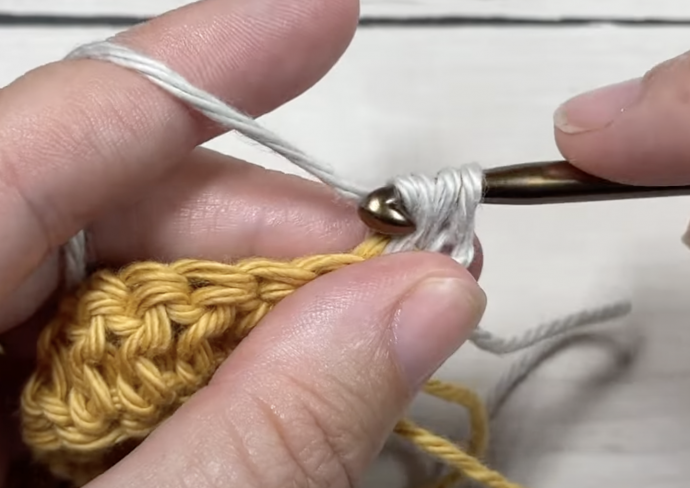
Hdc in the 1st st, fpdc in each st across until one st remains, hdc in the final st switching to colour A. Ch 1, turn.
Row Four:
With colour A, hdc in the 1st st, fpdc in each st across until one st remains, hdc in the final st (this is your ch-3). Ch 1, turn.
Row Five:
Hdc in the 1st st, fpdc in each st across until one st remains, hdc in the final st switching to colour B. Ch 1, turn.
And that’s it!
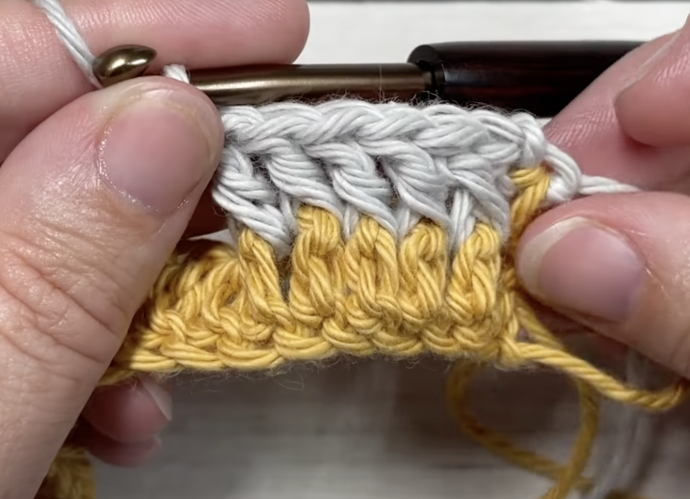
For this patter your will see that you are always repeating the row two stitches, the only thing that changes is the colour. After row one you will work two rows in each colour alternating back and forth for as long as you would like. Fasten off, weave in your ends.