7 Tips & Secrets For Baking Amazing Bread

What is the secret to bread baking? What are the tricks to get a bread so delicious you can’t stop eating? No disrespect to that loaf you just bought at the supermarket, but once you learn to make bread at home, your life will change. It's a task that may seem daunting. Kneading. Pulling. Waiting. Baking. It's a process that will become second nature over time, but the toughest part is actually just sitting down to do it. After those tips, bread baking will get much, much easier.
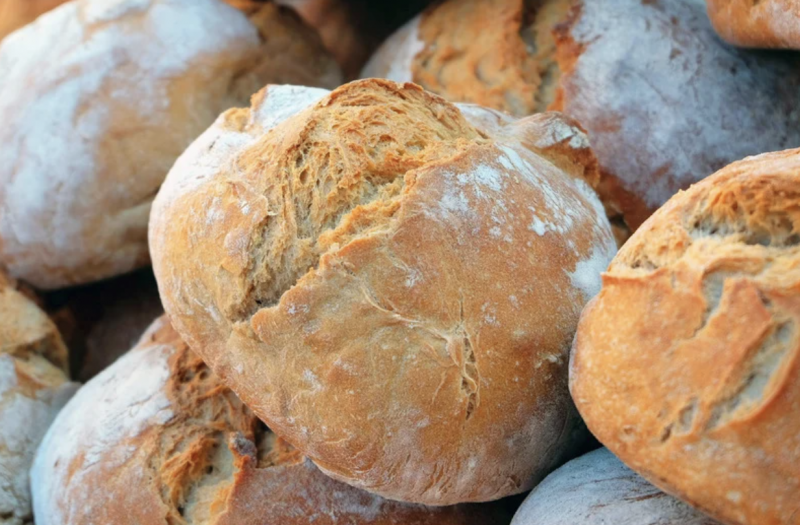
1. How to achieve a professional crunchy crust
Next time you buy good-quality bread from a professional bakery, notice its underside, which should have a nice, crunchy crust. Similarly, a good pizza should have a crisp base. This crunchy finish comes from baking in professional ovens that reach very high temperatures. However, there are a few simple yet effective tricks that can help you achieve these results at home.
2. Pizza crust tip
A perfect thin-crust pizza should have a crisp base, as well as being slightly blistered at the edges and puffed up in places. Scatter the baking tray with a little fine cornmeal to help achieve this.
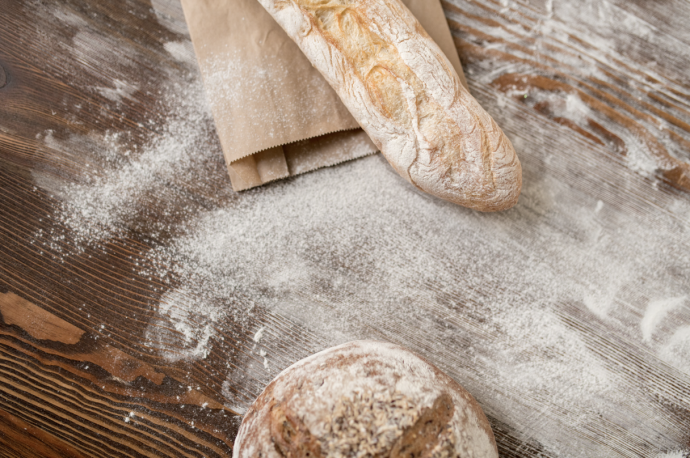
3. Bread crust tip
Good homemade bread should be golden brown and well risen, with a crunchy top crust. To help the underside of the bread get crisp, put a little scattered flour or semolina on the tray before baking.
4. How to test when bread is done
To ensure that each loaf is baked to perfection, do not open the oven until at least the minimal cooking time mentioned in your recipe has passed. At this stage, the most accurate way of determining whether bread is fully baked consists of inserting a thermometer into the center of the loaf. The temperature should be 200of (94oc). If you don’t have this tool, you can still use sight and sound to determine doneness. Bread that is baked to perfection should be golden brown in color and have a dry, firm crust. It should also detach easily from the baking sheet or pan. Carefully pick up the bread—use a dish towel to avoid getting burned. Knock on the underside with your knuckles. If it sounds hollow, it means it is ready to come out of the oven.
5. Allow to rest before cutting
It is tempting to cut into home-baked bread as soon as it comes out of the oven and to enjoy a slice while it’s still hot. However, if you do so, you will end up with a damp, compressed loaf that will remain misshapen where you’ve cut it. Allow the bread to rest for at least 20 minutes before you cut into it. This interval will allow the interior steam to disperse gradually, leaving the bread light and springy.
6. Handling & using ciabattta dough
If you are baking ciabatta bread, make sure that the dough is wet and loose on kneading, since this will help create the large air pockets traditionally found in the finished loaf. Wet doughs are much easier to knead in a machine fitted with a dough hook. If you don’t have this particular attachment, however, follow the steps below.
1. Carefully tip the risen dough out of the bowl and onto the work surface, trying to handle it lightly.
2. Knead with your knuckles, trying not to incorporate too much extra flour into the dough, which should remain loose and wet. Soft, sticky dough is difficult to handle, but it is the only way to obtain a well-risen ciabatta loaf with the customary large air pockets inside.
7. Handling & using pizza dough
Pizza dough is similar to ciabatta dough, in that it should be a loose, damp dough that is quite delicate to handle. With pizza dough, gentle stretching rather than vigorous rolling is the best way to achieve the desired shape without losing valuable air pockets in the dough.
Roll it
Roll the pizza dough out as gently as possible, putting only very little pressure on it.
Hang it
Use your hands to stretch the dough, and let it hang by its own weight until it gradually grows larger.
Stretch it
Finally, use your hands to gently stretch the enlarged dough to its final shape on a lightly floured baking sheet.