Baking Tips for Breads, Batters & Pizzas

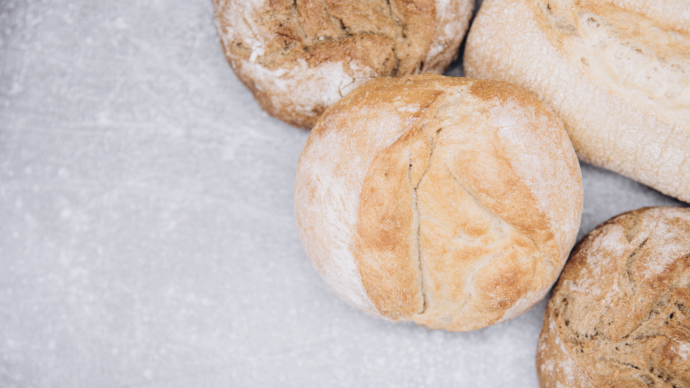
Baking bread, batters and pizzas is one of the most satisfying at-home cooking projects. That freshly baked bread smell alone is worth the effort. After you learn the basics, we’re sure you’ll be absolutely hooked on making your own bread and the magic that comes with the process. From mixing to kneading to proofing, here are some tips and techniques you need to make bakery-quality bread right in your own kitchen.
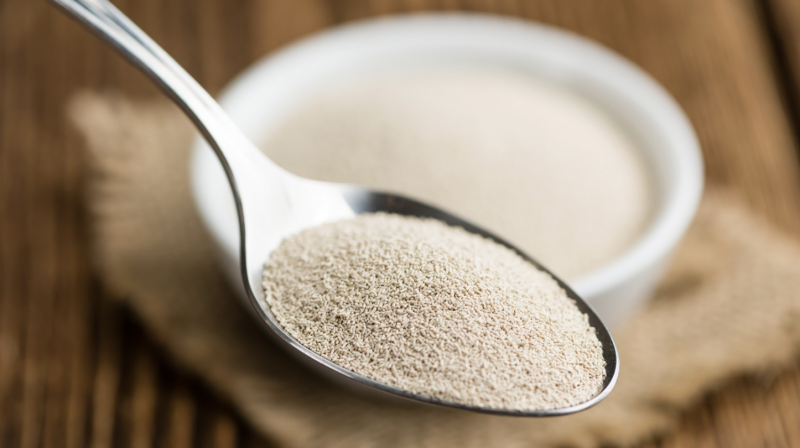
1. How to start yeast
Starting yeast to make bread usually involves activating dried yeast with warm
water. The temperature of the water is of paramount importance: if it is too cold, the yeast will not activate; but if it is too hot, it will kill the yeast. The ideal temperature of the water is room temperature or lukewarm. A pinch of sugar can help, too. Pour the dried yeast (make sure that it is in date) into the warm water, and whisk until it has completely dissolved. After a few minutes at room temperature, the mixture should foam up and start to bubble slightly.
2. Adding salt
Most breads benefit from the addition of a little salt to enhance their flavor. However, it is important to add the salt at the right time. Adding salt directly to the yeast can kill the yeast and stop the bread from rising. To get around this, add the salt to the flour separately from the activated yeast mixture.
3. Ambient temperature for rising
In order for bread dough to rise well and quickly, it needs to be left at the correct temperature. If the temperature is too low, the dough will still rise, albeit very slowly; however, when the environment is too hot, there is the real risk of killing the yeast and stopping the rise altogether. The ideal place for your dough to rise is a warm room, somewhere between 70oF (21oC) and 90oF (32oC). Before leaving the dough to rise, cover it with greased plastic wrap.
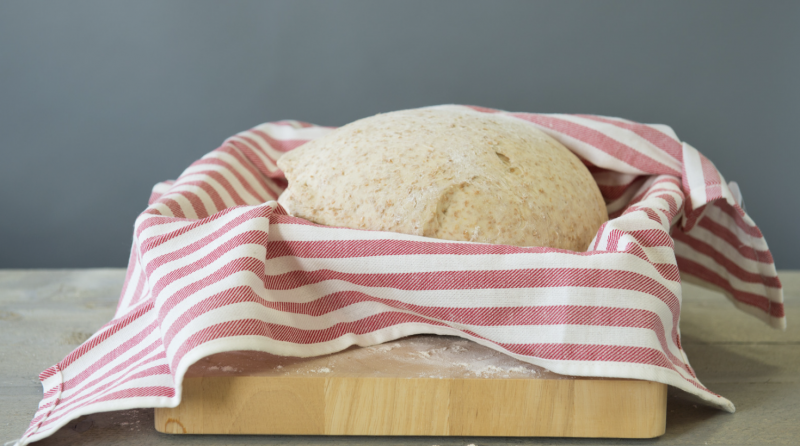
4. Allowing the dough to rise
To make sure the dough rises well, put it in a large, clean bowl with plenty of room for it to expand. Spray the inside of the bowl with a little baking spray, then gently place the dough in the bottom. Also spray one side of a large piece of plastic wrap, and use it, sprayed side down, to seal the bowl. Sealing the bowl: a warm, draft-free environment will help the dough rise, so make sure the bowl you use is well sealed with plastic wrap.
5. The windowpane test for dough
The windowpane test is a simple check that can tell you, at a glance, whether your bread has been kneaded enough and is ready for the next stage. Take a walnut-sized piece of dough and stretch it between the thumbs and forefingers of two hands to make a thin sheet of dough. If the dough is semitranslucent and lets light through it without breaking or tearing, then it is ready to move on.
6. Proofing before baking
After bread has risen for the first time, it is kneaded briefly (called “knocking back”) before being shaped into its final form. It is then left to proof, or rise, for a second time. To help a loaf proof successfully, cover it in greased plastic wrap and keep in a warm, draft-free environment, as with the first rise. After proofing, the dough may need scoring before baking.
7. How to give your bread a springy top
Ensure that your bread has a light, springy crust by baking it in a steamy oven. Steam is especially important during the first part of the baking. To introduce steam to the oven, place a roasting pan half full of boiling water in the bottom of the oven just before baking your bread. There are also a few other tricks you can use.