7 Freezer Tips & Tricks

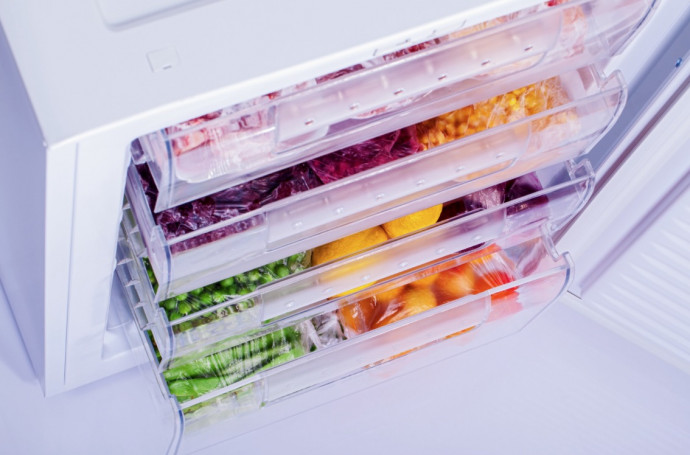
Storing food in an appropriate container maximizes space. Freezer bags are one of the best options for soups, stews, fruits and vegetables. Kitchen tip: Allow hot liquids to cool first before placing them in a sturdy freezer bag. Once cool, place them on their sides and freeze in a single layer. Once frozen, you can stack them to save space.
1. Lost power indicator
Try one of these solutions for gauging whether your refrigerator lost power while you were on vacation.
A. Place three ice cubes in a zipper-lock bag on a freezer shelf before leaving. If the cubes have melted together upon your return, you know the fridge shut off while you were away.
B. Take an empty plastic soda bottle, fill it halfway with water, seal it, and place it on its side in the freezer. Once the water has frozen, stand the bottle upright in the freezer so that the ice is now oriented vertically against one side of the bottle. When you return from vacation, if the ice has re-formed at the bottom of the bottle, it’s time to clean out the fridge and freezer.
2. Energy-efficient freezing
Throw a few 2-liter soda bottles partially filled with water into your freezer. The extra mass helps keep the freezer cold during defrost cycles.
3. The efficiency of the muffin tin
Many cooks like to freeze small portions of homemade stocks and soups in individual containers such as recycled yogurt cups. But if your freezer is more than a few steps away from the stovetop—say in the garage or basement—it may be hard to get the containers to the freezer without spilling a cup or two. To avoid any potential mess or lost food, try placing a container in each cup of a muffin tin and you’ll be able to carry the whole lot with ease.
4. Single-serving smoothies
If you like to drink smoothies for breakfast, you know that prepping several different kinds of fruit every morning can be a hassle. You can prep a whole week’s worth of smoothie ingredients by peeling and cutting up all the fruit and then portioning enough for one smoothie into each of five zipper-lock freezer bags. Freeze the portioned fruit and then simply pull out a bag and blend its contents with yogurt or juice as needed in the morning. As an added bonus, with the fruit frozen solid, there’s no need for ice, which can water down a smoothie anyway.
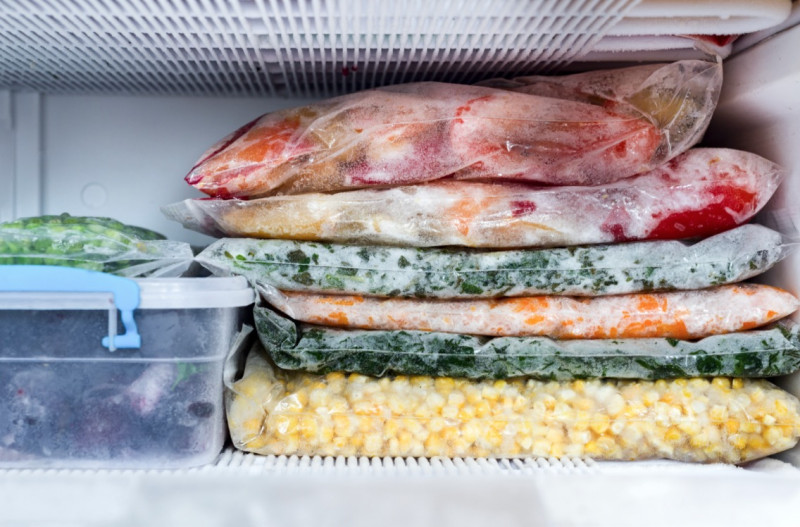
5. Freezer filing
Long-term freezer storage comes with a downside: even if food is clearly labeled, it often gets buried—and then risks being forgotten. To keep track of inventory, freeze food flat in labeled zipper-lock bags and then arrange the bags in a desktop file organizer. This system keeps the freezer tidy and takes up much less space.
6. Rubber band labels
Broccoli and some other vegetables come neatly contained by thick rubber bands. Recycle the bands by using them to label items destined for the freezer. Stretch a band around the top and bottom of a container (which also helps keep a loose lid in place) and write the container’s contents on the band with a permanent marker. You can even flip the band over to get more uses out of it.
7. Thrifty cook’s vacuum sealer
Here’s an approach to vacuum sealing without the bulky, pricey machine or special bags. Sealed according to this method, chicken breasts stored in the freezer for a month exhibited almost no ice crystals (they are a sure sign of freezer burn).
1. Pack the food snugly into the corner of a large zipper-lock bag. Starting from the side closest to the food, close the zipper almost all the way, leaving a small opening at the end opposite the food. Insert a straw ½ inch into the opening.
2. Place the bag in a pot of water. Slowly pull down on the bag with one hand while massaging out the air through the straw with your other hand. When all of the air is removed from the bag and the water level almost reaches the top, remove the straw and seal the bag.