How to Use a Lifeline in Knitting

A lifeline is ideal if you are knitting a pattern that is large and/or complicated for you. It is often used in lace knitting, but can be used in any type of knitting and by knitters of any skill level. By pulling a string through the row or round where you know you have knit correctly, you can undo your knitting later if you have made a mistake. This way you can put the stitches back on your needle without them falling off or twisting. If you are knitting a difficult lace pattern, it's a good idea to set a lifeline every 10 rows or so, so that you do not have to take too much of your work off if you make a mistake.
PLACING THE LIFELINE
To make a lifeline, you will need a yarn needle (the same one you use to weave in the ends) and a plain contrasting piece of yarn or string. Make sure the contrasting yarn does not rub off on your project or that it is bulky or textured. Ideally, it should be smaller than the yarn you are using for your project. Some people like to use plain floss. The lifeline yarn should be longer than your work piece.

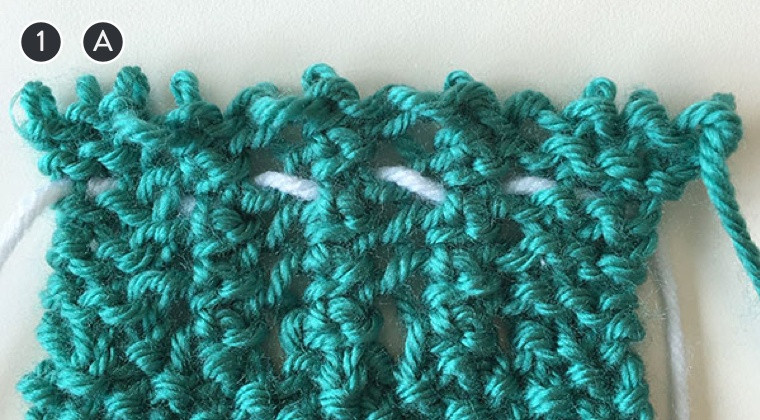
STEP 1
Knit until you are ready to put the lifeline in. Count your stitches and check the pattern to make sure you are happy with how the project looks so far.
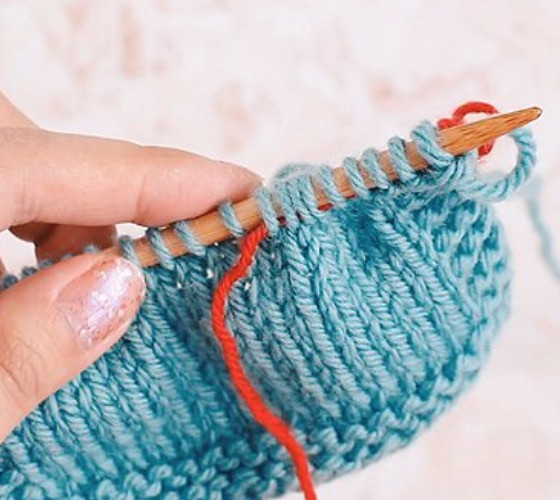
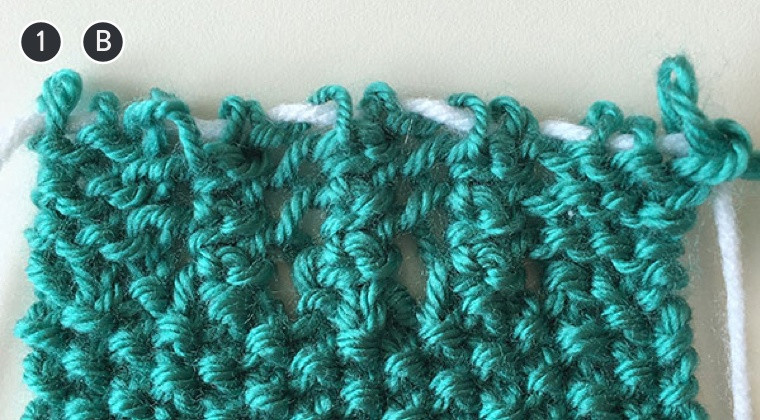
STEP 2
Thread your yarn onto the yarn needle, and then thread the yarn needle through every stitch on the needle. When you've finished, you will have a piece of yarn and the needle through every live stitch.
STEP 3
Remove the yarn needle, and leave the lifeline in place. Ignore the lifeline, and continue knitting in pattern.
USING THE LIFELINE
Use the lifeline when you find a mistake in your pattern and you need to rip out rows to remove it.
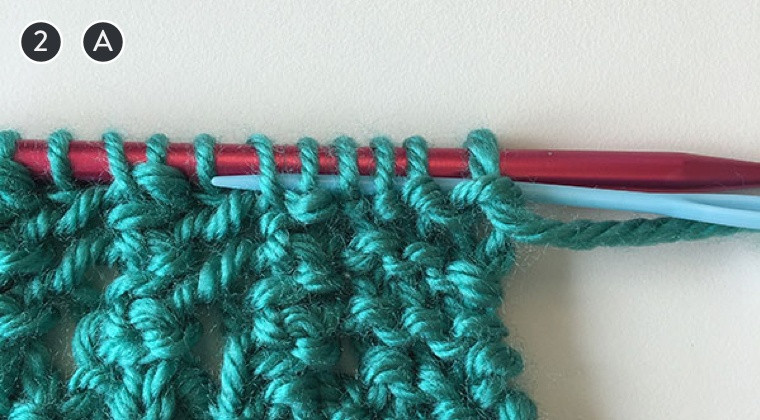
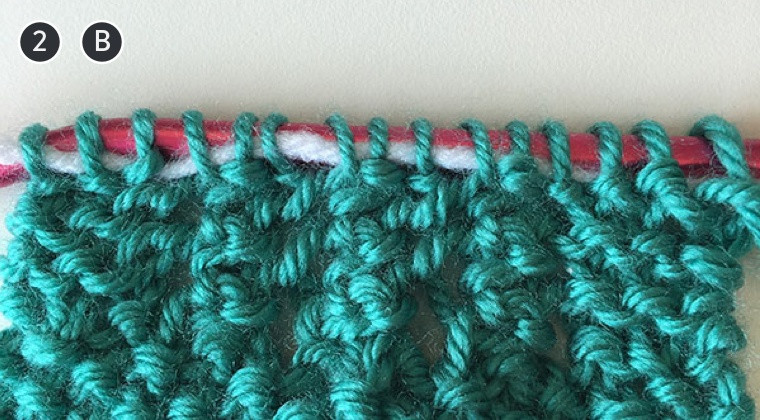
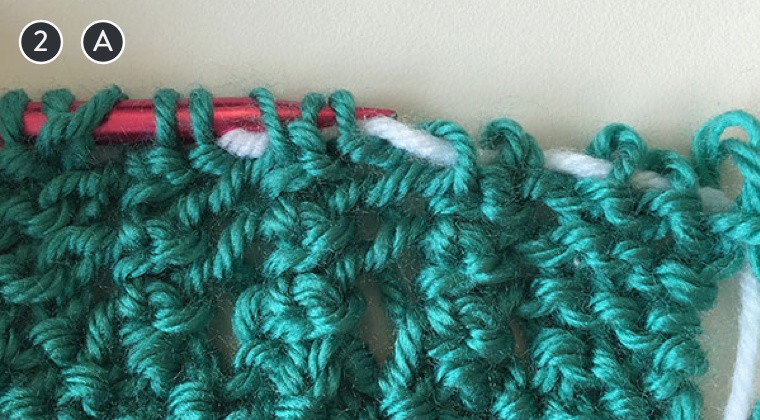
STEP 1
Remove the needles from your project, and frog (rip out) the project until you reach the lifeline. Once you reach the lifeline, your project will not rip out any more until you remove the lifeline, so you don't have to worry about accidentally ripping back too far or about dropping individual stitches.
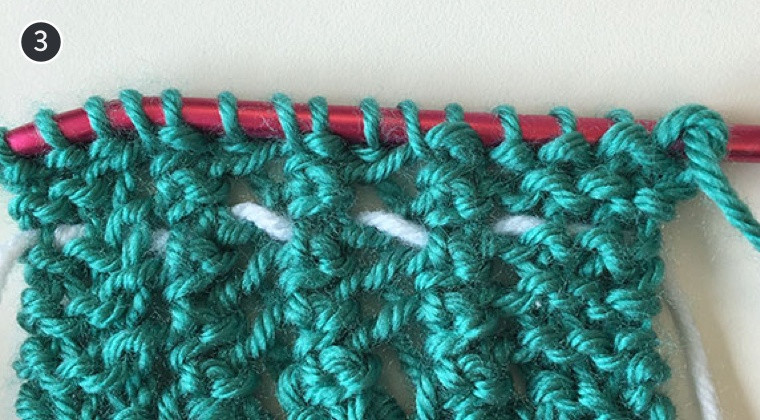
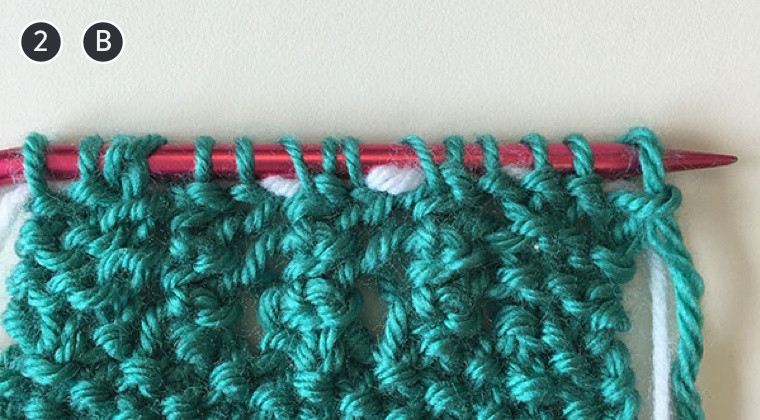
STEP 2
Now, place the stitches on the lifeline back onto the needles, making sure not to twist them, and start knitting again.
Some Lifeline Tips
Lifelines can be yarn, string, and even unwaxed dental floss!
It’s ideal for a lifeline to be in a contrasting color so you can spot it easily.
It’s also ideal for a lifeline to be the same yarn weight (or thinner) than the yarn you’re knitting with. This ensures that the lifeline doesn’t stretch out the stitches it’s inserted into.
If you’re having a hard time spotting the stitches on the lifeline, pull up gently on the lifeline. The hidden stitches will emerge, ready for picking.
Make sure you don’t split the yarn when you’re picking up stitches. A blunt-end tapestry needle is preferable to a sharp one for this purpose.