7 Kitchen Tips & Tricks

Blossom Lady
Dec 16, 2021 05:34 AM
The kitchen is often the most used room in your home - and the least loved. Half-filled spice jars can clutter your countertop. Piles of mismatched containers and lids spill out of your cabinets. And coffee filters and paper plates can pile up in your pantry alongside bulky cereal boxes and bread bags. Sometimes the kitchen can be a total mess. But do not worry about it!
Here are 7 clever kitchen organization ideas that will keep your kitchen clutter-free, so you can focus on what's important (no, really): enjoying your food.
1. Keeping wine good to the last drop

A. Recorking a wine bottle to preserve leftovers can be a challenge if the cork no longer fits into the neck of the bottle. Use a rasp grater to shave off a portion of the cork so that it can be easily reinserted into the bottle.
B. Allowing red wine to “breathe,” or briefly exposing it to air, can enhance its flavor. But prolonged exposure causes it to over-oxidize and take on an unpleasant, vinegar-like taste. Gadgets like vacuum pumps minimize air exposure to preserve the flavor of leftovers, but you can get the job done with this homemade solution: completely fill an airtight container, like a small, lidded mason jar or an empty water bottle, with the leftover wine (the wine must reach the very top of the container to eliminate all air). Screw on the top and refrigerate for up to one week.
C. If you’re following the tip above and storing leftover wine in an airtight container, but you have only a small amount of wine left over, you can add clean marbles to the jar until the wine reaches the brim. No air; problem solved.
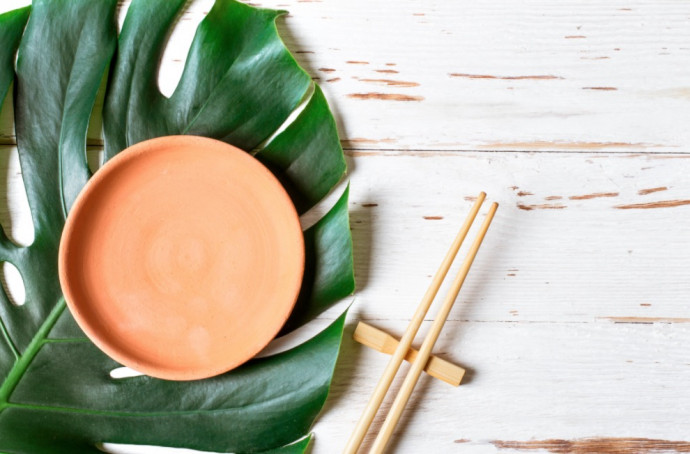
2. Chopsticks to the rescue
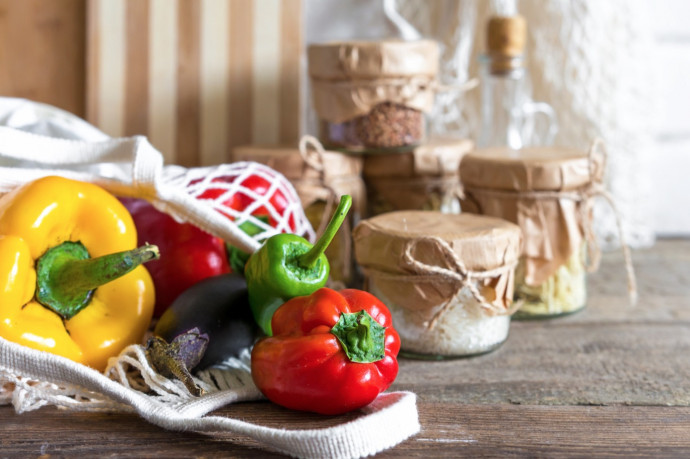
3. Keeping dry goods dry
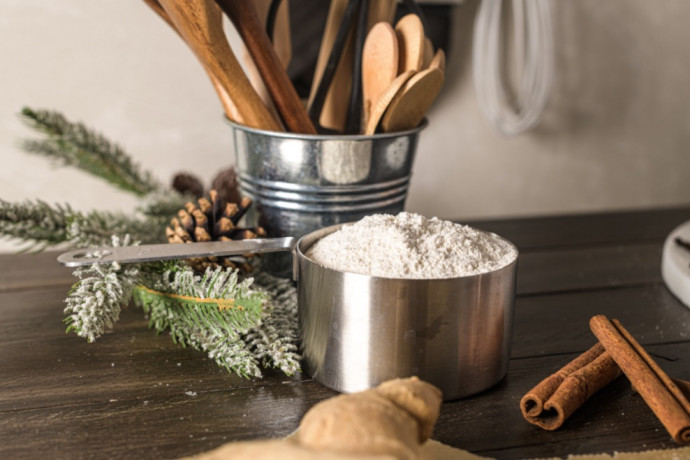
4. Smart flour storage
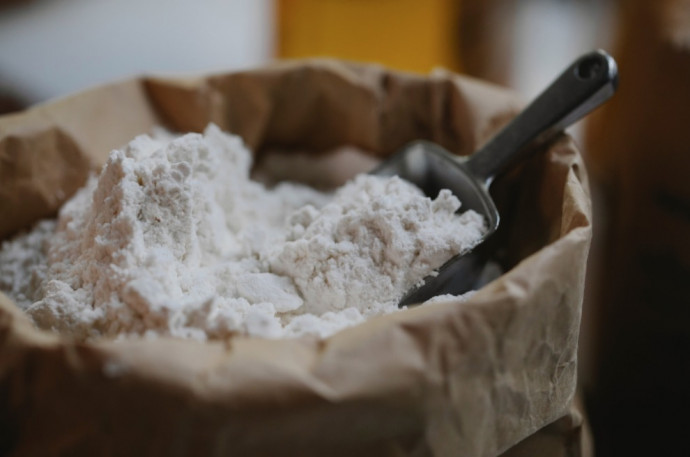
A. Store your flour in the freezer. This method also eliminates the possibility of bug infestations in the flour.
B. Those who may not have enough freezer space can try this tip: store flour in a microwave oven. When you need to use the microwave, just remove the flour, replacing it when you’re finished.
5. Cake flour arrangements
6. Terra-cotta for saving brown sugar
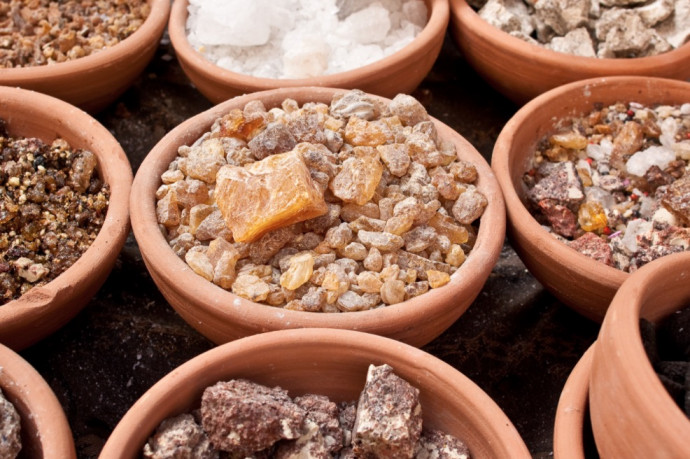
1. Find a shard of terra-cotta about the size of a small saucer, with no sharp edges. Scrub it free of dirt and soak it in water for 15 minutes.
2. Blot the piece with a towel before placing it at the bottom of your brown sugar container. It will slowly release moisture, keeping the sugar soft.
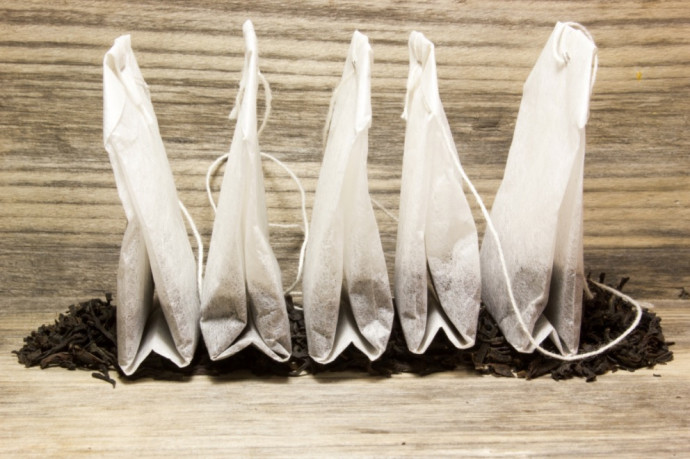
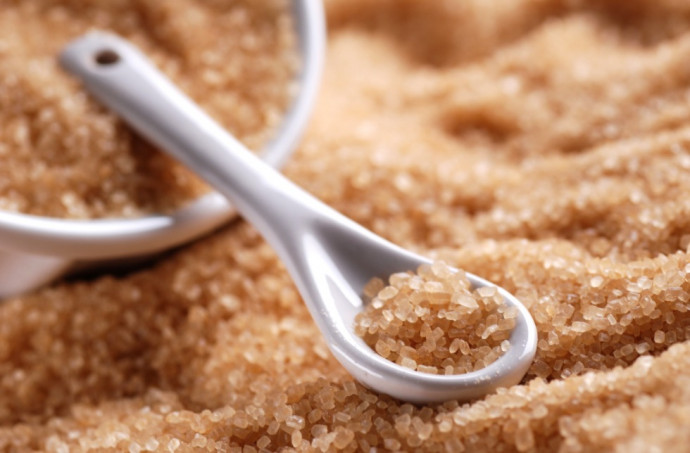
7. Brown sugar in the bag
No comments
Write a comment