Label Ideas: 10 Tips for Organizing with a Label System

Labels are the icing on the organization cake. Done right, a great label makes any organizer’s heart go pitter-patter. One downside of having stuff is finding what you need, when you need it. Constantly searching for something not only wastes time, but it can drive you bonkers! Organizing labels can help. Here are ten smart and creative ways to label just about everything.

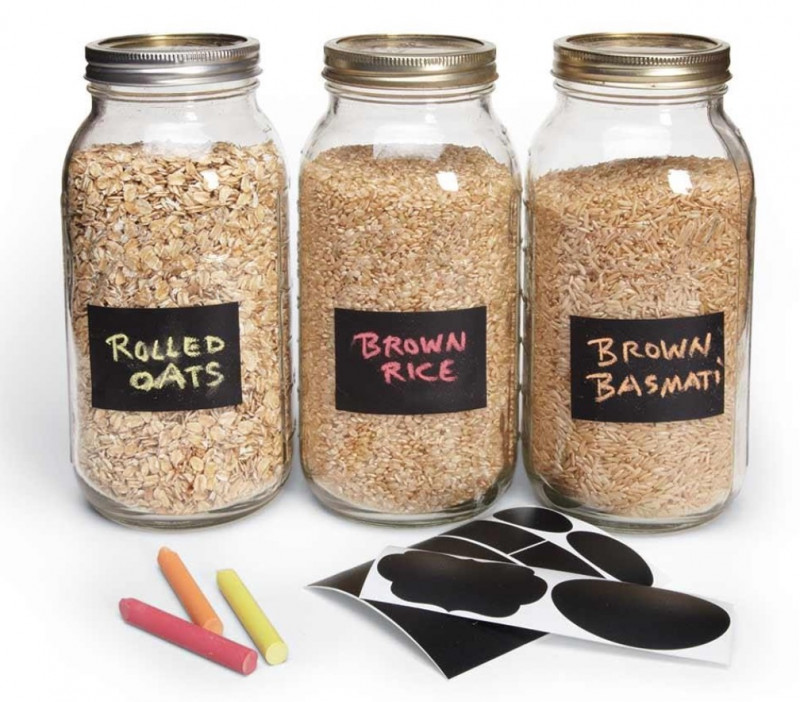
1. Vinyl chalkboard labels are great because they can be erased and rewritten on. They even sell tape with a chalkboard-like surface for this purpose. Just neatly cut off a section, write, and label.
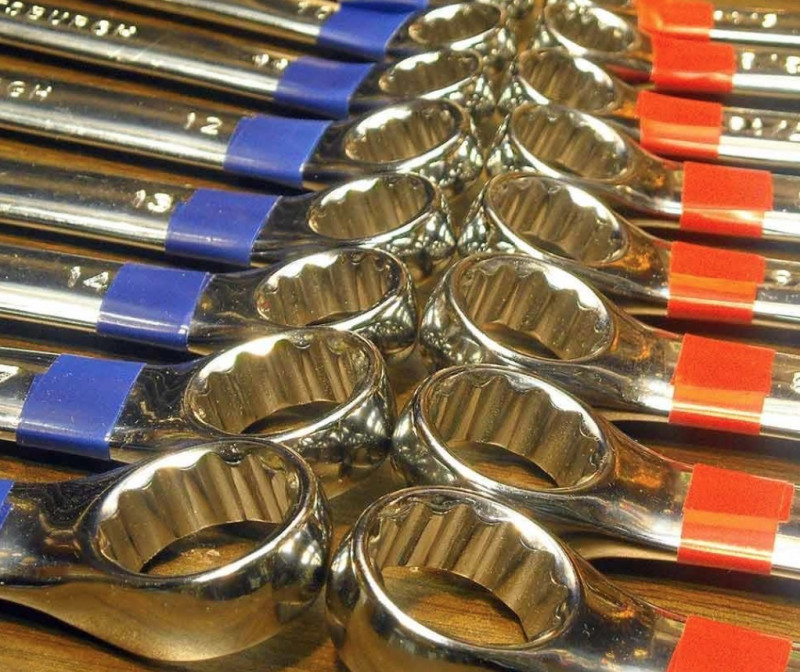
I use colored vinyl tape on my wrenches to identify the type. I wrap a strip of blue tape around the handle of my metric wrenches and red tape around the SAEs. I don't cover the whole handle, just a strip of tape once around at one end so I don't cover up the size marking.
2. If you can’t find chalkboard labels, make your own. Simply paint wooden tags, available at most craft stores, with chalkboard paint and let it dry for about twenty-four hours before using.
3. Printable Magnetic Labels
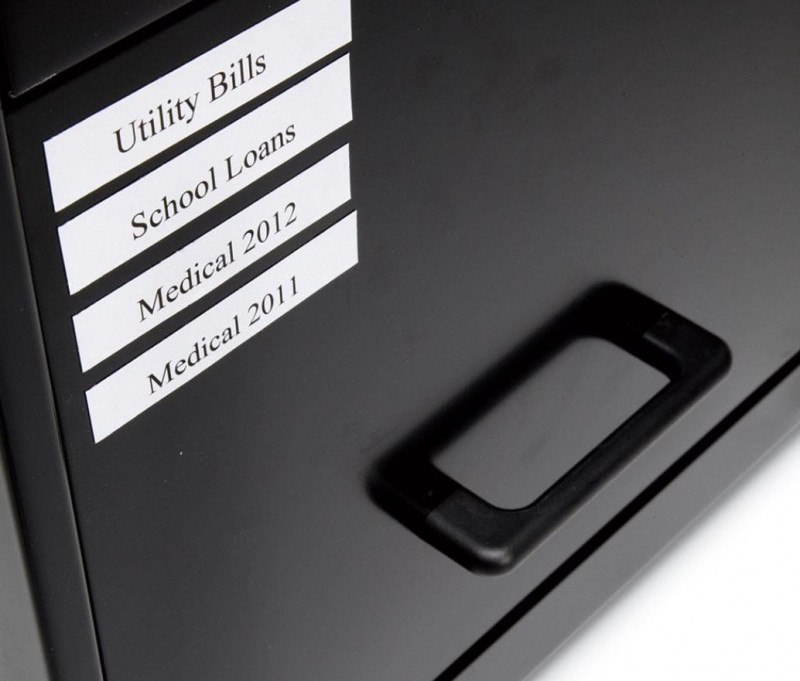
I have terrible handwriting, so I love making magnetic labels with my home printer. Just create the labels on your computer, put the magnet sheets in your printer, hit 'print' and cut them up. They're great on metal file drawers and tool chests. When you reorganize, just move the labels around or add new ones.
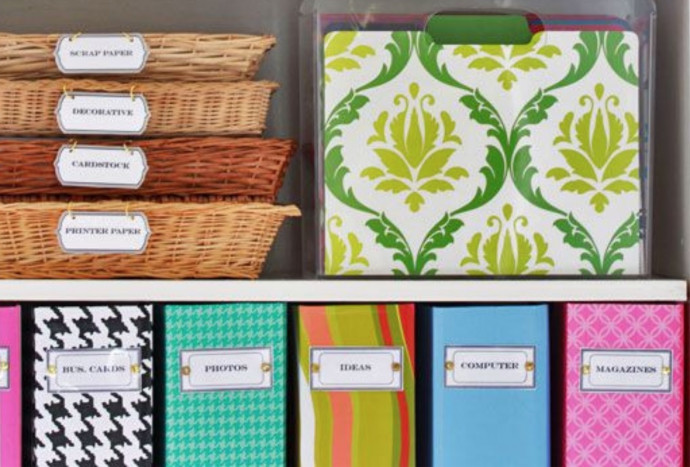
4. A good label maker is like a best friend: reliable, fun, and makes life better. Use it to label everything from file folders to drawers and shelves to food bins.
5. Chalkboard Sticky Labels
You can buy already painted self-adhesive chalkboard labels at amazon.com and other online retailers. Search for 'chalkboard stickers.'
6. For large plastic storage totes, make your own protected plastic-coated tags. Type a general label with the contents and print three copies. Slide each copy into a plastic page protector sleeve, and attach to the tote with clear packing tape on three sides of the bin (top, long side, and short side) so you can see what’s inside from any direction.
7. Washi tape makes really pretty labels! Choose a pattern that’s not too busy, tear off a section, stick, and then write.
8. If you have glass containers, get an etching kit and etch the label on the side. This is time intensive to do, but the result can be stunning. This is a wonderful way to label something you plan to have on display.
9. Take a picture of the contents of a bin and then tape the picture to the front so everyone will know where to put things away. This works also well for shoes, allowing you to quickly see which pairs are in each shoebox.
10. Office supply stores can often laminate labels with sticker paper. Print the labels first and have them laminate them on paper with an adhesive back. You can then easily attach your labels to the bins.