Discover simple ways to know your cake is ready and an easy toothpick test for baking, learn why to place a small test batch in the oven first before baking. Find out how to toast nuts, why to cool baking sheets before reusing, and more.
It’s true that baking is more scientific than cooking, but it doesn’t have to be intimidating. There are both hard and some soft rules to live by in the baker’s kitchen that take some guess-work and worry away. Experience will teach you which is which, where you can experiment, and what to do when things go south. We all have baked a lot of cookies in our time. Dozens of cakes, a lot of individual treats. You might have noticed, that most tested baking recipes can still flop on occasion. It’s usually a culmination of little issues, you may not even be aware of, that add up to flat greasy cookies or a sunken cake disaster.
Today I’m hoping to share with you some useful and basic baking tips and tricks that will help increase your odds of having perfect cupcakes, cookies, and bread every time you bake. It this series of posts I’m sharing the collected wisdom with you to help guarantee success the next time you prepare to whip up a batch.
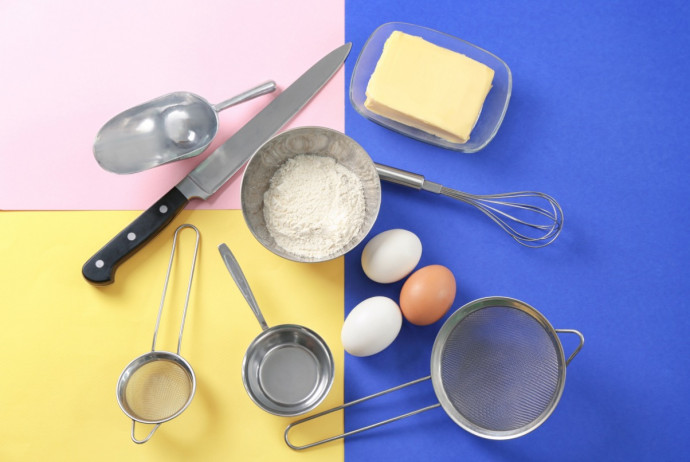
Toothpick/Skewer Test.
If you love baking cakes, it’s probably a good idea to invest in a package of long toothpicks or wooden skewers for testing. (Normal toothpicks just don’t cut it when you need to test a deep cake.) After baking, insert a long wooden skewer into the center-most part of the cake. If it comes out clean, turn off the oven and cool the cake on the counter. Otherwise continue baking.
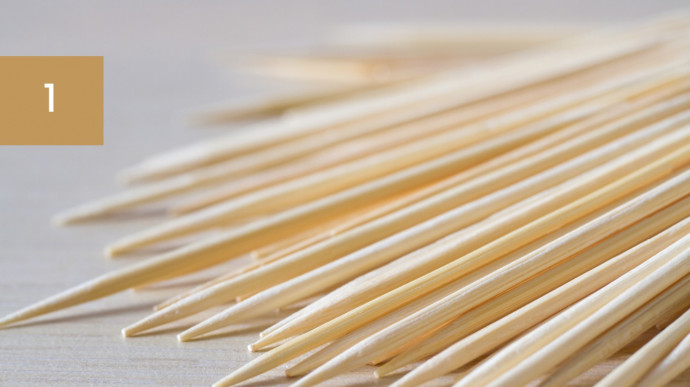
Other ways to know your cake is ready.
If you don’t have toothpicks or skewers on hand, you’ll know your cake is fully baked when: the sides pull away from the pan, the cake is pillowy and golden on top, the top bounces back when you touch it, and/or when the internal temp reads 210 degrees F on a thermometer.
Test batch.

If I’m making something that can be baked in several small batches, I always place a small test batch in the oven first, then make adjustments and continue baking. Things I might adjust: oven temperature, baking time, chilled dough, size of baked good.
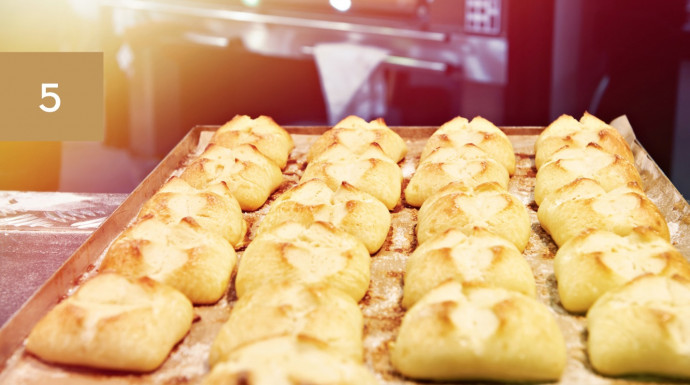
Don’t overbake.
This may seem obvious, but many bakers think their baked goods are not quite done, only to pull them out after they’ve past their prime. Always set the time to the minimum baking temperature, then check. Cookies are usually best when you pull them out just slightly undercooked in the center. Once they’ve cooled on the warm baking sheets the centers will set.
Use cooled baking sheets.
Cool baking sheets between batches before reusing. Wipe the surface of each with a paper towel, or line with a new sheet of parchment paper.
Baking Duo.
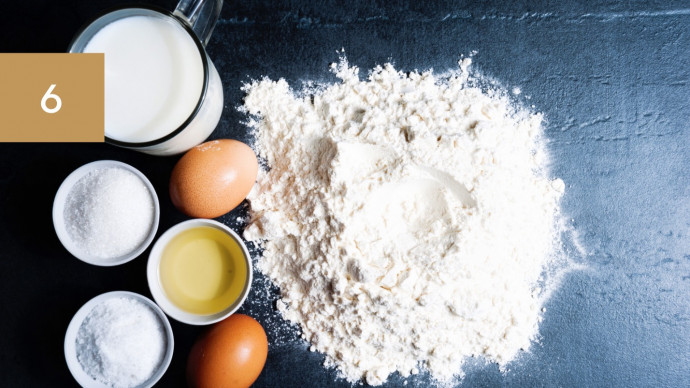
You often see recipes with both baking soda and baking powder. Ever wonder why? Both are used to neutralize the pH balance of a recipe and offer an airy lift. However, if you just add baking soda, you might create neutralization, but not lift. Baking soda needs some acid to react. You could use baking powder alone, but then your finished baked treats might taste too acidic. A combination of both is usually your best bet.
Toasting nuts.
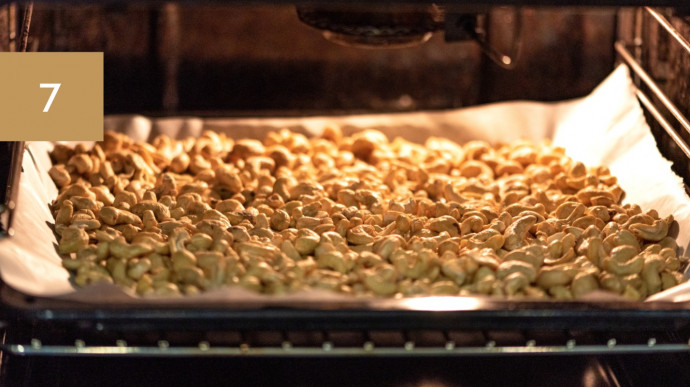
Toasting nuts intensifies their flavor making them stand-out in or on baked goods. Spread the nuts on a baking sheet in a single layer and toast them in a 400-degree F oven for about 10 minutes. Shake the pan once during this time to make sure the nuts toast evenly. The nuts are done when their color has deepened, and you can smell their aroma.