Crochet Basics: Elizabeth Stitch

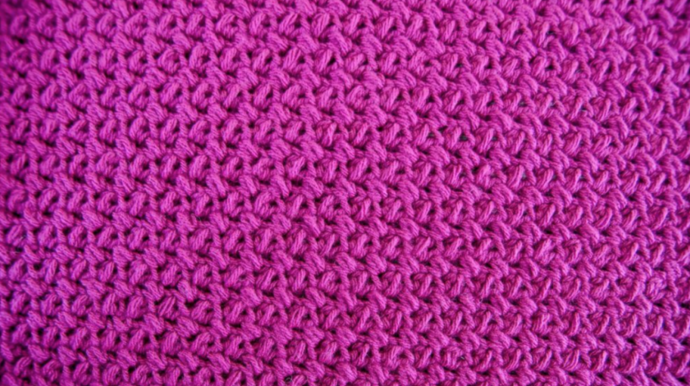
Crochet is an art form, a passion, a therapy, whatever you want to call it, to me it is the most fun you can have with yarn. So, let’s continue to create yarn magic, one stitch at a time! Today we are going to learn the Elizabeth stitch. The Elizabeth stitch crochet, sometimes called the “mini bean” stitch, is fun and easy to learn! All you need to know is a couple of basic techniques and you can learn this stitch. It creates a beautiful criss-cross pattern that looks amazing for just about any type of project! From dishcloths to blankets, the Elizabeth stitch makes your crochet projects really stand out.
The Elizabeth stitch crochet is definitely one you should learn straight away. It’s a great way to make quick and simple projects that look like they are super complicated!
Feel free to use any yarn color! After all, a crocheter’s creativity and the color palette has no limits. Check out our easy-to-follow Elizabeth crochet stitch tutorial! Let’s dive in!
Instructions
- To start a new project with the Elizabeth stitch, you’ll want to make a chain using a multiple of TWO plus one. Each two chains will make up one Elizabeth stitch. So, if you chain 20+1, you’ll end up with 10 Elizabeth stitches and if you chain 60+1 you’ll end up with 30. The “plus one” accounts for the side of the first stitch of the first row.
- For the first/foundation row, insert your hook into the third chain from the hook. Pull up a loop. Yarn over, insert hook into same space, pull up a loop. You should now have four loops on your hook. Yarn over, pull through all four loops, then chain one to close the stitch. Skip the next chain, insert hook into the next chain, pull up a loop. Yarn over, insert hook into same space and pull up a loop. With four loops on your hook, yarn over and pull through all four loops and chain one to close the stitch. Repeat this process until you reach the end of the chain. To start a new row, chain one and turn. (It will look like you have two chains: one to close the last stitch and one to start the new row.)
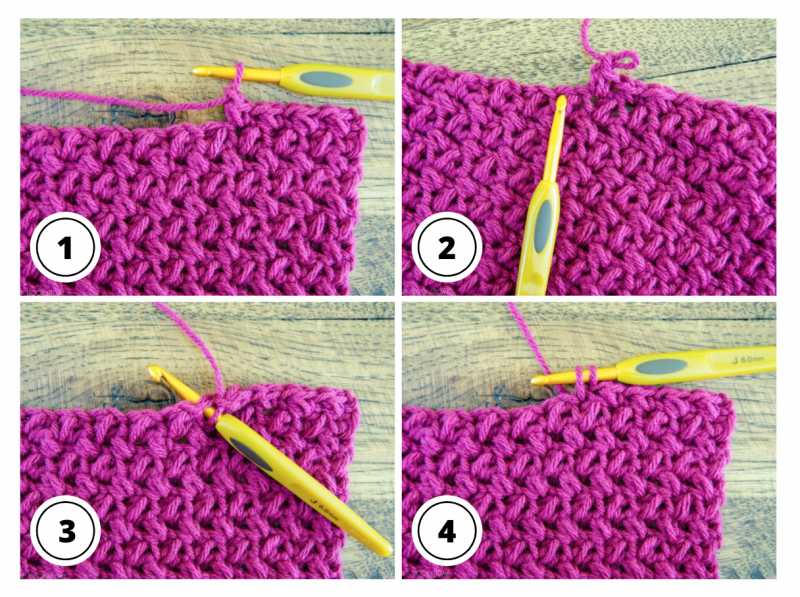
- Insert hook into the side of the next stitch (as pointed to with hook).
- Pull up a loop so that you have two loops on your hook.
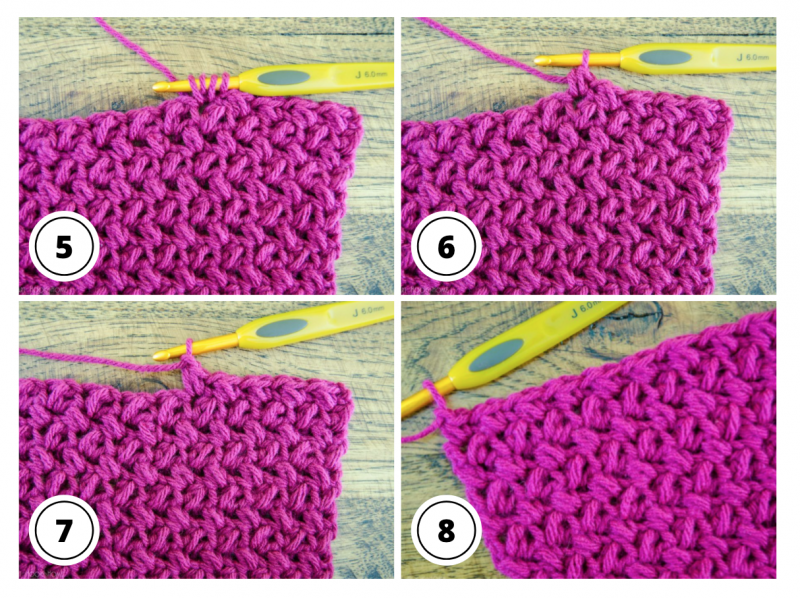
- Yarn over, insert hook into the same stitch, pull up a loop so that you have four loops on your hook.
- Yarn over and pull through all four loops.
- Chain one to close the stitch. Stitch is made!
I hope you have enjoyed learning the Elizabeth crochet stitch! Happy crocheting!
Thanks