How to Crochet the Uneven Berry Stitch Photo Tutorial

The Uneven Berry is one of my new favorite stitches.
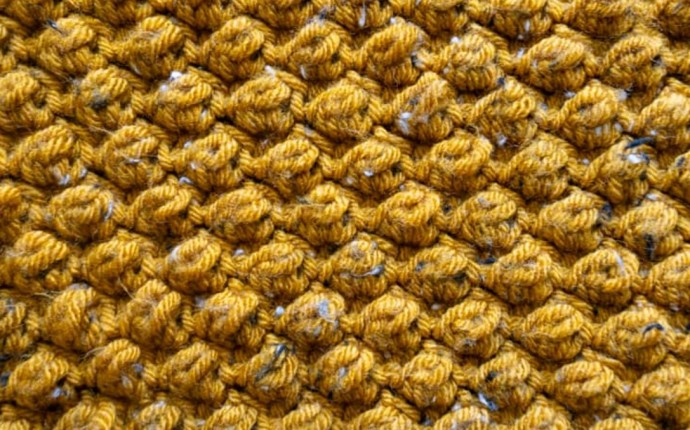
The texture is fabulous, the squish is amazing, and it is absolutely gorgeous.
Learn how to crochet the Uneven Berry Stitch with this photo tutorial!
Materials
- worsted weight yarn
- crochet hook
Instructions
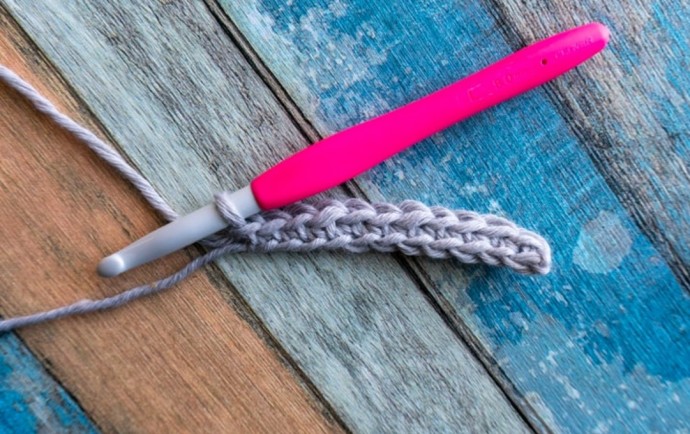
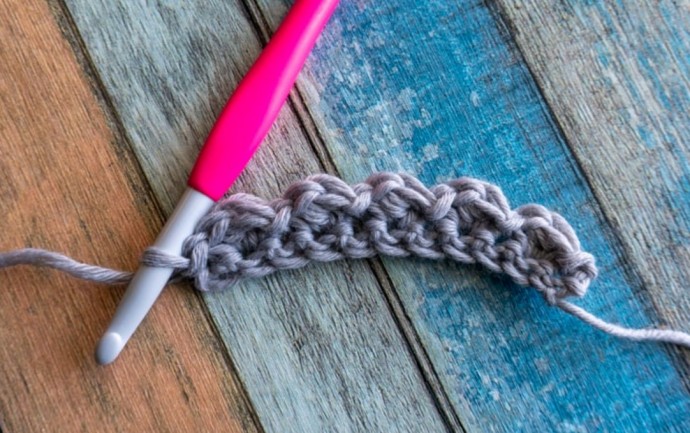
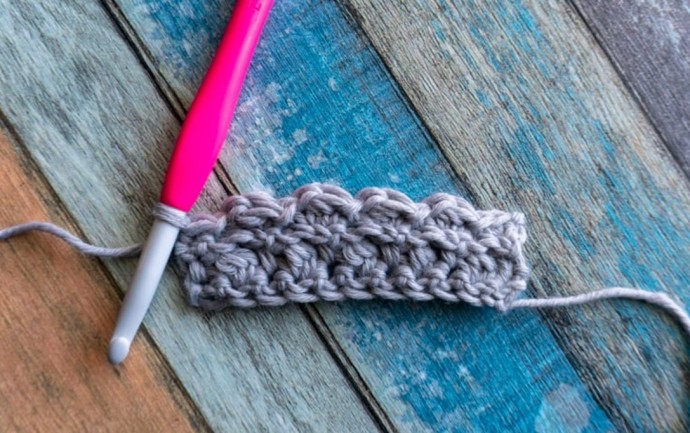
Row 1: Start with a row of single crochets in any odd number. You can use a Foundation Single Crochet row if you like, or ch-12 as I have done in the following photos, then single crochet in the second chain from the hook and in each chain to the end.
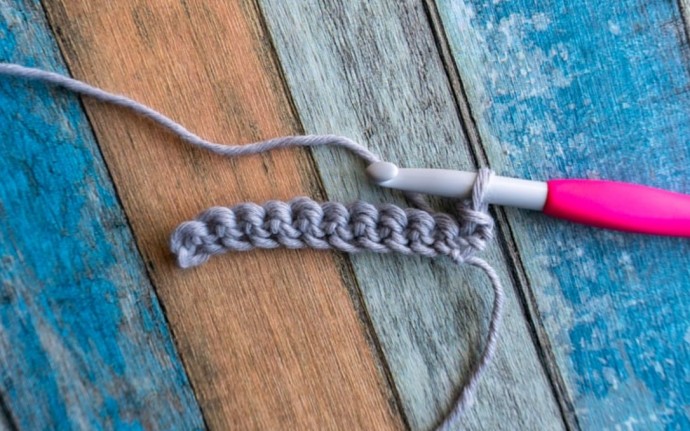
Row 2: Turn (do not chain), and slip stitch in the first stitch.
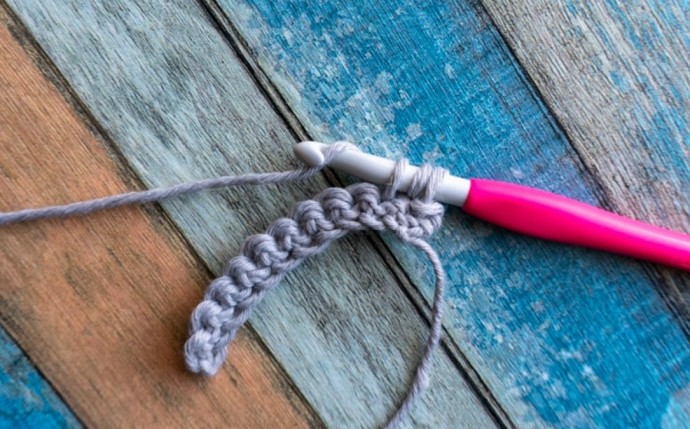
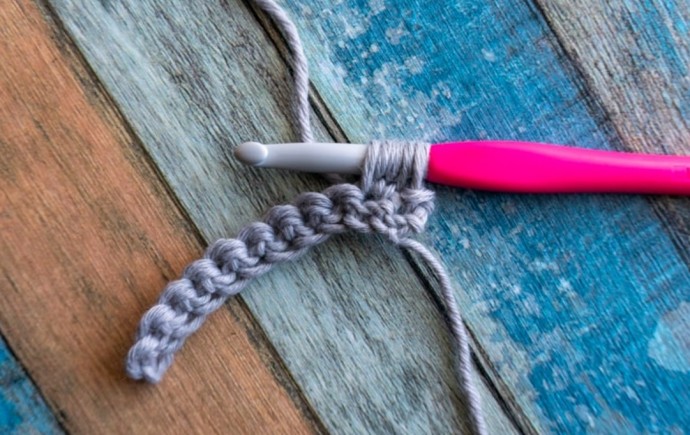
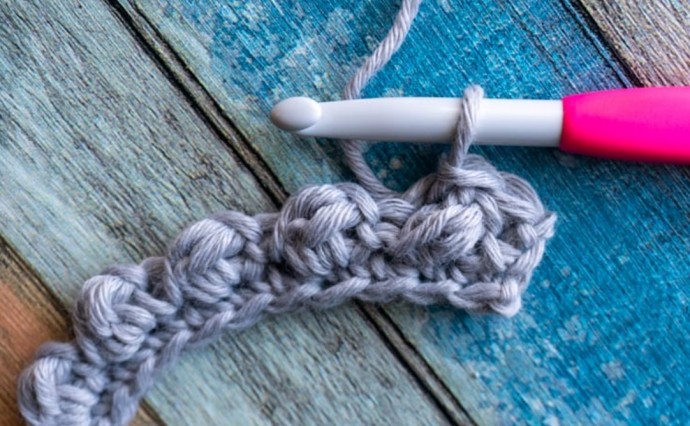
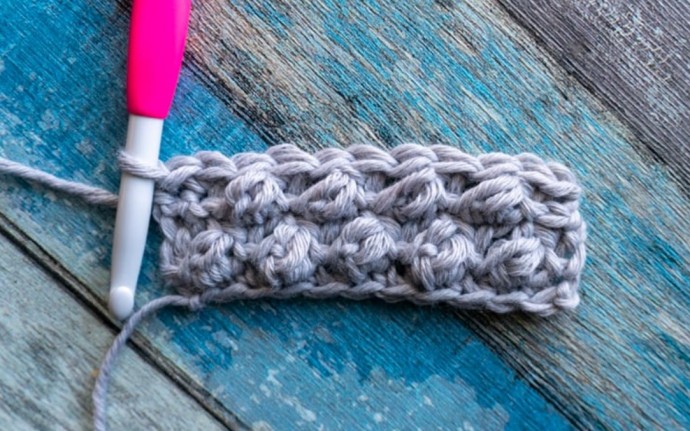
Berry in next stitch by yarning over and pulling up a loop in the next stitch (3 loops on hook).
Chain one.
Yarn over and pull up another loop in the same stitch. (5 loops on hook)
Yarn over and pull through all 5 loops.
Chain one to close the stitch. Berry made!
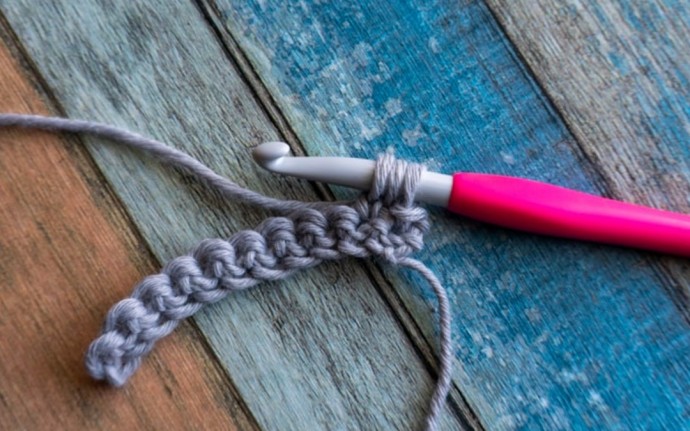
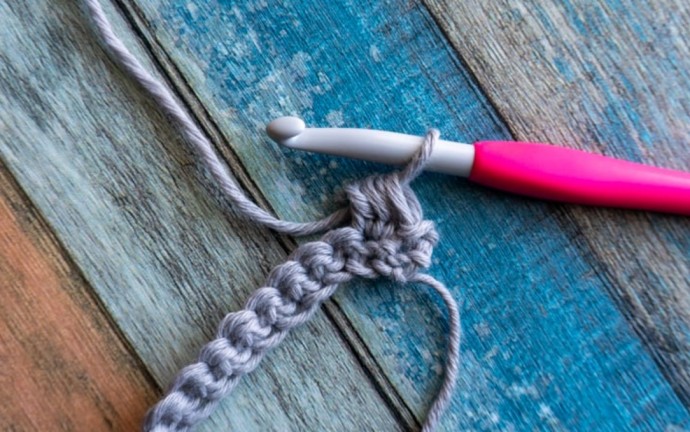
Slip stitch to the next stitch to anchor it.
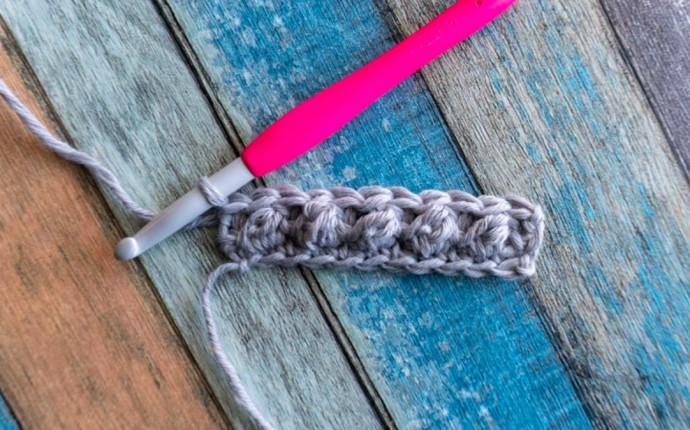
Alternate Berry stitches and slip stitches to the end of the row, ending with a slip stitch. You should have a slip stitch to start this row and to end this row.
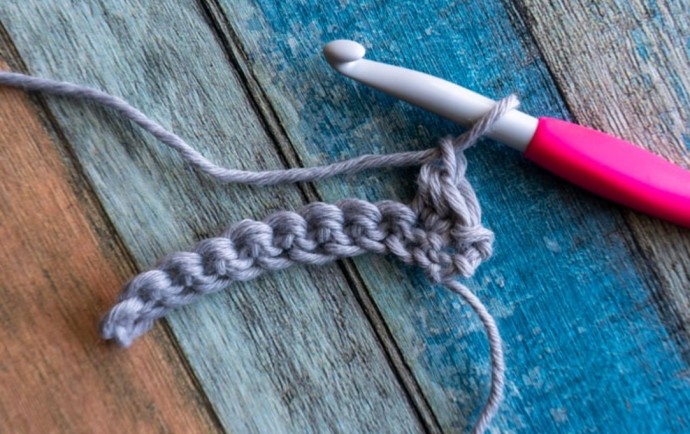
Row 3: Chain one and turn.
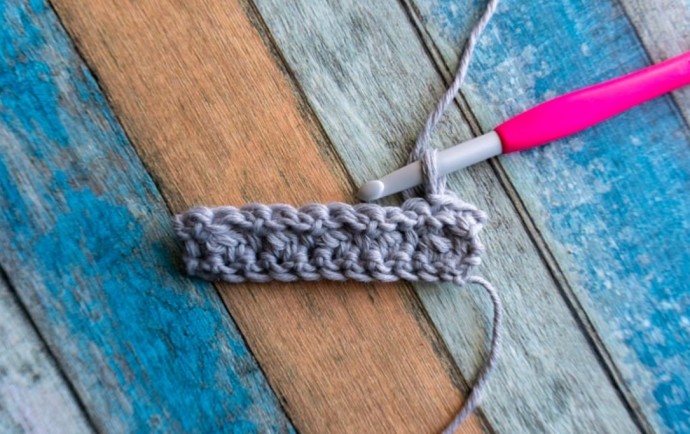
Single crochet in the first slip stitch of the row. Slip stitch in the top of the next Berry.
Alternate placing single crochets in the slip stitches and slip stitches in the Berry stitches to the end of the row. You should start and end this row with a single crochet stitch.
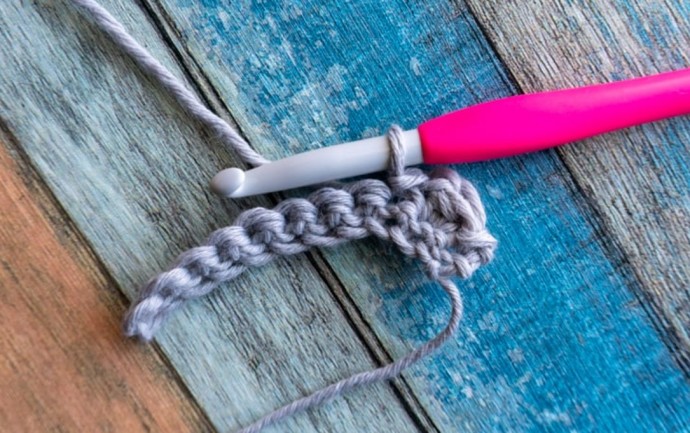
Row 4: Chain one and turn. Single crochet in the first stitch, slip stitch in the next slip stitch. Alternate placing a Berry stitch in the next single crochet, and a slip stitch in the following stitch until you get to the end with only one stitch remaining.
Single crochet in the final stitch. You should start and end this row with a single crochet stitch.
Row 5: Turn, (do not chain) and slip stitch in the first single crochet.
Alternate placing a single crochet in the next slip stitch, and a slip stitch in the next Berry stitch until you get to the end with only one stitch remaining. Slip stitch in the final stitch. You should start and end this row with a slip stitch.
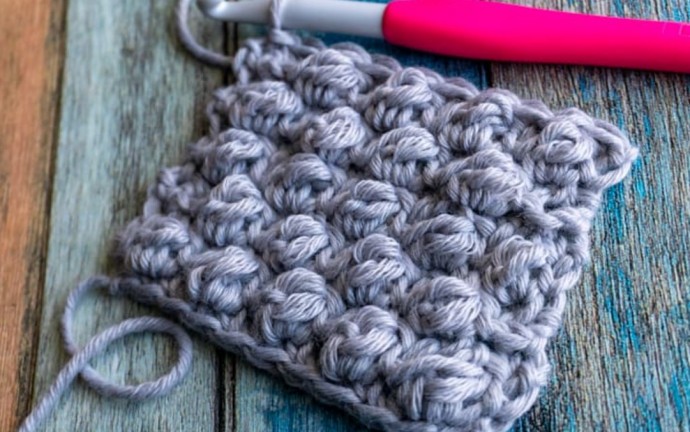
To continue with the Uneven Berry repeat rows 2 through 5 until the piece is as tall as you like. I always finish off with an ODD numbered row, or a non-Berry row.
This stitch does take some practice. Just remember to always put the Berries in the single crochets of the previous row and to stay a bit on the loose side for those slip stitches. I find it helpful to check my work often to make sure that I haven’t gotten off track with the placement of those Berries, especially at the beginning of the row. Once you get in a groove this stitch works up quickly!