How to Crochet the Linked Treble Stitch Photo Tutorial


The Linked Treble Crochet Stitch is an easy stitch to work. The stitches are the height of a treble/triple crochet stitch, but connected to one another so there are no gaps!
If you were to crochet a blanket with strictly treble crochet stitches, you would find that there were gaps between the stitches. Especially if it was a blanket for a young child, it would be easy for them to get a finger or toe caught in-between the stitches.
With the linked treble crochet stitch, you don’t have this challenge. As you work the next stitch, you connect it to the one beside it. As a result you will have a piece of fabric that works up just as quickly but is more dense.
Learn how to crochet the Linked Treble Stitch with this photo tutorial.
Materials
- Caron x Pantone yarn
- 6 mm crochet hook
Notes
This stitch is worked in rows in this tutorial. At the end of each row you will need to chain 3 and turn your work. The chain 3 at the beginning of a row will be where you work your first treble crochet stitch.
For this stitch pattern you can use any multiple of stitches plus chain 3 (which will be the foundation for your first stitch in each row).
For my swatch I will be making a foundation chain of 21 chain stitches.
Instructions
Row One
First Stitch in your Foundation Chain:
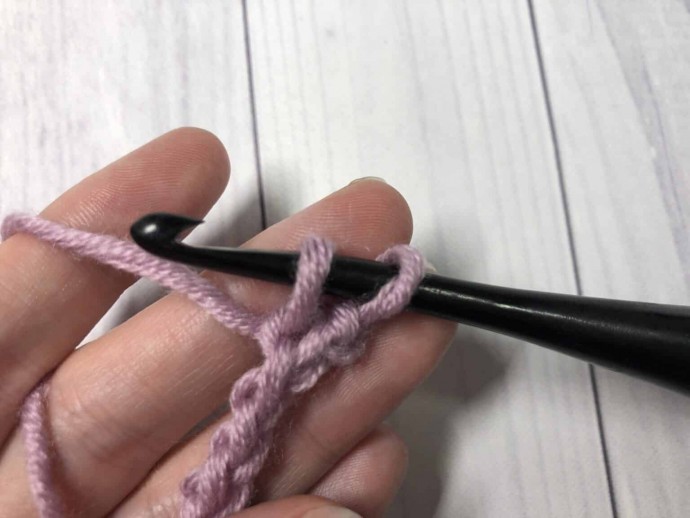
Once your foundation chain is the desired length, insert your hook into the second chain from hook, yarn over and draw up a loop.
Insert your hook into the 3rd chain, yarn over and draw up a loop.
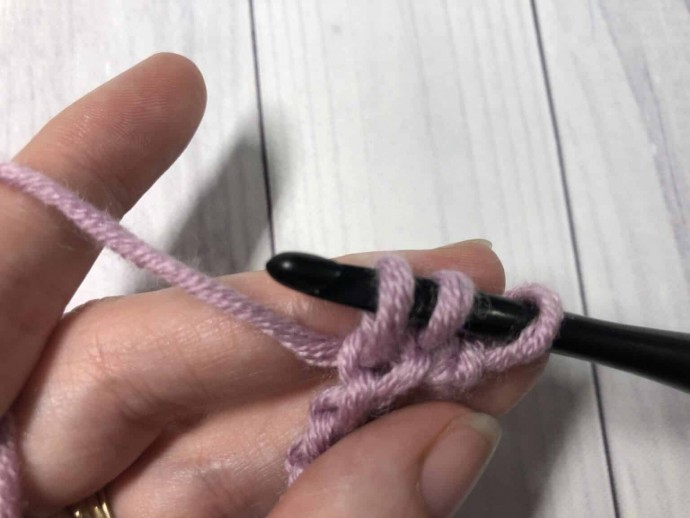
Insert your hook into the 4th chain, yarn over and draw up a loop.
Yarn over and draw through two loops on your hook. Yarn over and draw through two more loops on your hook. Yarn over once again and draw through the final two loops on your hook.
Second stitch (and every stitch after):
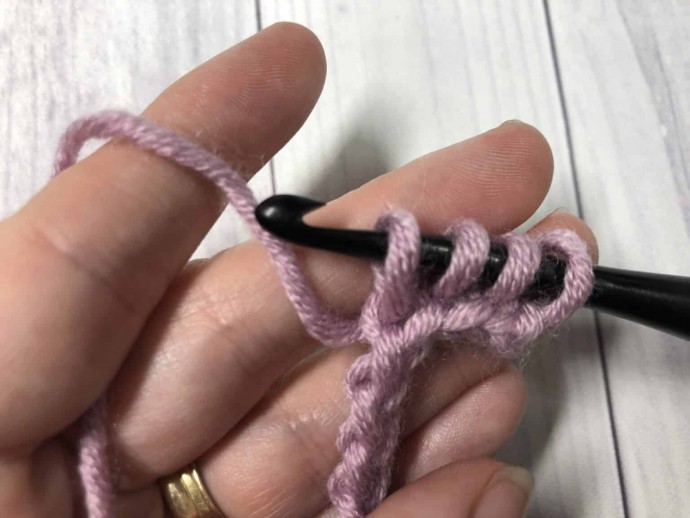
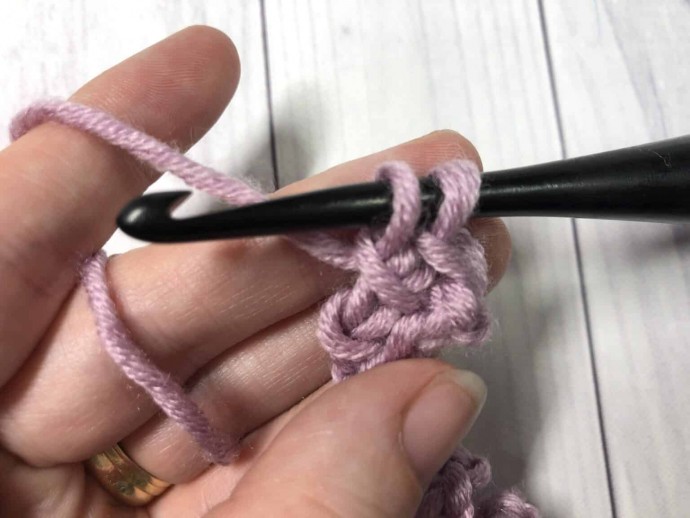
Looking at the post of the stitch just made, you will see two horizontal bars going across the centre of the post. Insert your hook under the first horizontal bar, yarn over and draw up a loop.
Insert your hook into the second horizontal bar and draw up a loop.
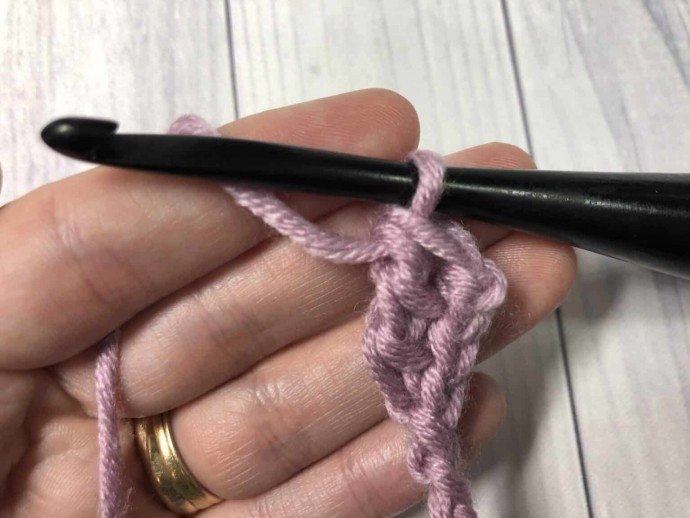
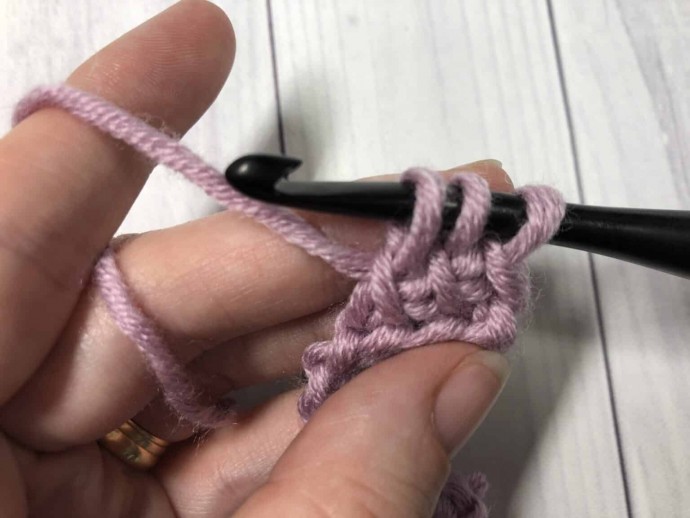
Now insert your hook into the next stitch on your foundation chain, yarn over and draw up a loop.
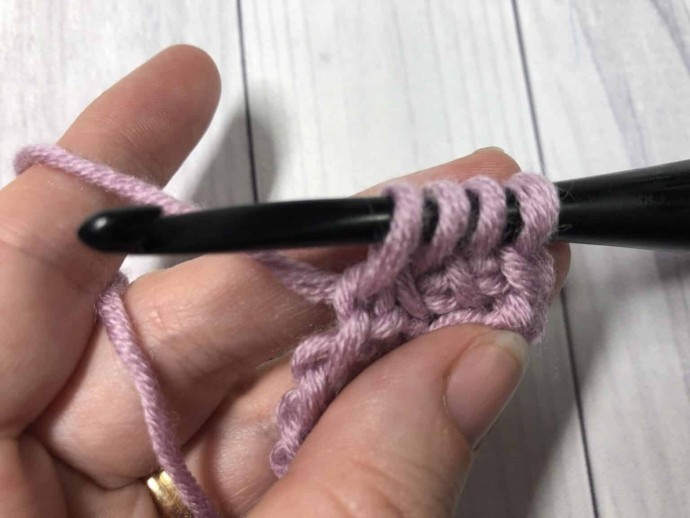
Yarn over and draw through two loops on your hook three times.
Repeat this process across your foundation chain.
Chain 3 and turn your work.
Row Two
First Stitch:
Insert your hook into the second chain, yarn over and draw up a loop.
Next, insert your hook into the third chain, yarn over and draw up a loop.
Insert your hook into the stitch at the base of the chain three, yarn over and draw up a loop.
Yarn over and draw through two loops three times.
Second Stitch (and every stitch after):
Looking at the post of the stitch just made, you will see two horizontal bars going across the centre of the post. Insert your hook under the first horizontal bar, yarn over and draw up a loop.
Insert your hook under the second horizontal bar and draw up a loop.
Next, insert your hook into the next stitch on your foundation chain, yarn over and draw up a loop.
Yarn over and draw through two loops on your hook three times.
Repeat this process across your foundation chain.
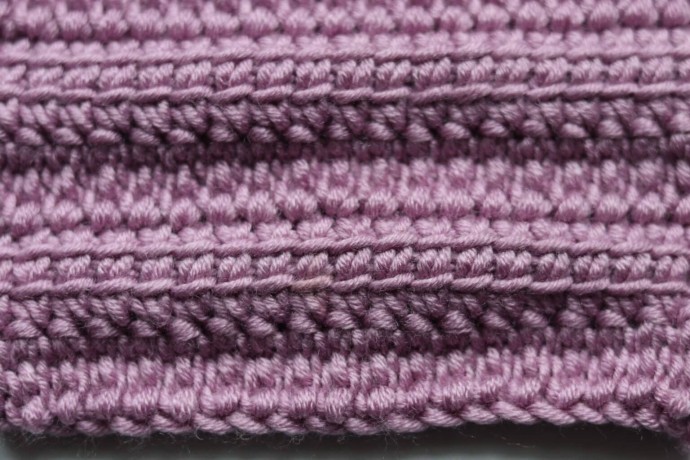
And that’s it!
Finally, repeat row two for as long as you would like. Fasten off and weave in your ends.