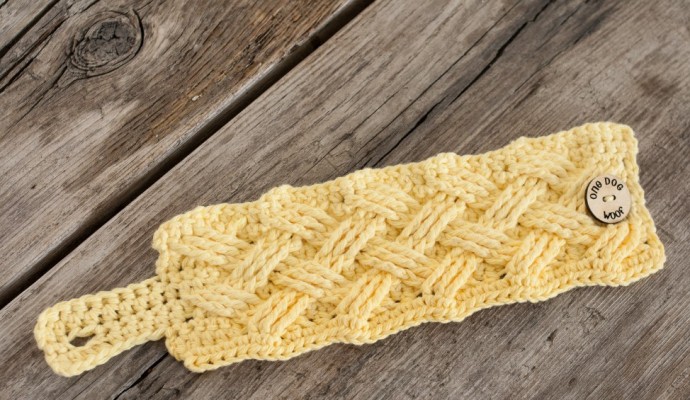
Woven Cables Mug Cozy Crochet Pattern

I think I was wandering the internet one day when I decided I wanted to learn something new. I decided I was going to learn all about cables. Well, maybe I didn’t get around to learning ALL about cables, but I did end up with this woven cable mug cozy, so I’ll call it a success.
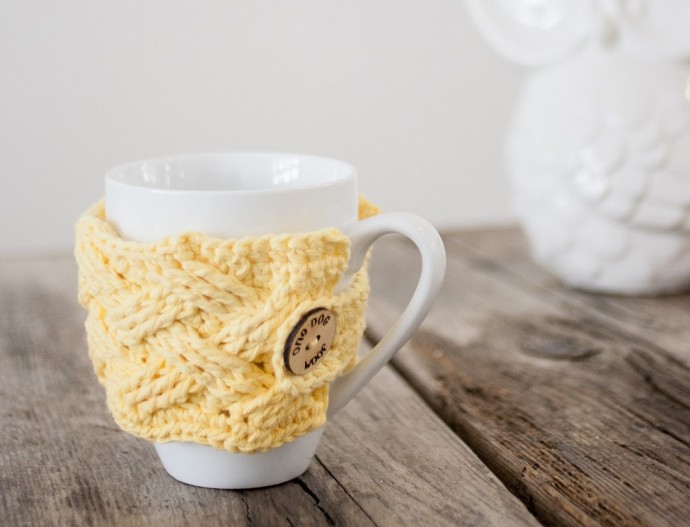
Learn how to crochet the Woven Cables Mug with this tutorial.
Materials
- H (5 mm) crochet hook
- Spinrite Sugar n’ Cream cotton yarn
- scissors
- embroidery needle
- button
Abbreviations
- sl st – slip stitch
- ch – chain stitch
- fsc – foundation single crochet
- fhdc – foundation half double crochet
- FPdtr Left Cross – front post double treble left cross crochet cable
- FPdtr Right Cross – front post double treble right cross crochet cable
Instructions
45 fhdc, Ch 1. turn.
Row 1. Work 1 sc in each stitch across. Ch 1. Turn.
Row 2. Ch 1. hdc in next stitch. Work *3-1-3 FPdtr Left Cross, hdc in next st* 5 times. Work 1 hdc in each of next 4 stitches. Ch 1. Turn.
Row 3. Work 1 sc in each stitch across. (put a stitch marker in your last stitch of the main body). Work 8 foundation sc stitches. Ch 1. Turn.
To start foundation stitches in the middle of the project, insert your hook into the side of the project, yarn over and pull up a look. Then continue to follow Step 3 of the foundation single crochet tutorial to complete the stitch.
Row 4. Work 1 hdc in each of next 8 stitches, until the main body. Work 1 hdc in each of next 5 stitches. Work *3-1-3 FPdtr Right Cross, hdc in next st* 5 times. Ch 1. Turn.
Row 5. Work 1 sc in each stitch across the main body. Work 1 sc in each of next 5 st. Ch 2. Skip 2 stitches, work 1 sc in last stitch. Ch 1. Turn.
Row 6. 8 hdc. main body: hdc in next stitch. Work *3-1-3 FPdtr Left Cross, hdc in next st* 5 times. Work 1 hdc in each of next 4 stitches. Ch 1. Turn.
Row 7. Work 1 sc in each stitch across. Ch 1. Turn.
Row 8. Work 1 hdc in each of next 5 stitches. Work *3-1-3 FPdtr Right Cross, hdc in next st* 5 times. Ch 1. Turn.
Row 9. Work 1 sc in each stitch across. Fasten off.
This stitch is hard, needs practice, and looks great! Even the back has a fun texture to it, but really, the front is the star of the show!