Crochet Basics: Mitered Squares

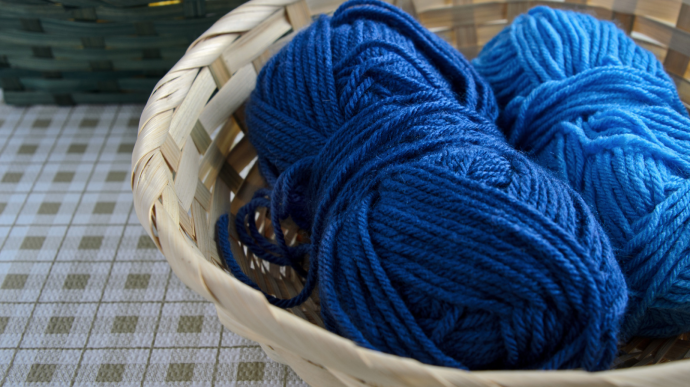
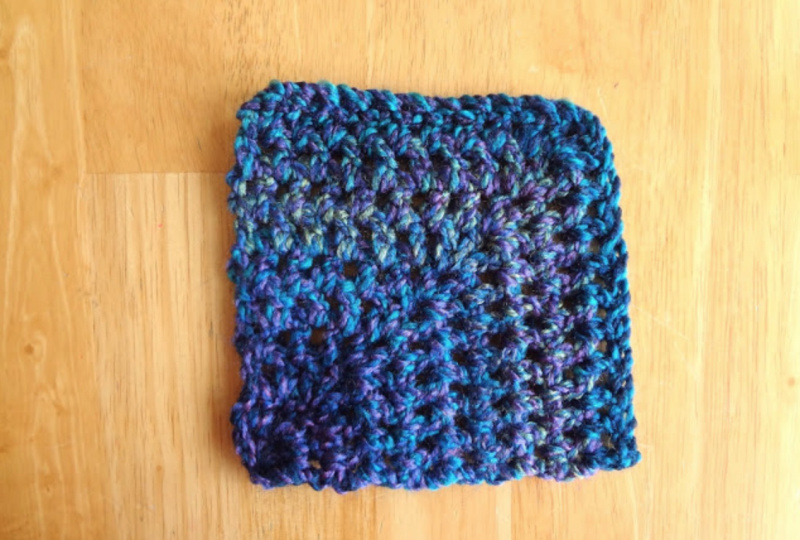
Squares, squares, squares! I absolutely love the look of mitered squares in an afghan. For those in search of something a little more interesting than a basic square, a mitered square might be just the ticket. Worked from one corner to the opposite outside edge, a mitered square is perfect for those occasions when you need the end result to be a square, but you don't know how far your yarn will go - or you're simply unsure at what point you'll get tired of working on it and decide that it's 'big enough.' Mitered squares create an interesting pattern of color transitions, and it can even be used to get the same look as knitting patterns made with this technique!
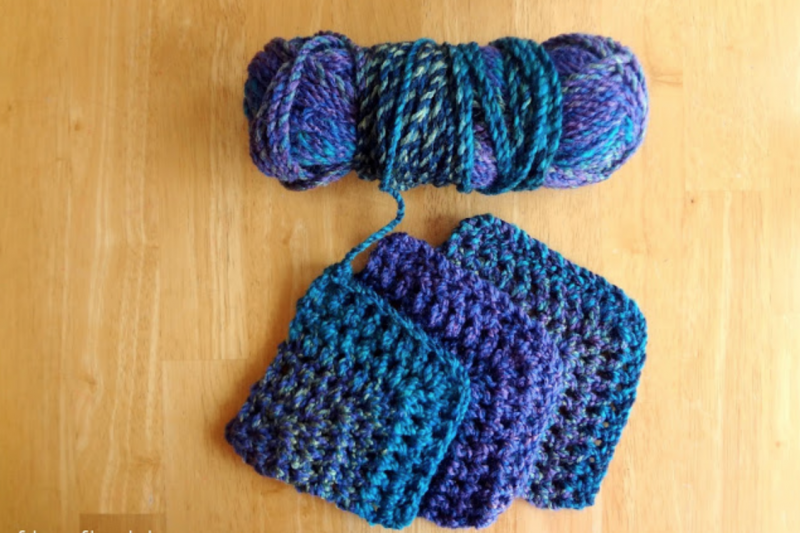
The design possibilities for this shape are endless: anything from coasters to potholders to placemats and blankets can be made from one motif. You can use a different color of yarn every row (or every few rows) to produce stripes. You can join them together to make everything from scarves to mittens! Worked from the bottom left corner and upwards, it is a striking way to add interest to blankets, scarves and lots more! A good reason to learn this technique, right?
Here's the pattern for you to have it all together, but we'll go step by step too:
ch 2
3 sc in second ch from hook
ch 1, turn, sc, 3 sc, sc
ch 1, turn, sc 2, 3 sc in same space, sc 2
ch1, turn, sc 3, 3 sc in the same space, sc 3
...and so it goes in this sequence...
So the next two rows would look like this:
ch1, turn, sc 4, 3 sc in the same space, sc 4
ch1, turn, sc 5, 3 sc in the same space, sc 5
Keep going as long as you wish, until your square is as big as you want it to be...that's it!
Instructions
So let's go through each step together now. You’ll can use an H crochet hook and some worsted weight yarn.
Step 1
Begin by making 2 chains.
Step 2
Work 3 single crochet in the second chain from hook.
Step 3
Then chain 1, turn and single crochet in the first space, work 3 single crochets in the next space, then a single crochet in the next space.
Step 4
Chain 1, turn, single crochet in the first space, single crochet in the next space, 3 single crochet in the next space, single crochet in the next space, single crochet in the last space.

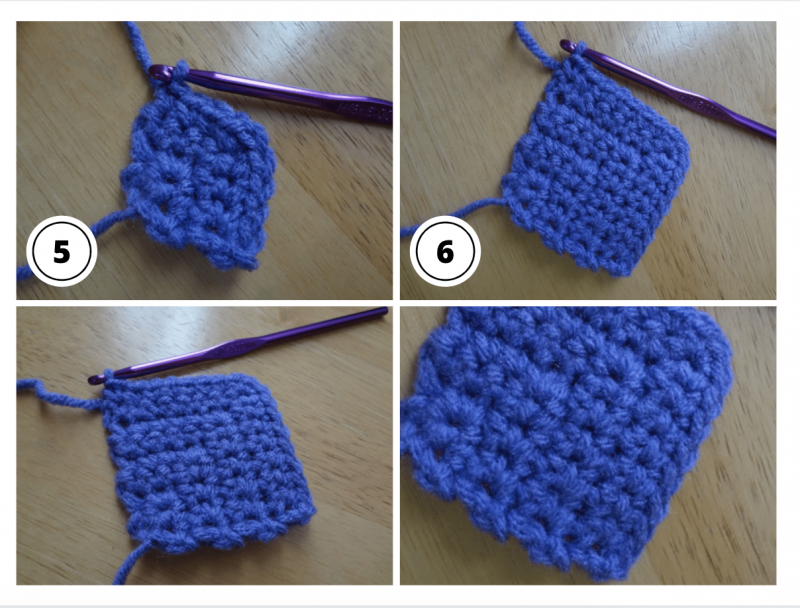
Step 5
As you can see, we are starting to form a predictable sequence for our little square, so for this row, chain 1, turn, one single crochet in each of the next three spaces, 3 single crochet in the next space, then one single crochet in the last three spaces...
Step 6
and here it is with a few more rows finished to show you what it will look like.
There you have it! These look especially pretty done in variegated or hand painted yarns, and you could join some together to make a lovely blanket or scarf.
Happy crocheting!