How to Crochet Hdc Slip Stitch Ribbing Photo Tutorial

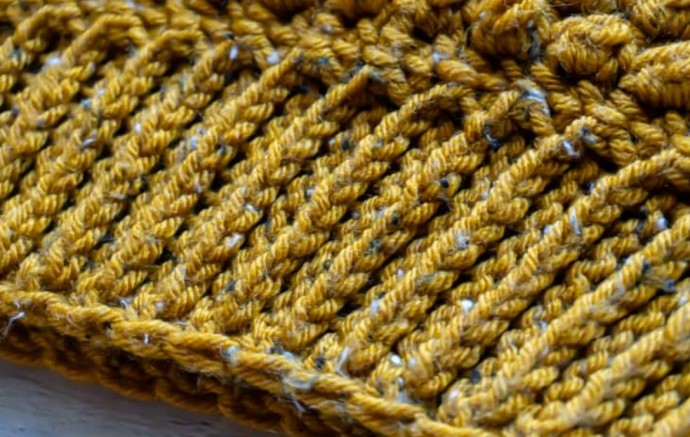
While playing around with different techniques for edging and borders, I recently came across a great way to make a knit-look crocheted edging that is both easy to do and gorgeous.
Use this for a base of your next sweater pattern, or as the brim of a beanie, or blanket border!
Learn how to crochet the Hdc Slip Stitch Ribbing with this photo tutorial.
Materials
- worsted weight yarn
- crochet hook
Instructions
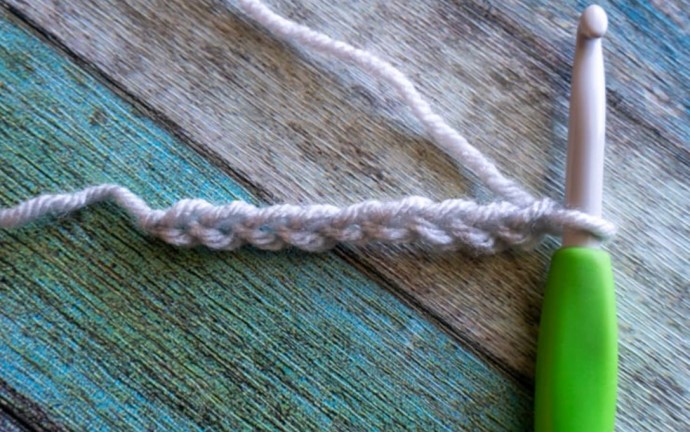
Start with any number of chains.
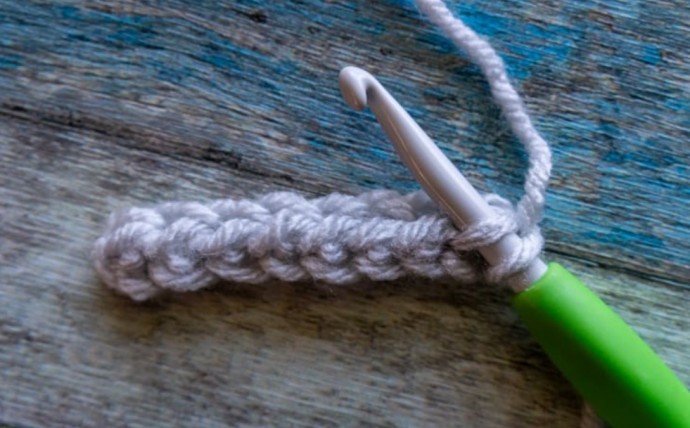
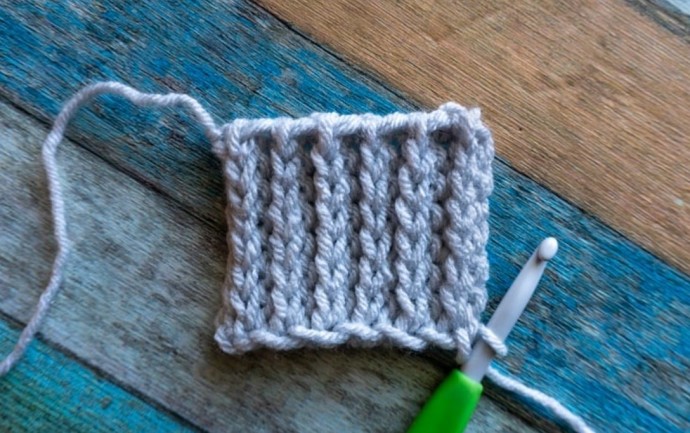
To make the first Hdcslst row you will yarn over, insert your hook into the 2nd chain from the hook and pull up a loop.
Hold the bottom of the stitch and pull that loop straight on through the other two loops on the hook.
Repeat this in each chain until you get to the end.
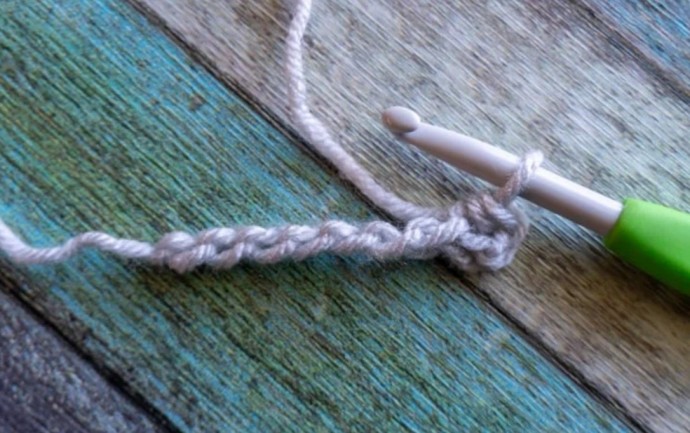
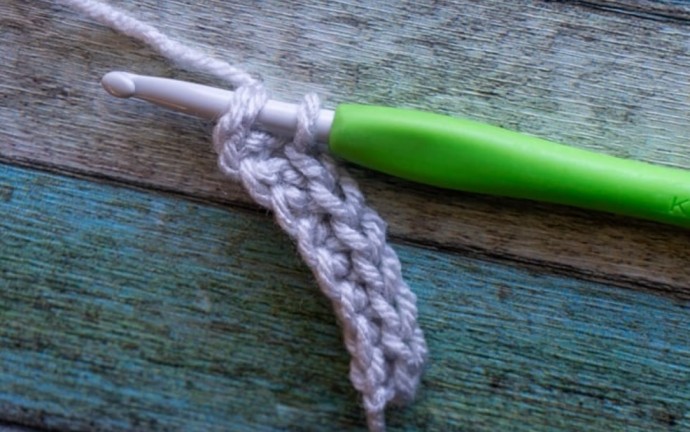
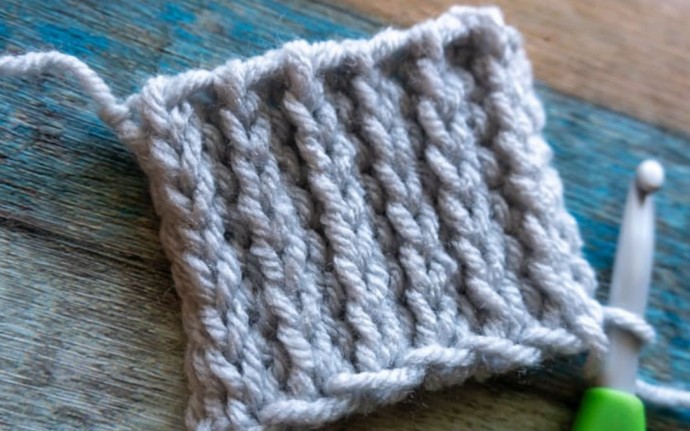
To start the alternating row you will turn (do not chain) and make sure that the working yarn is in front of the piece, like so…
Slip stitch in the previous row’s third loop only. Repeat this in each st across.
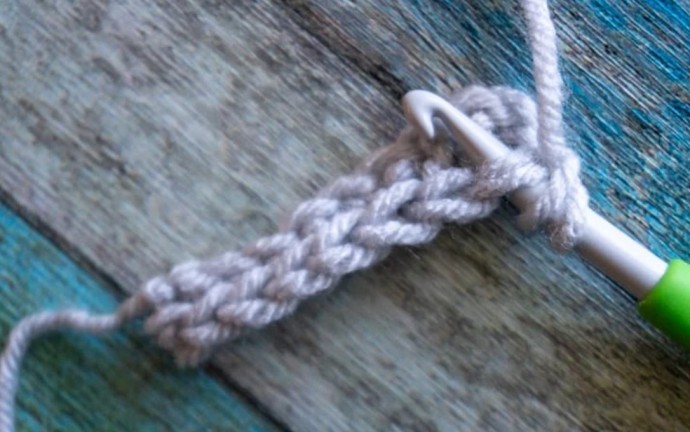
When you get to the end, go through both of the outside loops (the previous row’s third loop and the back loop).
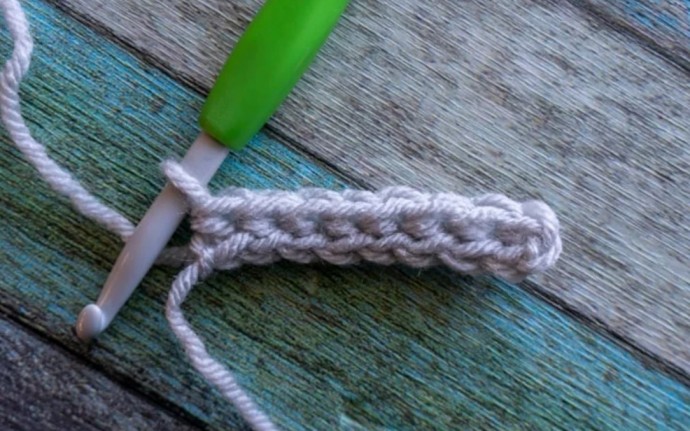
Turn (do not chain), and half double crochet slip stitch one time into each of the slip stitches across.
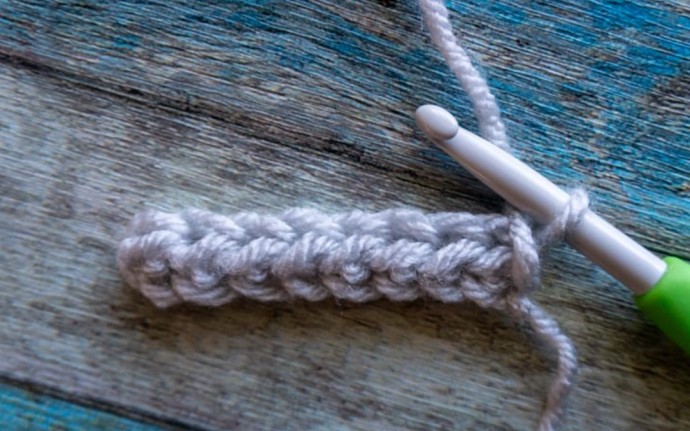
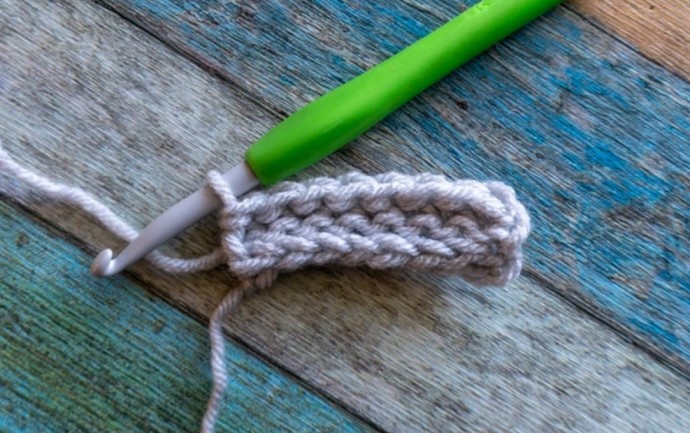
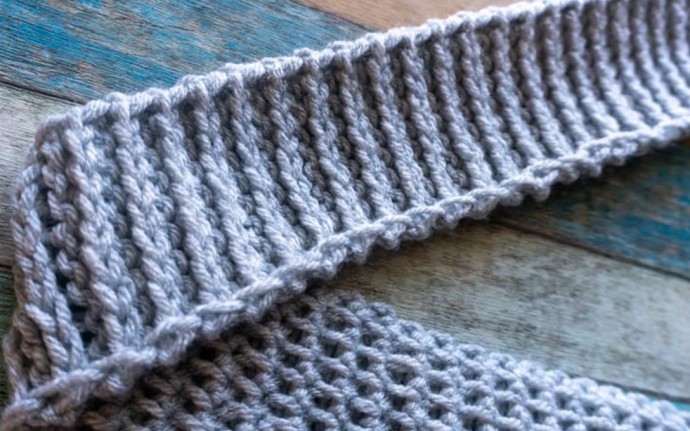
After a while you’ll really start to see the effect taking shape!