How To Crochet The Bump Stitch Photo Tutorial


If you want to add a unique and fun texture to your project, then I suggest you give this Bump Stitch a try!
This 4-row repeat crochet pattern is a modified version of the textured wave stitch, it’s just made with bigger stitches, so the bumps can be more visible.
It’s easier than it looks and makes a beautifully textured fabric that’s great for baby blankets, modern throws, and even garments.
Learn how to crochet the Bump Stitch with this photo tutorial.
Materials
- Acrylic DK Yarn
- 5mm crochet hook
Abbreviations
- st(s) – stitch(es)
- ch(s) – chain(s)
- sc – single crochet
- sc blo – sc in back loop only
- tr – treble stitch
- tr blo – treble in the back loop only
Special Stitches
First treble in the row – This is a simple way to start the row with a treble (be it in the back loop only or through the entire stitch). Sc in the first stitch, ch3 (or, sc blo, ch3).
Notes
- ch1 at the end of each row does not count as a stitch
- stitches contained within ** are the repeat section for that row
Instructions
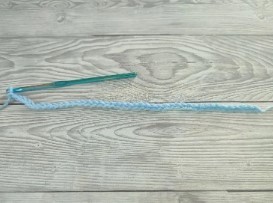
Starting Chain: This pattern requires you to chain multiples of 12chs + 7chs. My starting chain is 43chs.
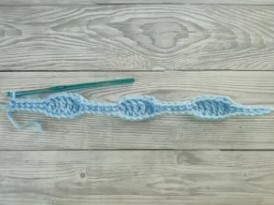
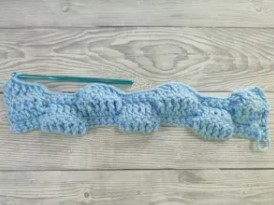
Row 1: sc in 2nd ch from hook, sc in next 5chs, *tr in next 6chs, sc in next 6chs*, repeat from * until the end of the row, ch1, turn.
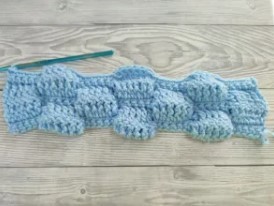
Row 2: sc in next 6sts, *tr in next 6sts, sc in next 6sts*, repeat from * until the end of the row, turn.
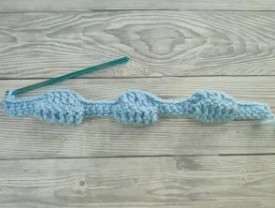
Row 3: (sc blo, ch3) (counts as a tr), tr blo in next 5sts, *sc blo in next 6sts, tr blo in next 6sts*, repeat from * until the end of the row, turn.
Row 4: (sc, ch3) (counts as a tr), tr in next 5sts *sc in next 6sts, tr in next 6sts*, repeat from * until the end of the row, ch1, turn.
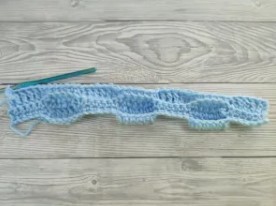
Row 5: sc blo in next 6sts, *tr blo in next 6sts, sc blo in next 6sts*, repeat from * until the end of the row, ch1, turn.
Row 6: sc in next 6sts, *tr in next 6sts, sc in next 6sts*, repeat from * until the end of the row, turn.
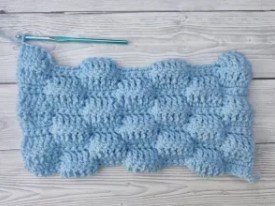
Repeat Rows 3-6 until you have the required height for your work.