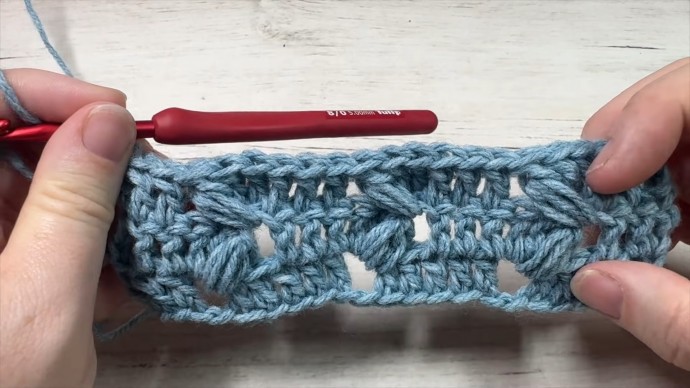
How to Crochet the Climbing Puffs Stitch Photo Tutorial

The Climbing Puffs Stitch crochet pattern is a beautiful, reversible design that is worked as only a one row repeat!
It’s does take a couple of rows, however, to get the pattern set up!
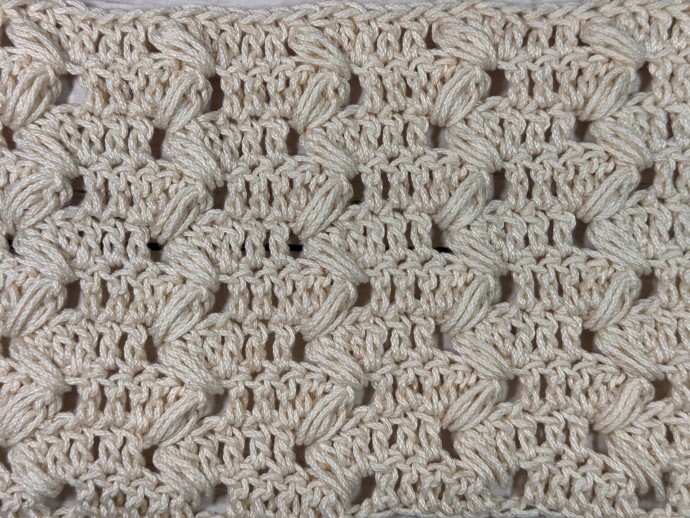
I love this puff stitch pattern. Puff stitches are a great way to add texture and warmth to a pattern. They look so cozy!
Learn how to crochet the Climbing Puffs Stitch with this photo tutorial.
Materials
- medium/worsted weight yarn
- 5 mm (H/8) crochet hook
Abbreviations
- Blo – Back Loop Only
- Ch – Chain
- Dc – Double Crochet
- Flo – Front Loop Only
- Rpt – Repeat
- Sc – Single Crochet
- Sk – Skip
- Sl st – Slip stitch
- Sp – Space
- Yo – Yarn over
Notes
This stitch is worked in rows in this tutorial and it may be worked in one colour or many. I will be working this pattern in a single colour.
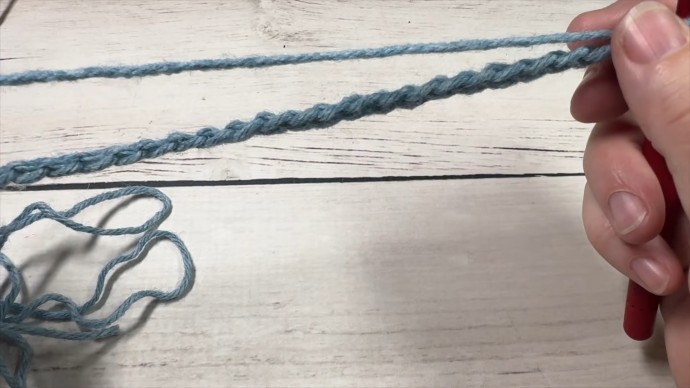
To begin, make a slip knot and make a foundation chain. For this stitch, you will need a multiple of six, plus five stitches (6 + 5) for your foundation chain.
For example, ch 23.
Instructions
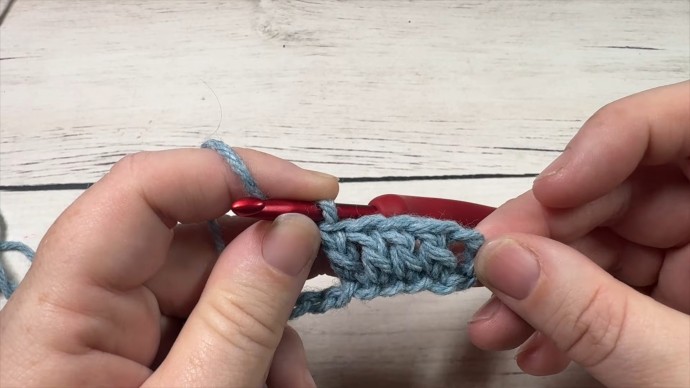
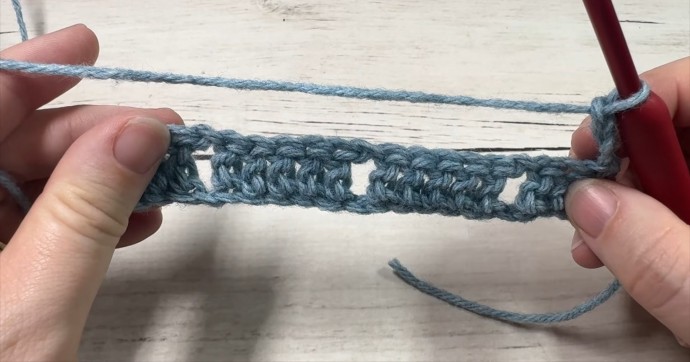
Row One:
Dc in the 4th ch from your hook (starting ch-3 always counts as a dc st) and in each of the next 3 sts, ch 1, sk the next st, *dc in each of the next 5 sts, ch 1, sk the next st; Rpt from * across until 3 sts remain, dc in each of the final 3 sts. Ch 3, turn.
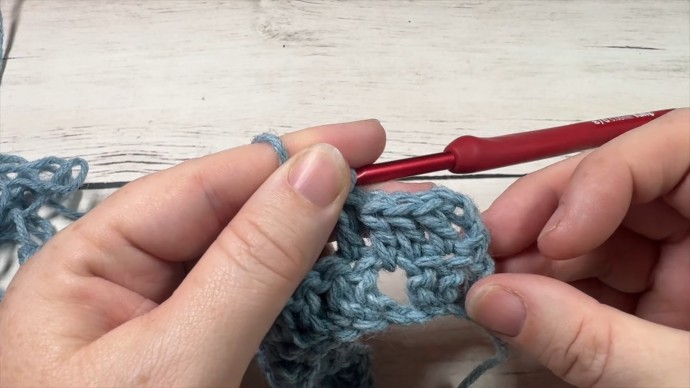
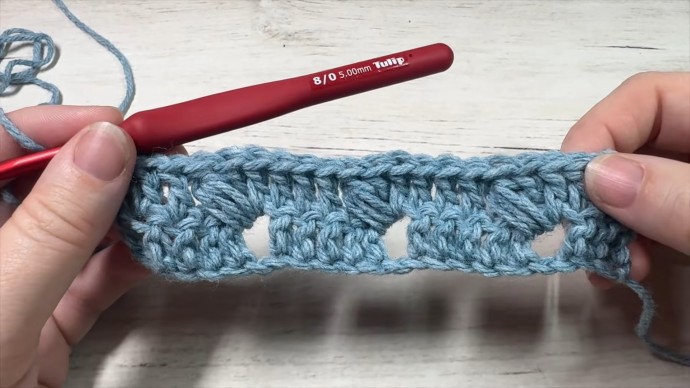
Row Two:
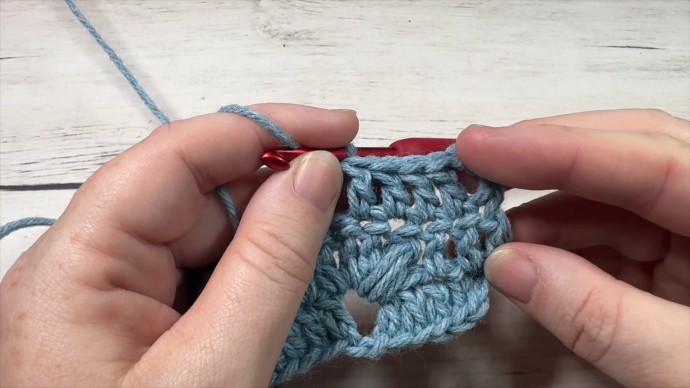
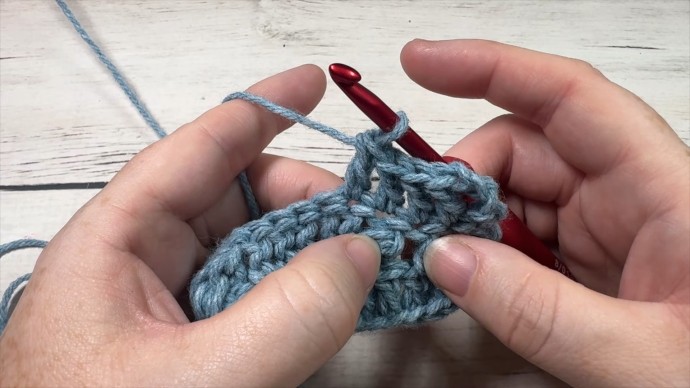
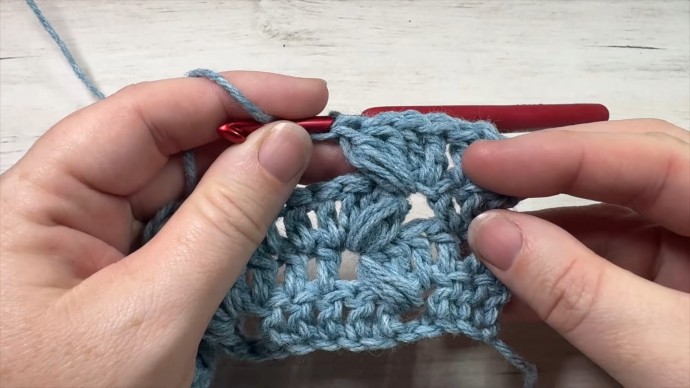
Dc in each of the next 2 sts, dc in the ch-1 sp, dc in the next st, puff in the previous ch-1 sp, *sk the next st, dc in each of the next 3 sts, dc in the next ch 1 sp, dc in the next st, puff in the previous ch-1 sp; Rpt from * across until 4 sts remain, sk the next st, dc in each of the final 3 sts. Ch 3, turn.
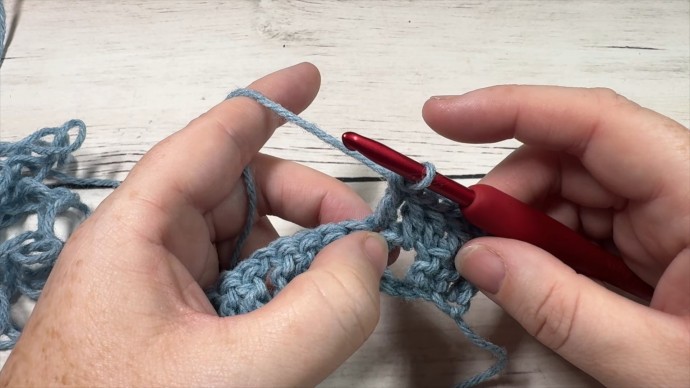
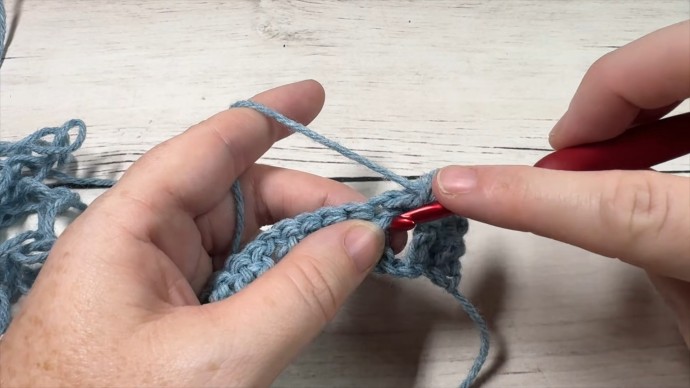
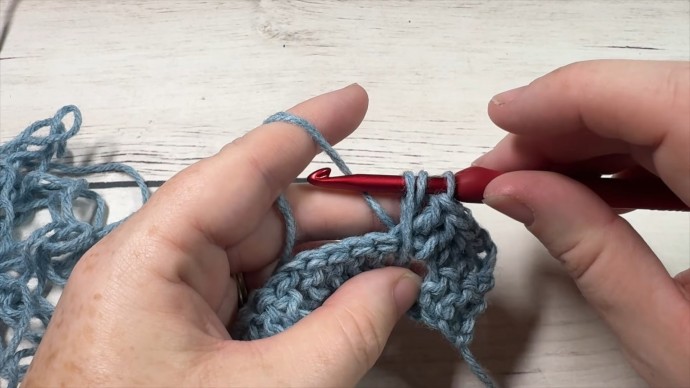
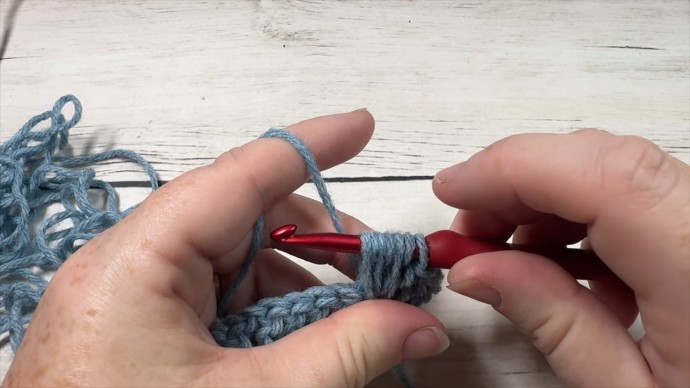
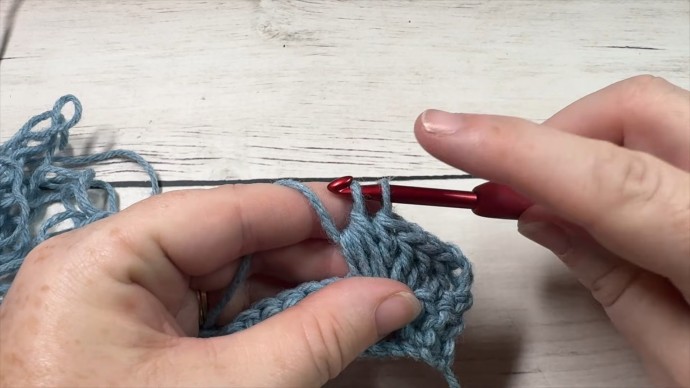
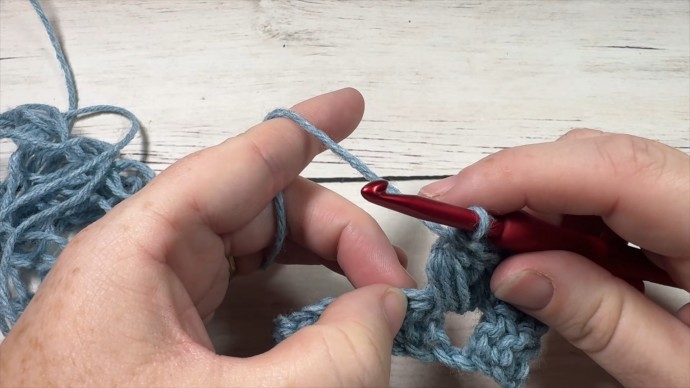
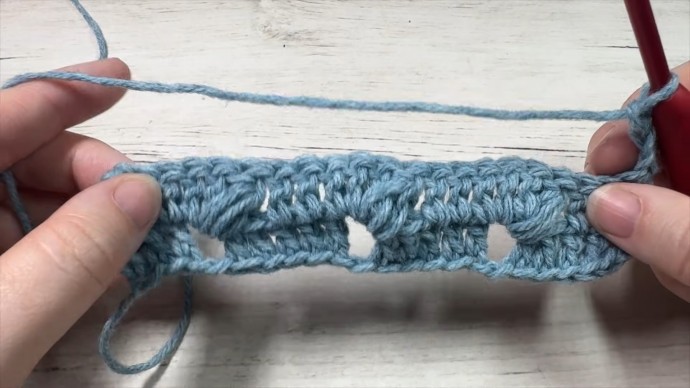
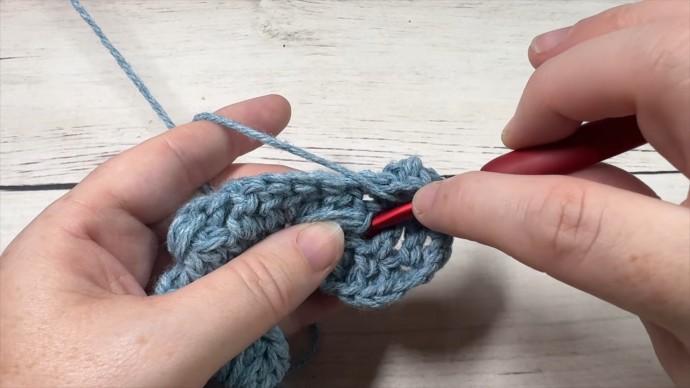
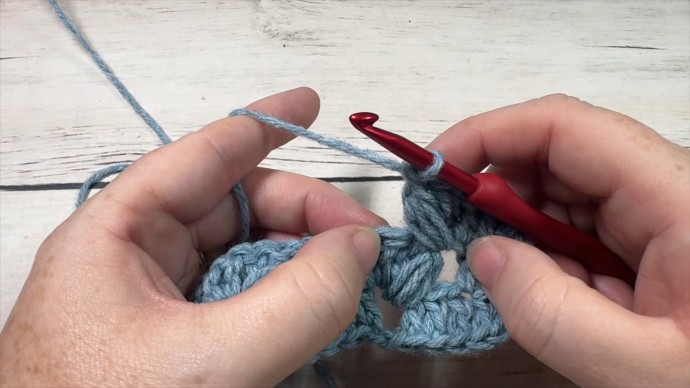
Row Three:
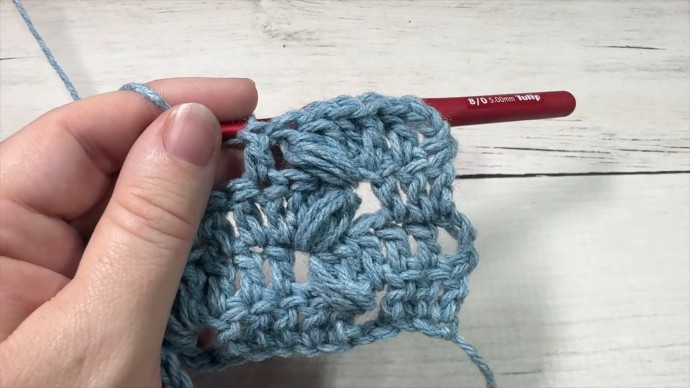
Dc in each of the next 4 sts, *work a puff stitch reaching down into the space between the 2 sts immediately before the puff stitch in the row below, sk the next st, dc in each of the next 5 sts; Rpt from * across ending with a dc in each of the final 3 sts. Ch 3, turn.
And that’s it!
For the rest of the pattern simply repeat row 3. Fasten off, weave in your ends.