Tips & Tricks for Perfect Crochet Borders

Blossom Lady
Dec 09, 2020 07:16 AM
Tips & Tricks for Perfect Crochet Borders

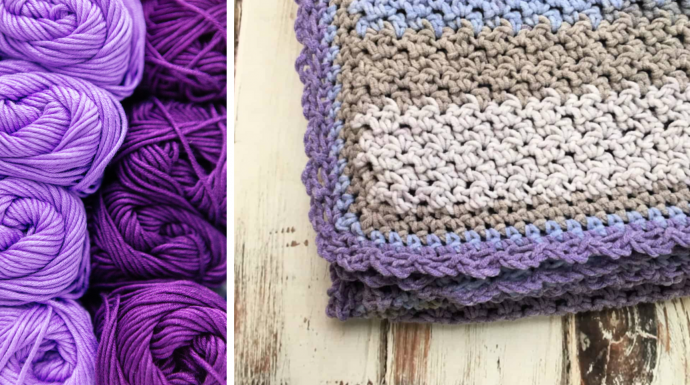
Hello, my dear crocheters! Yesterday we talked about the crochet edging and 5 useful stitches that help to finish off any project in a beautiful way. A lovely edging is important and can elevate any design. But nothing is more upsetting than working hard on a project and having the border puckered and uneven. So today I’d like to share with you some helpful tips and tricks you need to know for perfect crochet borders every time. A crochet border provides a polished touch to your crocheted or knit project. No matter what type of crochet border design you choose, follow these 5 tips to set a solid foundation for beautiful crochet borders.

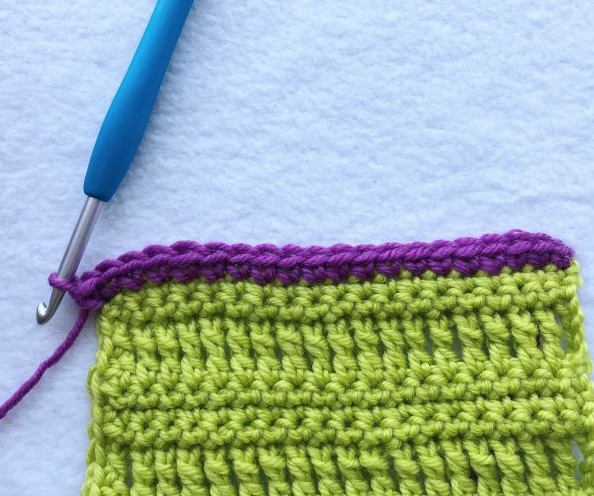
Tip #1: Start with a Base Row/Round

Tips & Tricks for Perfect Crochet Borders
Start with a base row or round of single crochet in the same color as your main fabric. Using the same color makes the base row blend into the fabric and hides any uneven stitches. You can use a contrasting color on the next row, and the stitches will look nice and even.
28

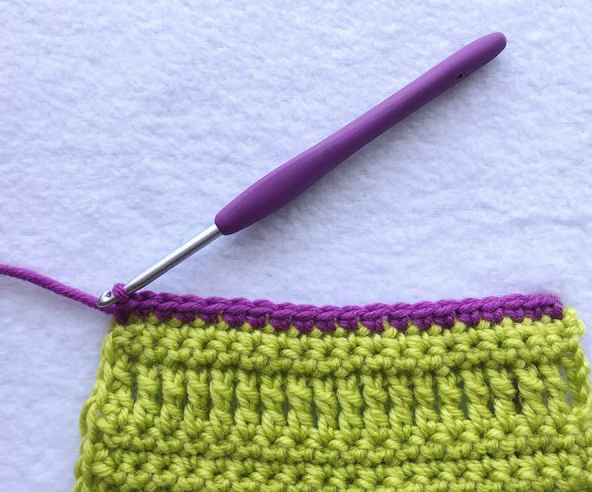
Tip #2 Work Stitches Evenly Spaced

Tips & Tricks for Perfect Crochet Borders
The base row stitches should be evenly spaced along each edge. This may be one stitch in every stitch across, or some other ratio, like 2 stitches out of every 3. Along a selvedge (side edge) the ratio may be one single crochet in each single crochet row-end, 2 single crochets in each double-crochet row-end, or some other ratio. You’ll have to play with those ratios to get them just right for your situation.
27

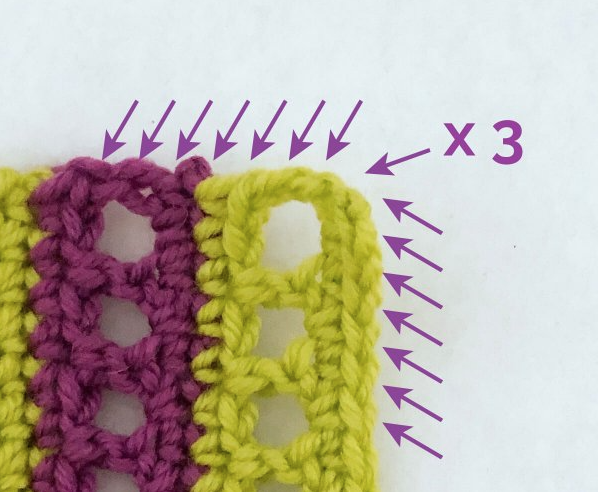
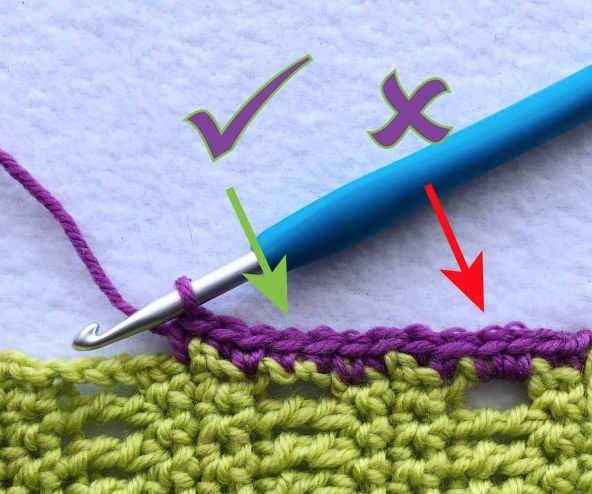
Tip #3 Put Your Hook Into Selvedge Stitches

Tips & Tricks for Perfect Crochet Borders
It’s tempting to put your hook into the nice chain space or post stitch along the vertical edges. Resist the temptation! Instead, put the hook into the “meat” of the stitch: the actual chain stitch or post of the stitch.
27

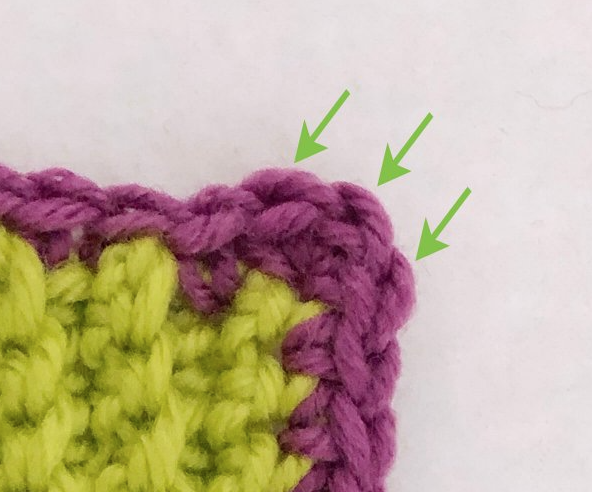
Tip #4 Increase at Corners

Tips & Tricks for Perfect Crochet Borders
If you are working all the way around around a square or rectangle, you’ll need to increase at the corners to ensure the edging stays flat. Put 3 single crochet stitches into each corner stitch. On later rounds, you’ll need to increase in pattern to allow the border to lie flat.
23

Tip #5 Assess Your Work (Example 1)

Tips & Tricks for Perfect Crochet Borders
Stop from time to time and look critically at what you’ve done so far. Is it lying flat? Does it curve in or out, even a little bit? Does it ripple or draw in?
If it’s not entirely flat, rip it out and adjust your stitches until it does lie absolutely flat. Taking the time to set up your first row or round perfectly will the main ingredient in the success of your crocheted border.
Example 1
On this swatch, there are slightly too many stitches for the base row, causing the edge to flare out slightly. This subtle excess will cause the edging to ripple and flare more as you work additional rows.
23

Example 2

Tips & Tricks for Perfect Crochet Borders
Although it may not be noticeable at first, this row is drawing the fabric inward. See how the side edges curve in toward the top? They didn’t do that before the purple row was added.
25
Like!2
Add to bookmarks
Assign tags
Loading...
1 comment
Shirley may
00
Dec 09, 2020 10:15 AM

would like to see more hints about knitting