How to Crochet the Swallowtail Stitch Photo Tutorial

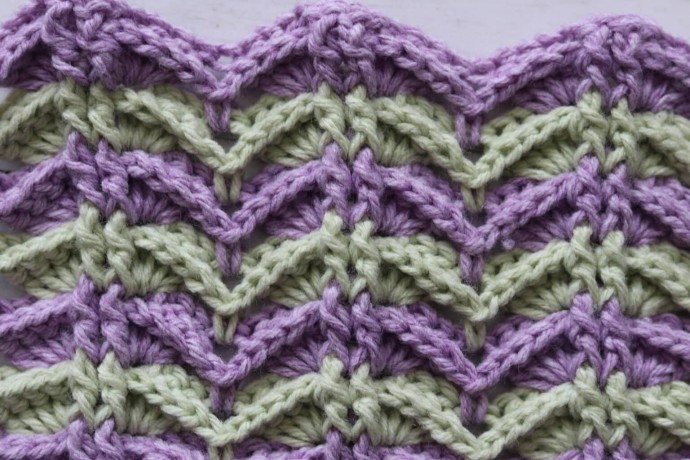
The Swallowtail Stitch Crochet Pattern is over flowing with mesmerizing texture. It would be beautiful in a blanket or other large project!
It doesn’t have to be limited to a large project however, it’s just that a larger project encorperating this stitch would really allow it to shine!
When you break the pattern down it is a two row repeat. You will switch colour after every two rows. Down below I have written it out as a four row repeat simply to encorperate all of the colour changes. Also remember that, even though I have worked the pattern in two colours, you may work it in a single colour or more.
Learn how to crochet the Swallowtail Stitch with this photo tutorial.
Materials
- Heatherly by KnitPicks and WeCrochet in two colours
- 5 mm (H/8) crochet hook
Abbreviations
- Bpdc – Back Post Double Crochet
- Ch – Chain Stitch
- Fpdc – Front Post Double Crochet
- Fpsc – Front Post Single Crochet
- Rpt – Repeat
- Sl St – Slip Stitch
- Yo – Yarn Over
- Yo sl st – Yarn Over Slip Stitch (yo, insert your hook into the next st, yo and draw up a loop and draw that loop through the two loops on your hook. Yarn Over Slip Stitch made.)
Notes
- This stitch is worked in rows in this tutorial and it may be worked in one colour or many. I will be working this pattern in two colours labelled A and B.
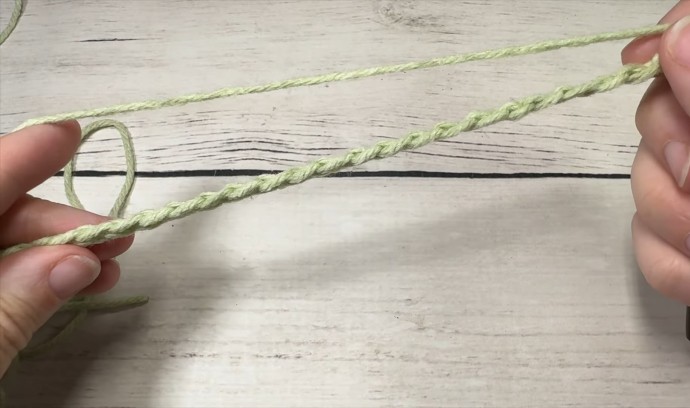
- To begin, with colour A, make a slip knot and make a foundation chain. For this stitch, you will need a multiple of 10 stitches, plus 4 for your foundation chain. For example, with colour A, ch 34.
Instructions
Row One:
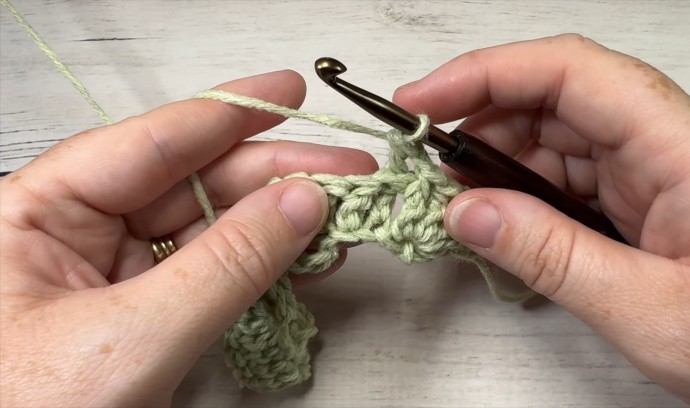
Sc in the 2nd ch from your hook, ch 1, sk the next 3 sts, *4 dc in the next st, dc in each of the next 2 sts, 4 dc in the next st, ch 1**, sk the next 3 sts, sc in the next st, ch 1, sk the next 3 sts; Rpt from * across to the final 4 sts ending the final repeat at **, sk the next 3 sts, sc in the final st, ch 1, turn.
Row Two:
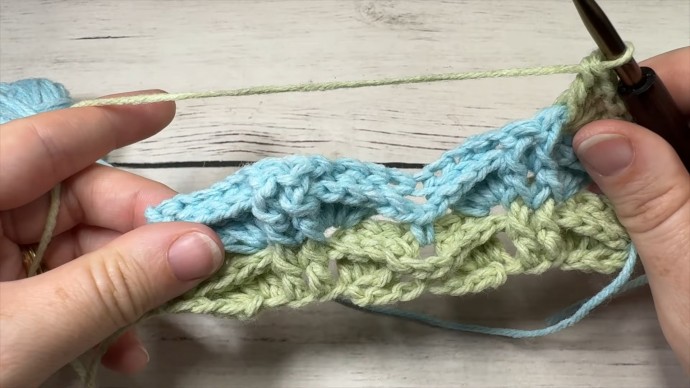
Sc in the top of the 1st st, *fpsc in each of the next 4 sts, ch 1, bpdc, in each of the next 2 sts, ch 1, fpsc in each of the next 4 sts**, sk the next sc; Rpt from * across ending the final repeat at **, sc in the top of the final st and switch to colour B. Ch 1, turn.
Row Three:
With colour B, sc in the 1st st, ch 1, *4 dc in the next ch-1 sp, fpdc in each of the next 2 sts, 4 dc in the next ch-1 sp, ch 1, sk the next 4 sts, sc in the space betweeen the next 2 sts, ch 1, sk the next 4 sts; Rpt from * across to the final st, ch 1, sc in the final st. Ch 1, turn.
Row Four:
Sc in the top of the 1st st, *fpsc in each of the next 4 sts, ch 1, bpdc, in each of the next 2 sts, ch 1, fpsc in each of the next 4 sts**, sk the next sc; Rpt from * across ending the final repeat at **, sc in the top of the final st and switch to colour A. Ch 1, turn.
Row Five:
With colour A, sc in the 1st st, ch 1, *4 dc in the next ch-1 sp, fpdc in each of the next 2 sts, 4 dc in the next ch-1 sp, ch 1, sk the next 4 sts, sc in the space betweeen the next 2 sts, ch 1, sk the next 4 sts; Rpt from * across to the final st, ch 1, sc in the final st. Ch 1, turn.
Row Six:
Sc in the top of the 1st st, *fpsc in each of the next 4 sts, ch 1, bpdc, in each of the next 2 sts, ch 1, fpsc in each of the next 4 sts**, sk the next sc; Rpt from * across ending the final repeat at **, sc in the top of the final st and switch to colour B. Ch 1, turn.
And that’s it!
For the rest of the pattern, repeat rows 3-6. Fasten off, weave in your ends.


