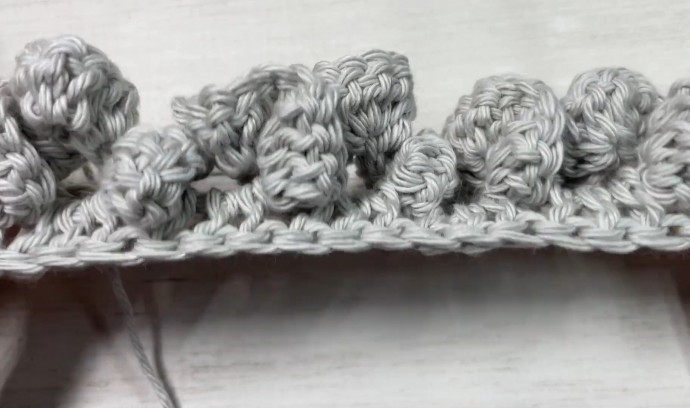
How to Crochet the Ruffle Stitch Photo Tutorial

The Ruffle Stitch crochet pattern is so much fun! They can add extreme texture to any design!
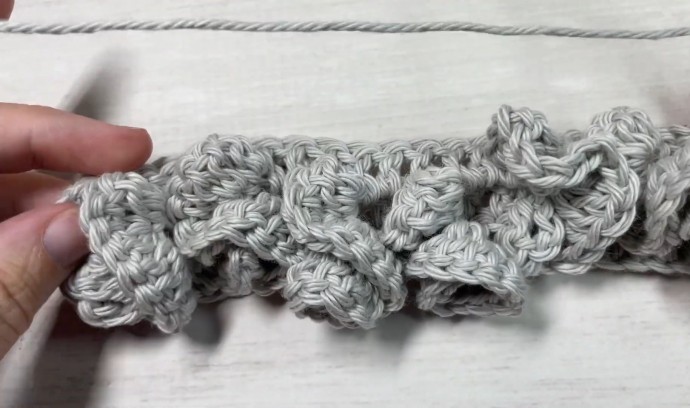
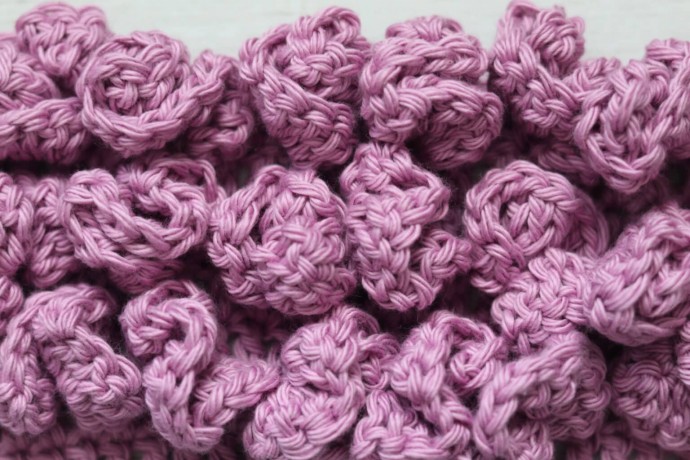
You can work crochet ruffle stitches in a variety of ways. This particular Ruffle Stitch is worked using double crochet stitches and lays all to one side of the fabric. Also, you may wish to make the ruffles quite dense as I will in this tutorial, or you may wish to experiment and spread the ruffles out a little.
What kinds of projects can you add ruffles? Almost anything! Add it as a fund fringe on a crochet blanket or in the middle as a pop of texture. They can add interest to crochet garments, tops and skirts. And there are so many more!
Learn how to crochet the Ruffle Stitch with this photo tutorial.
Materials
- worsted weight yarn
- 5 mm crochet hook
Abbreviations
- Ch – Chain Stitch
- Dc – Double Crochet
- Hdc – Half Double Crochet
- Rpt – Repeat
- Sc – Single Crochet
- Sk – Skip
- Sl St – Slip Stitch
- Yo – Yarn Over
Notes
- This stitch is worked in rows in this tutorial. You may work it in one colour or many. I will be working the stitch in a solid colour.
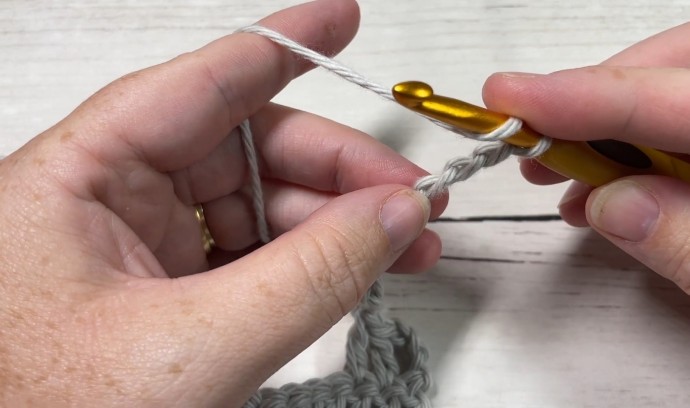
- To begin, make a slip knot and then a foundation chain. For your foundation chain you will need a multiple of three stitches, plus five for your foundation chain (3 + 5 stitches). For example, ch 26.
Instructions
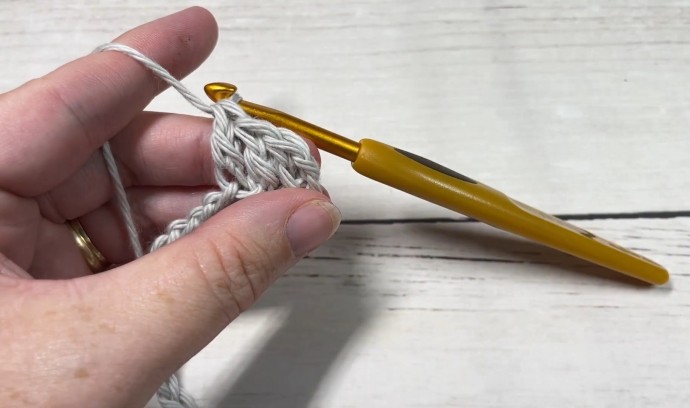
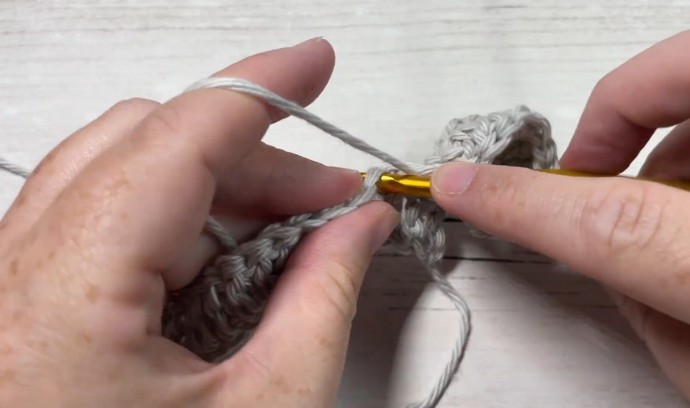
Row One: Dc in the 4th ch from your hook and in each ch across. Ch 3, turn.
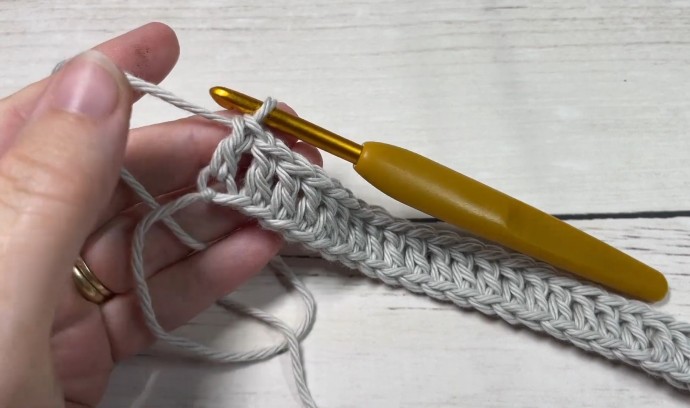
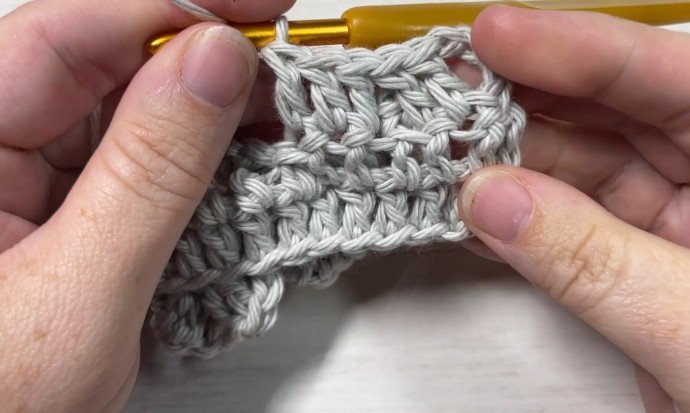
Row Two: Dc in the next st and in each st across. Ch 3, turn.
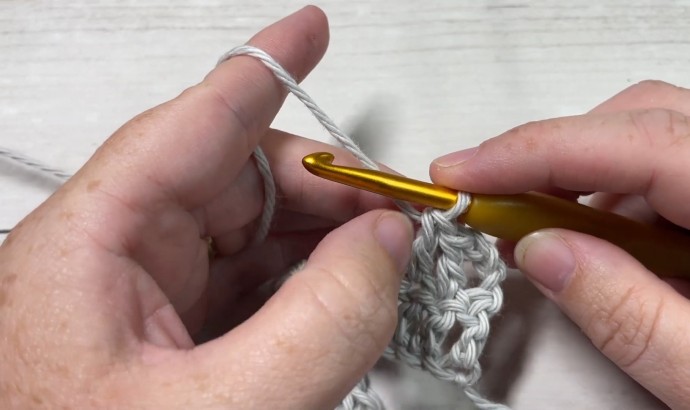
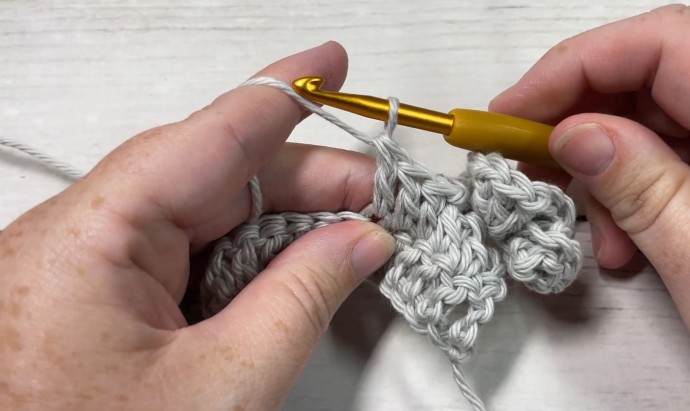
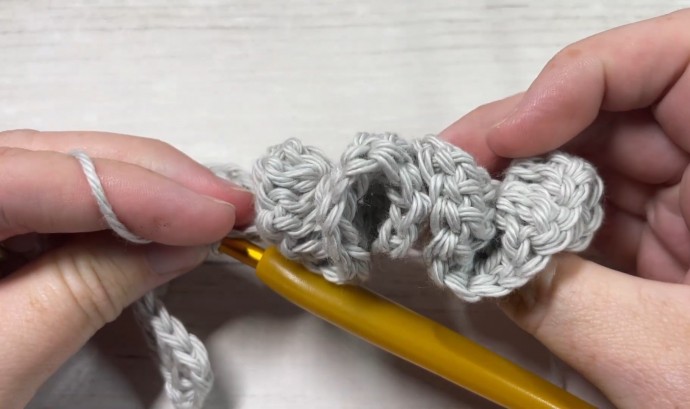
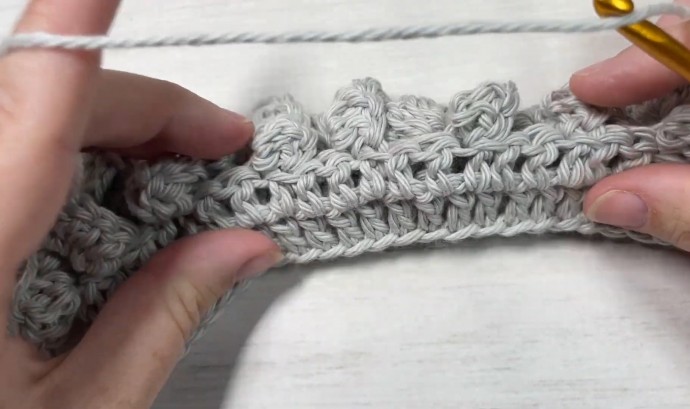
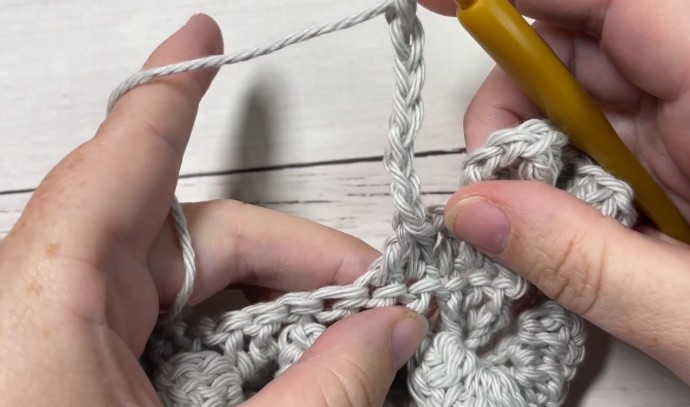
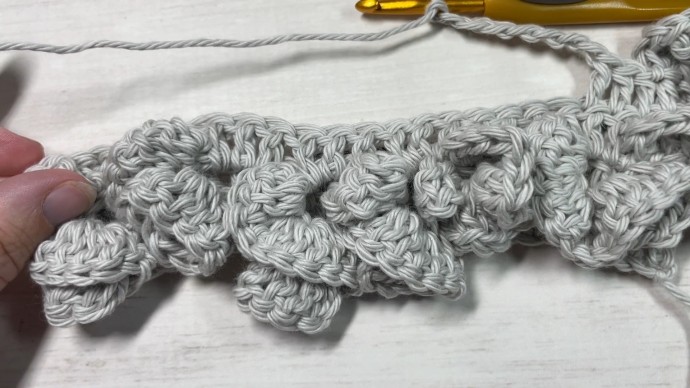
Row Three: Dc in each of the next 2 sts, * ch 10, 2 dc in the 4th ch from your hook, 3 dc in each of the next 6 chs, sl st in the last dc made on the last row, dc in each of the next 3 sts; Rpt from * across ending with a dc in the top of the turning ch. Ch 3, turn.
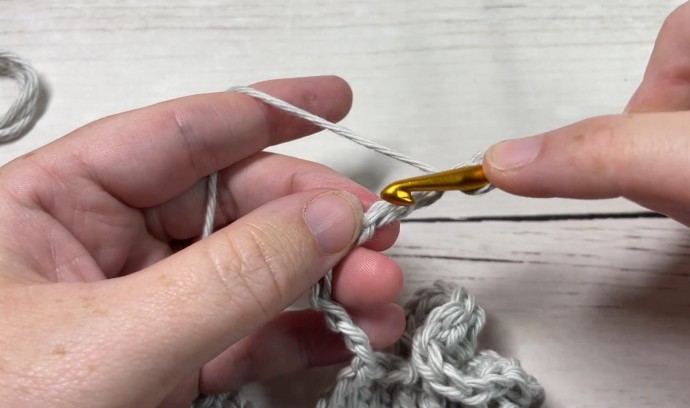
Row Four: Dc in the next st and in each st across. Ch 3, turn.
Row Five: Dc in the next st, * ch 10, 2 dc in the 4th ch from your hook, 3 dc in each of the next 6 chs, sl st in the last dc made on the last row, dc in each of the next 3 sts; Rpt from * across ending with a dc in the top of the turning ch. Ch 3, turn.
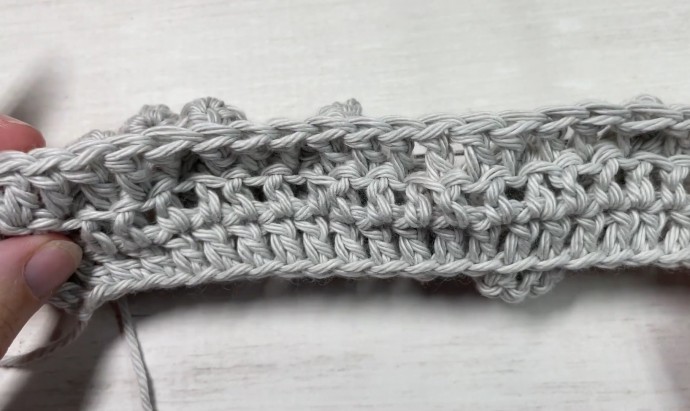
And that’s it!
For the rest of the pattern simply repeat rows 2 – 5 for as long as you would like. Fasten off, weave in your ends.