How to Crochet the Paris Stitch Photo Tutorial


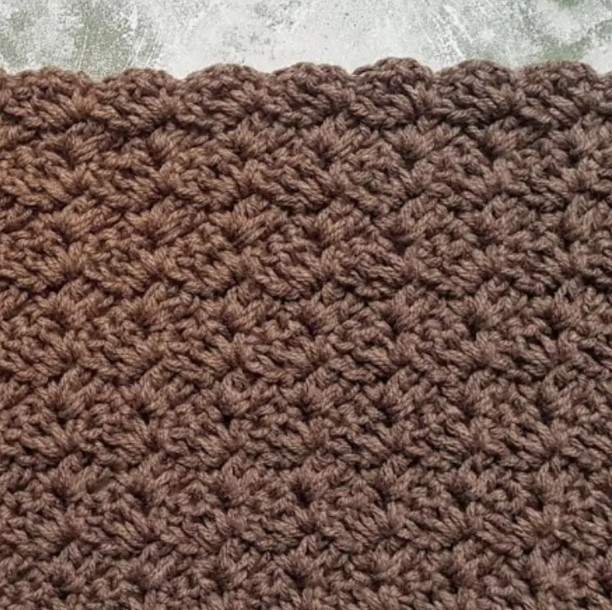
One row repeats it’s all it takes to create this really easy, double-sided stitch called the Paris stitch.
The Paris stitch pattern is beginner-friendly, using only basic stitches such as single crochet and double crochet.
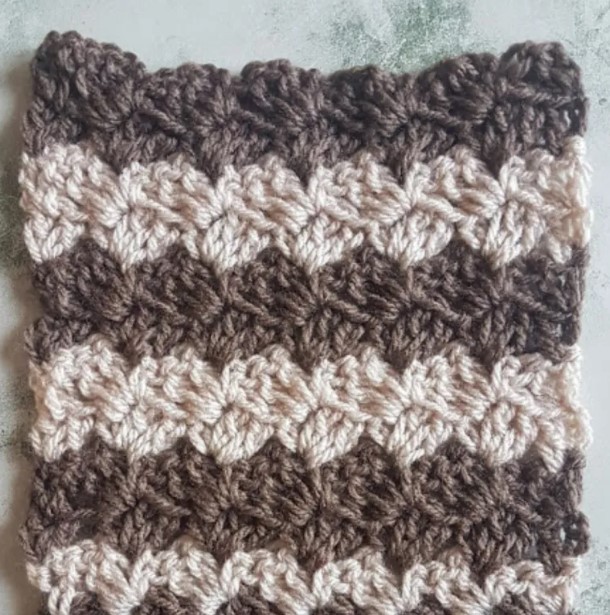
The pattern is double-sided meaning it looks great on either side and so, can be used in a variety of projects, from blankets and throws to jumpers and hats.
Learn how to crochet the Paris Stitch with this photo tutorial.
Materials
- Marriner Yarns DK (light worsted) yarn in brown
- 4mm crochet hook
Abbreviations
- sk – skip
- ch – chain
- yo – yarn over
- dc – double crochet
- sc – single crochet
Notes
- The pattern is a repeat of one row and requires multiples of 3 + 1 chains.
- Ch3 at the beginning of each row counts as a dc.
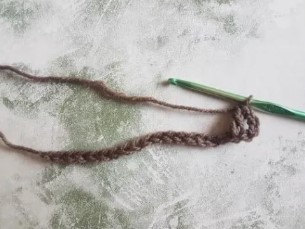
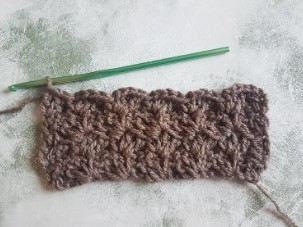
- For this tutorial, my starting chain was 22 long.
Instructions
Row 1: ch22
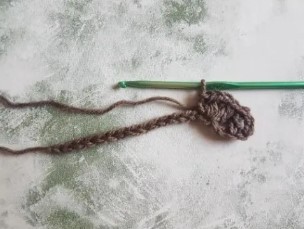
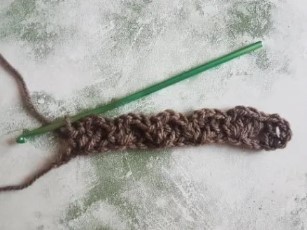
Row 2: dc in 4th chain, sk2, *(2dc, ch2, sc) in the following chain, sk2*, repeat ** until the last ch, 2dc in the last chain, turn.
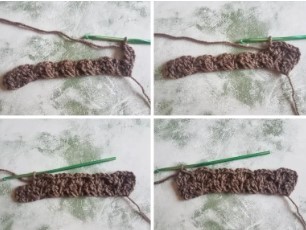
Row 3: ch3, dc in the very first stitch, sk2, *(2dc, ch2, sc) in the following ch2 space from the previous row, sk3* repeat ** until the last ch, 2dc in the last chain, turn.
Repeat row 3 until you have the desired length.