How to Knit Socks: Figure 8 Cast On

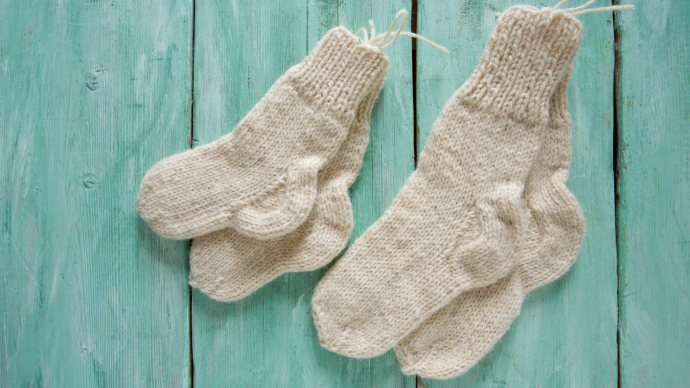
Hello, my dear knitters! The holiday season is just around the corner and I’d like to get an early start to my series of lessons that will help you learn how to make hand-knitted socks. In the next couple of days I will guide you through the main techniques and tips, followed by the actual pattern. You will be able to master each step and come up with a nice hand-made Christmas gift for your beloved ones in advance. Let me know if you like this idea, and I will prepare more series like that. And today I will share with you the Figure 8 cast on technique to practice. That’s how we’ll start the “perfect pair project”!
If you are knitting socks from the toe up, there are several ways to get started.
The Figure 8 Cast On is easier to learn and commit to memory than Judy’s Magic. It makes a serviceable beginning for socks, though it can be tricky to keep it tight and neat. It also creates a slight gap in the center between the first two rows of knitting.
The Figure 8 Cast On is a way of making an invisible, seamless toe when knitting socks from the toe-up. The name comes from the way in which the yarn is wrapped around the needles in a figure of eight. To work this cast on you will need three double pointed needles in the size you will use to knit the sock, plus your yarn.
You may also use this cast on for bags, and top-down hats and mittens. For this technique you will need 2 same size extra needles.
I’ve also prepared a printable 1-page guide in case you prefer to print the instructions.
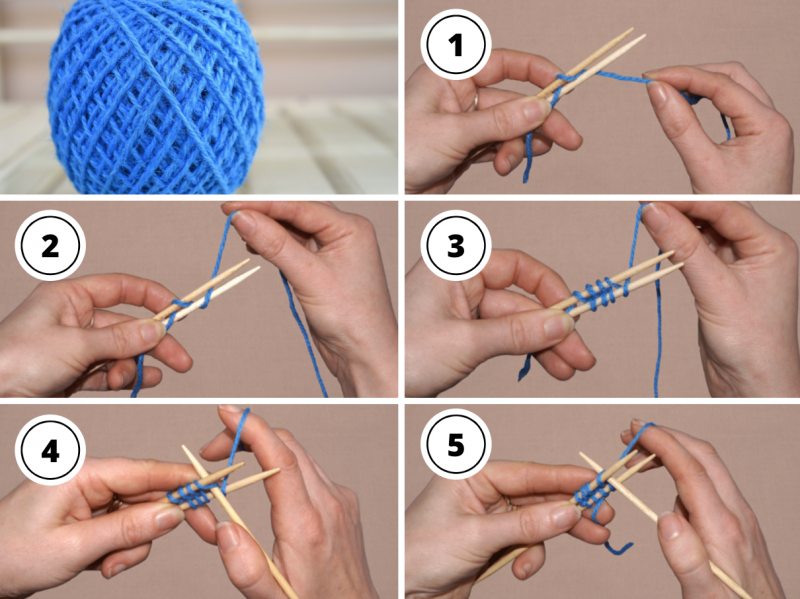
Step 1.
In your left hand, hold your needles alongside one another. Holding the tail yarn firmly at the front of the bottom needle with your left thumb, keeping the tail yarn to the left and the working yarn to the right, take the working yarn over the bottom needle and down between the two needles.
Step 2.
Take the working yarn under and around the top needle from front to back, then take the working yarn back down between the two needles. You should have a loop of yarn on the top needle. This is your first stitch.
Step 3.
Now make a stitch on the bottom needle by bringing the working yarn under and around the bottom needle, then taking it from front to back and back down between the two needles.
Step 4.
Repeat, making stitches alternately on the top and bottom needles wrapping the yarn using a figure-of-eight motion. You will need half the number of cast-on stitches on each needle. So if your patterns calls for eight stitches in total, you will need four stitches on each needle. You should always have an even number of stitches on each needle, finishing with the last loop on the bottom needle and the working yarn going from front to back between the needles.
Step 5.
Now to knit your first row. Take the working yarn and, using a third same size needle, knit into each stitch on the top needle as normal. At this stage the stitches on the bottom needle may be rather loose. Use your third needle to gently pull the loops tight, working from right to left.
With the loops tightened, turn the work through 180° so that the bottom needle is now at the top. (Be careful not to flip the work over). Keep the tail yarn over the bottom needle and between the needles to stop the stitches loosening. Knit into the back of the stitches on the top needle. (You will only need to do this on these stitches. All future rounds are knitted as normal).
All the cast on stitches have now been knitted once and on the second round you can divide them onto three or four needles to continue your toe.
Tip:
After you complete the first round, you can tighten stitches on the cast-on row by inserting a needle tip into the purl bumps of the first row and giving a little pull. Continue knitting as called for in the pattern.
Aaaahhhh ••• looks difficult
It really isn't hard once you get going. I knitted a number of pairs of socks using this and the toe is most comfortable.
Exactly! Thank you, Susan!
No no, just give it a try! 😊You'll see, it's easy!!
Looks kind of confusing.
Right, but it's easier than it seems! 🌸