Solomon’s Knot Crochet Stitch Photo Tutorial

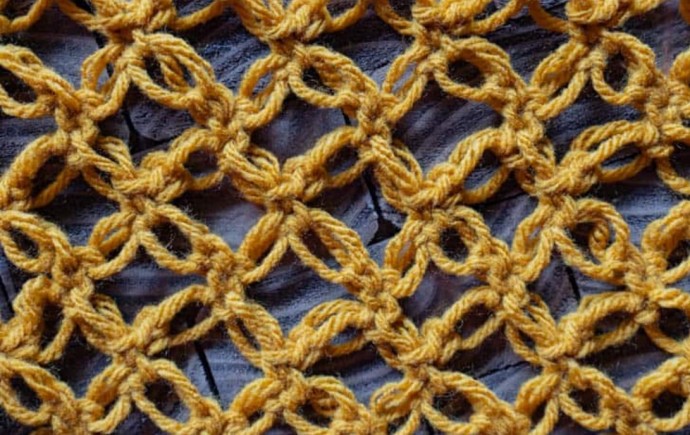
The Solomon’s Knot – also known as the Lover’s Knot – is a gorgeous, fun crochet stitch that really stands out in a crowd. In order to make the Solomon’s Knot, you only need to know how to make two crochet stitches: the chain stitch and the single crochet. Let’s learn how!
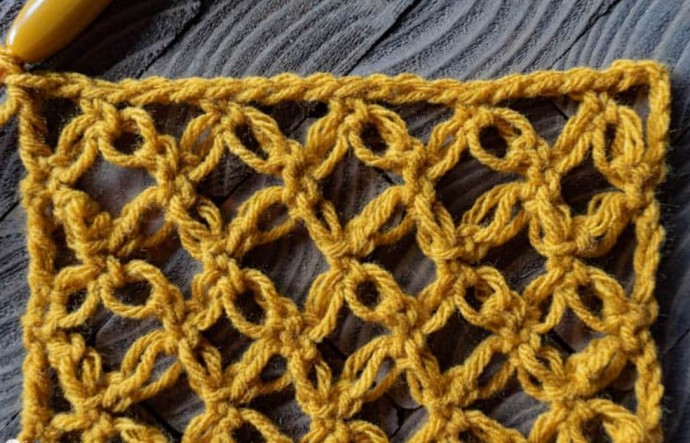
To make a Solomon’s Knot, you’ll make one tall chain and then single crochet through the middle of it. You’ll create the stitch in “sets” that will form a diamond shape when finished. It looks more intimidating than it is, and once you get the hang of it the rows just fly by! Just take your time when learning how to make this gorgeous design.
When reading a crochet pattern this stitch will be abbreviated either with Sk (Solomon’s Knot) or Lk (Lover’s Knot).
Every two Solomon’s Knot stitches are called a “pair” or a “set”. You will almost always have two together (necessary to form half of the diamond shape), with the single crochet in the center. The single crochet is the “knot” of the stitch.
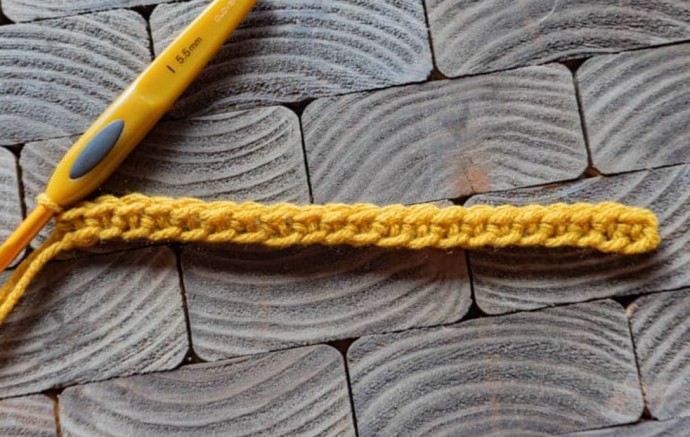
Work into a row of single crochet:
1. Start with a foundation row of four stitches + one. (For example, start with a row of 21 single crochets)
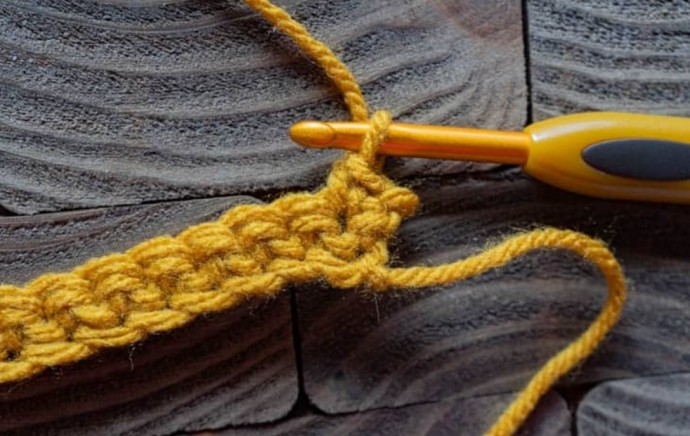
2. Chain-one, turn, and single crochet into very first stitch.
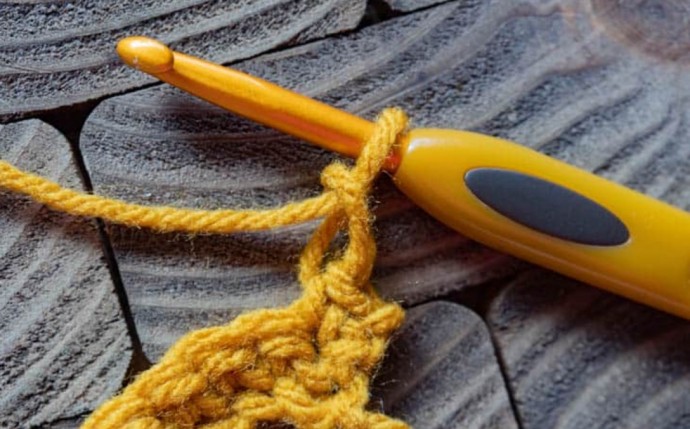
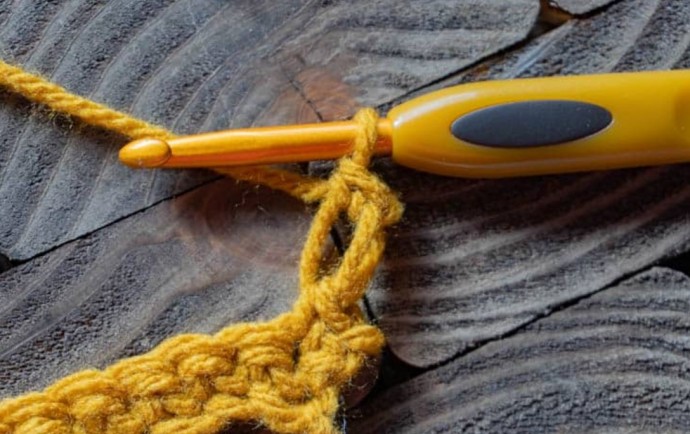
3. Pull up a loop about 1/2″ tall, make a chain.
4. Insert hook under back bar and make a single crochet.
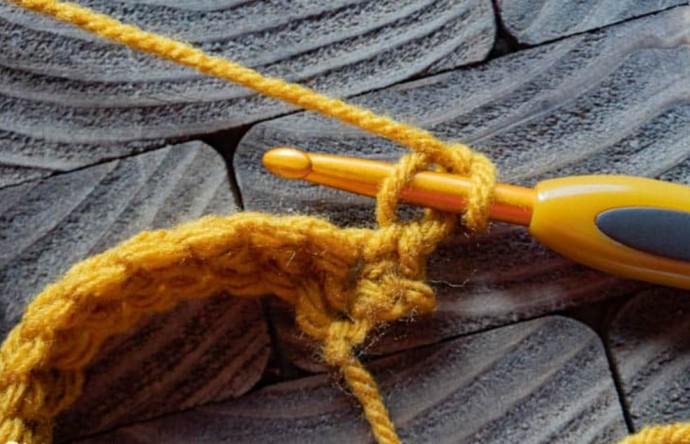
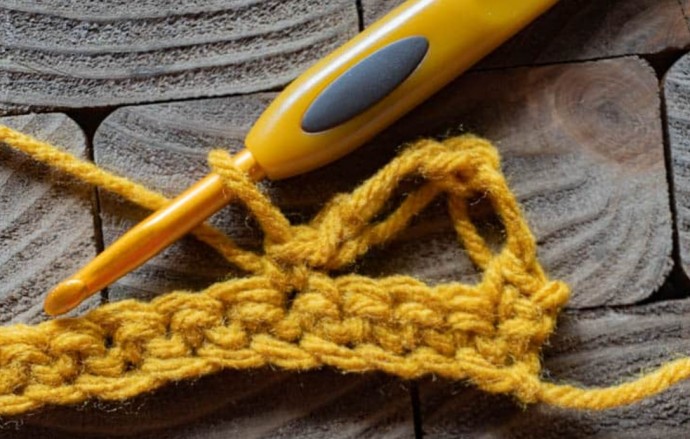
First Solomon’s Knot made! Repeat steps 3 & 4 to make second Sk in “set”. (Two Sks = one “set”)
6. Skip three stitches on foundation row and single crochet into next.
7. Make two Sks. (Two Sks = one “set”)
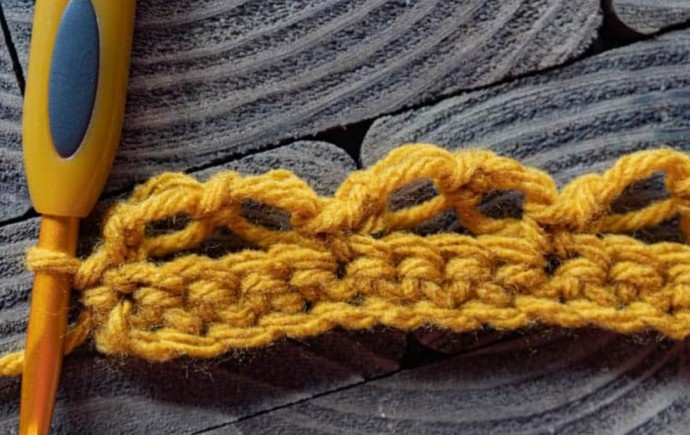
Repeat steps 6 & 7 to end of row, ending with a single crochet into last stitch.
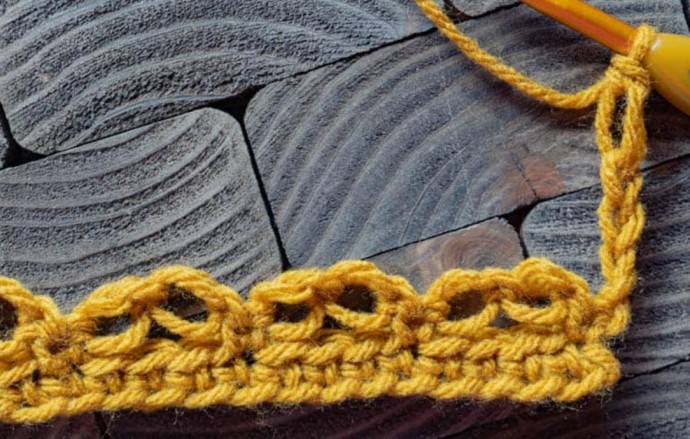
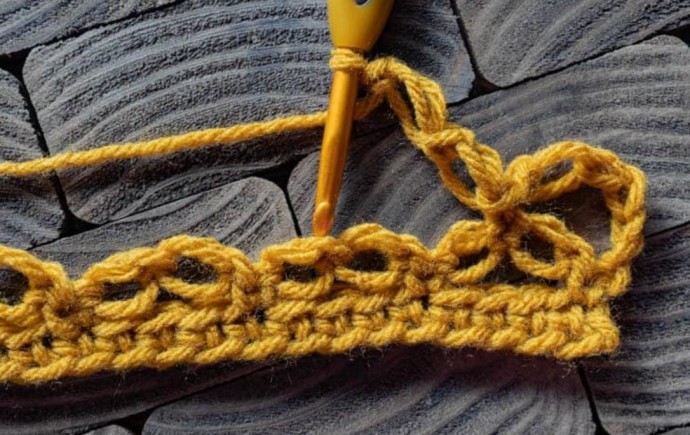
To start a new row:
1. Chain-4, make one Sk. Turn your work.
2. Single crochet into the single crochet of the first Sk “set”.
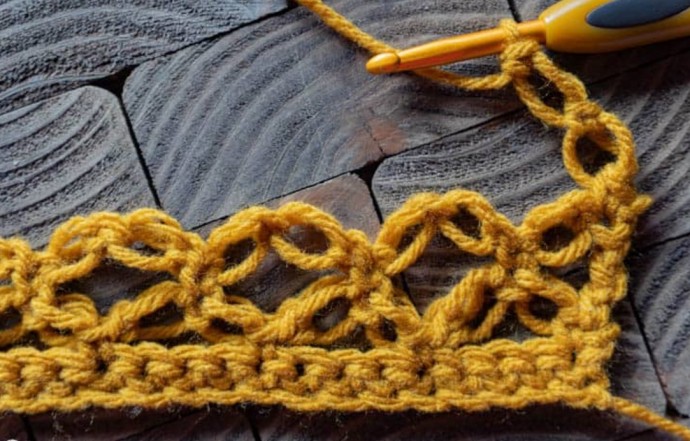
3. Make two Sks, skip two Sks from row below, and make a single crochet in the single crochet (which is the center) of the next Sk “set”.
When you get to the end of this row you should have just HALF of a “set” left over.
4. Make one Sk, then treble crochet into the very last single crochet of the row.
Now alternate that row with this row…
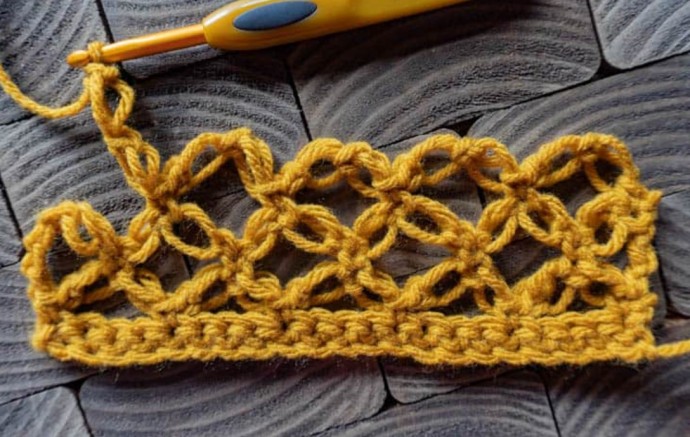
5. Chain-1, turn. Single crochet in that very first sc. Make 2 Sks, skip 2 Sks and find the center single crochet from the “set” below and single crochet into that single crochet.
6. Continue making Sk “sets” to the end of the row, ending with a single crochet in the top of the chain-4 from the previous row.
Start over with the chain-4 from step 1. Alternate the two rows of Solomon’s Knots until your piece is as tall as you like.
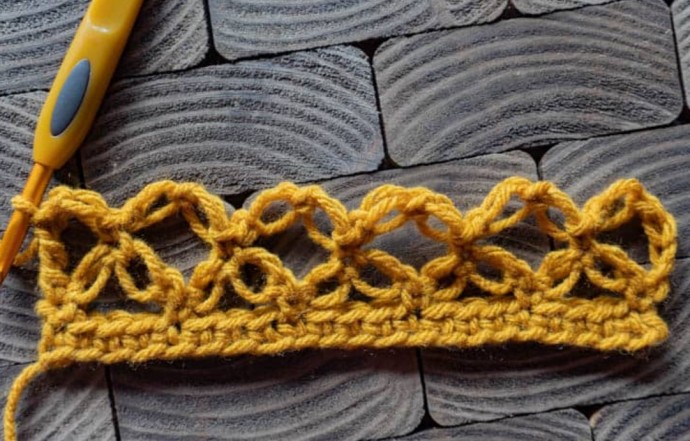
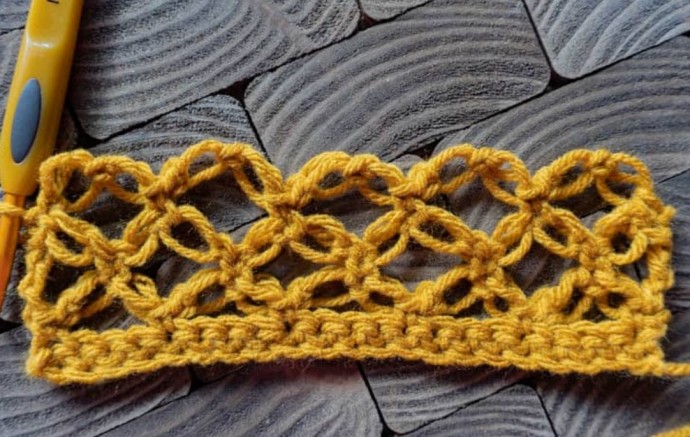
When finishing, I like to have a flat edge. End with a step 6 above, then create the flat top:
To end with a flat edge:
Ch-5 (counts as tc + ch-1), turn, sc in first sc, * loosely ch-3, sc in center of next Sk set * repeat between * * three more times. Ch-1, tc in last sc.