Perfectly Paisley Crochet Tutorial


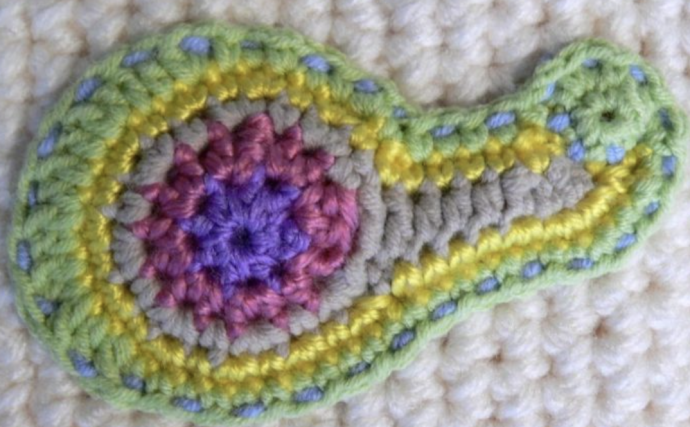
If you're a fan of intricate and timeless designs like paisley, you'll love this Perfectly Paisley crochet pattern. In this pattern, the creator Dedri Uys combines her passion for paisley with the art of crochet to bring you a unique and captivating design. Paisley is known for its detailed and mesmerizing patterns, and with this crochet pattern, you can create your own paisley-inspired masterpiece.
Now, let's get started with the Perfectly Paisley crochet pattern. This pattern is created with a 4mm crochet hook and double knit yarn, and it's divided into sections of different colors (A, B, C, D, E, and F). The end result is a beautifully intricate paisley wing that you can use for various creative projects.
Instructions:
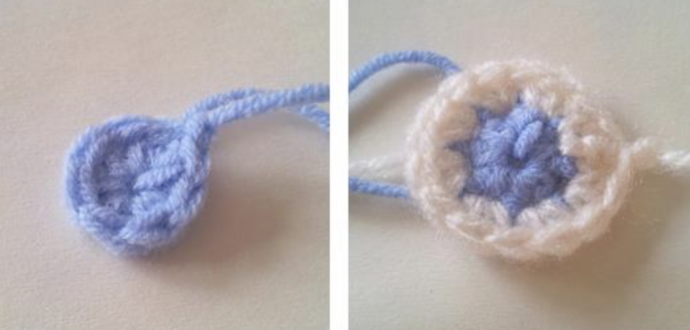
Color A:
- Create a magic ring.
- Chain 2, then crochet 7 half-double crochets (hdc) into the magic ring.
- Join to the top of the initial chain-2 with a slip stitch (sl st).
- Chain 1 and fasten off. (8 stitches)
Color B:
- Join Color B to any stitch around the circle with a slip stitch.
- Chain 2 and crochet an hdc in the same stitch.
- Increase (hdc inc) in each of the 7 stitches.
- Join with a sl st to the top of the initial chain-2.
- Chain 1 and fasten off. (16 stitches)
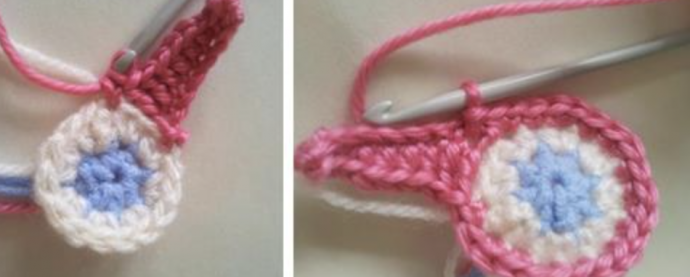
Color C:
- Join Color C to any stitch around the circle with a slip stitch.
- Chain 9.
- Single crochet (sc) in the second chain from the hook and the next 2 chains.
- Crochet 3 half-double crochets (hdc) and 2 double crochets (dc).
- Skip the next 2 stitches of round 2 and sc in the 3rd stitch.
- Single crochet increase (sc inc), sc in the next 6 stitches.
- Sc inc in the same stitch where joining began.
- Join with a sl st to the 2 remaining loops of the initial chain. (29 stitches, or 39 if you count the remaining loops of the initial chain)
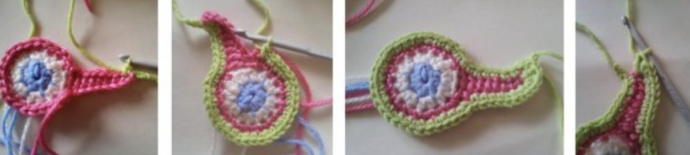
Color D:
- Chain 2.
- Sc in the first sc of the pointy part.
- (Skip one stitch, sc in the next) twice.
- Sc in the next 4 stitches.
- (Sc, sc inc) in each of the next 10 stitches.
- Skip the first chain of the pointy part (where a slip stitch has already been worked).
- Sc in the next 4 stitches (working into the remaining loops of the initial chain from round 3).
- Sc inc in the last stitch: sc, hdc, dc.
- Join with a sl st to the first chain of the round.
- Chain 1 and fasten off. (50 stitches, including initial chain-2)
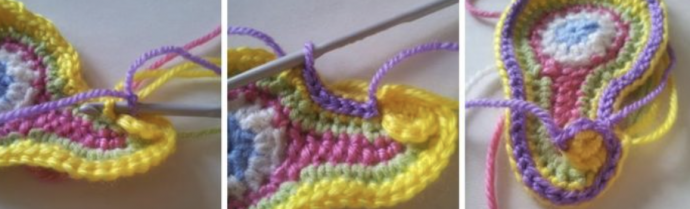
Color E:
- Create a magic ring.
- Chain 1 and crochet 6 single crochets (sc) into the ring.
- Join to the first stitch with a slip stitch.
- Chain 1.
- Sc into the first sc of the previous round (at the pointy end).
- (Skip one stitch, sc in the next).
- Sc in the next 4 stitches.
- (Sc increase, 2 sc) twice.
- Half-double crochet increase (hdc inc), 2 double crochets (dc).
- (Dc increase, 2 dc) thrice.
- Hdc, 18 sc.
- (Sc increase, sc) twice.
- Place the initial little circle on top of the pointy part and sc through both the 4th sc of the circle AND the hole formed by the chain-2 of the previous round (through both layers).
- Sc through the next 2 stitches of the circle AND the chain-2 hole.
- Slip stitch to the first stitch, chain 1 and fasten off. (58 stitches, not including the stitches of the magic ring and the first chain stitch)
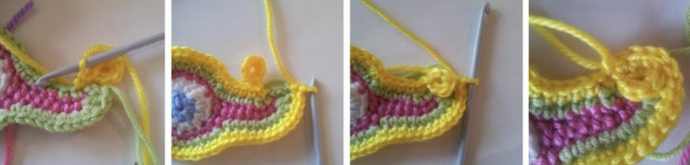
Color F:
- Join a new yarn by working a surface slip stitch into the first sc of round 5.
- To work surface slip stitches, insert your hook from front to back and then from back to front around the post of the stitch.
- Yarn over and pull through both loops on the hook.
- Repeat for every stitch around. Don't pull the stitches too tight to avoid warping your work.
- When you reach the last stitch, work 4 more surface slip stitches into the stitches of the little circle